Now Tiny lives in a more crowded neighborhood, but it is okay because the neighbors are nice.
Moving toward sustainability
Now Tiny lives in a more crowded neighborhood, but it is okay because the neighbors are nice.
It has been about 9 months since the last entry. In that time, I’ve had to move the Tiny House from its build site.
What happened was there was a disagreement from the management (or overlord) about my continuing to rent the space. I had agreement until after mid 2016, but the problem was it was verbal (some what via email, but a crucial part was done in person).
Eventually, the overlord made threats (“get it out now or we’ll burn it to the ground”), we (using the law) blocked, and both parties agreed that I’d vacate on a specific date. That date arrived, I packed up everything and took off, never to set foot there again.
During this ordeal, I received support and advice from several friends, for whom I am eternally grateful.
All of this would have been avoided (or required much less energy) if I had a written contract that specified the terms of housing the Tiny House. The saw goes, “Experience is mistakes one learns from.” I certainly have a lot of experience now. 🙂
During the move, I noticed one of the short walls was wobbling terribly, as it was only supported on one side. I braced it with a spare 2×4 and it stopped wobbling. Once we got on the freeway, Tiny performed beautifully with no problems. I speed up to 65 mph and took it to its new temporary home.
This turned out to be the best thing to happen to Tiny, which I will elucidate in a future post.
Time to work on the loft’s walls. I’m deviating from the original plans in order to provide more room in the loft. Originally, the roof was going to slope down to meet the loft floor, creating a tight space along the sides.
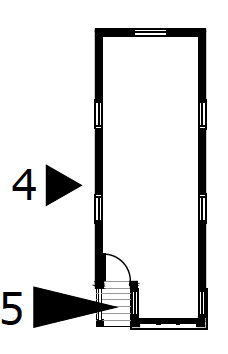
To fix this, I’m installing dormers—short walls to open up the loft and make it more roomy. The added benefit is the loft will have 5 windows instead of 1!
You can see an example of a dormer on the second floor here:
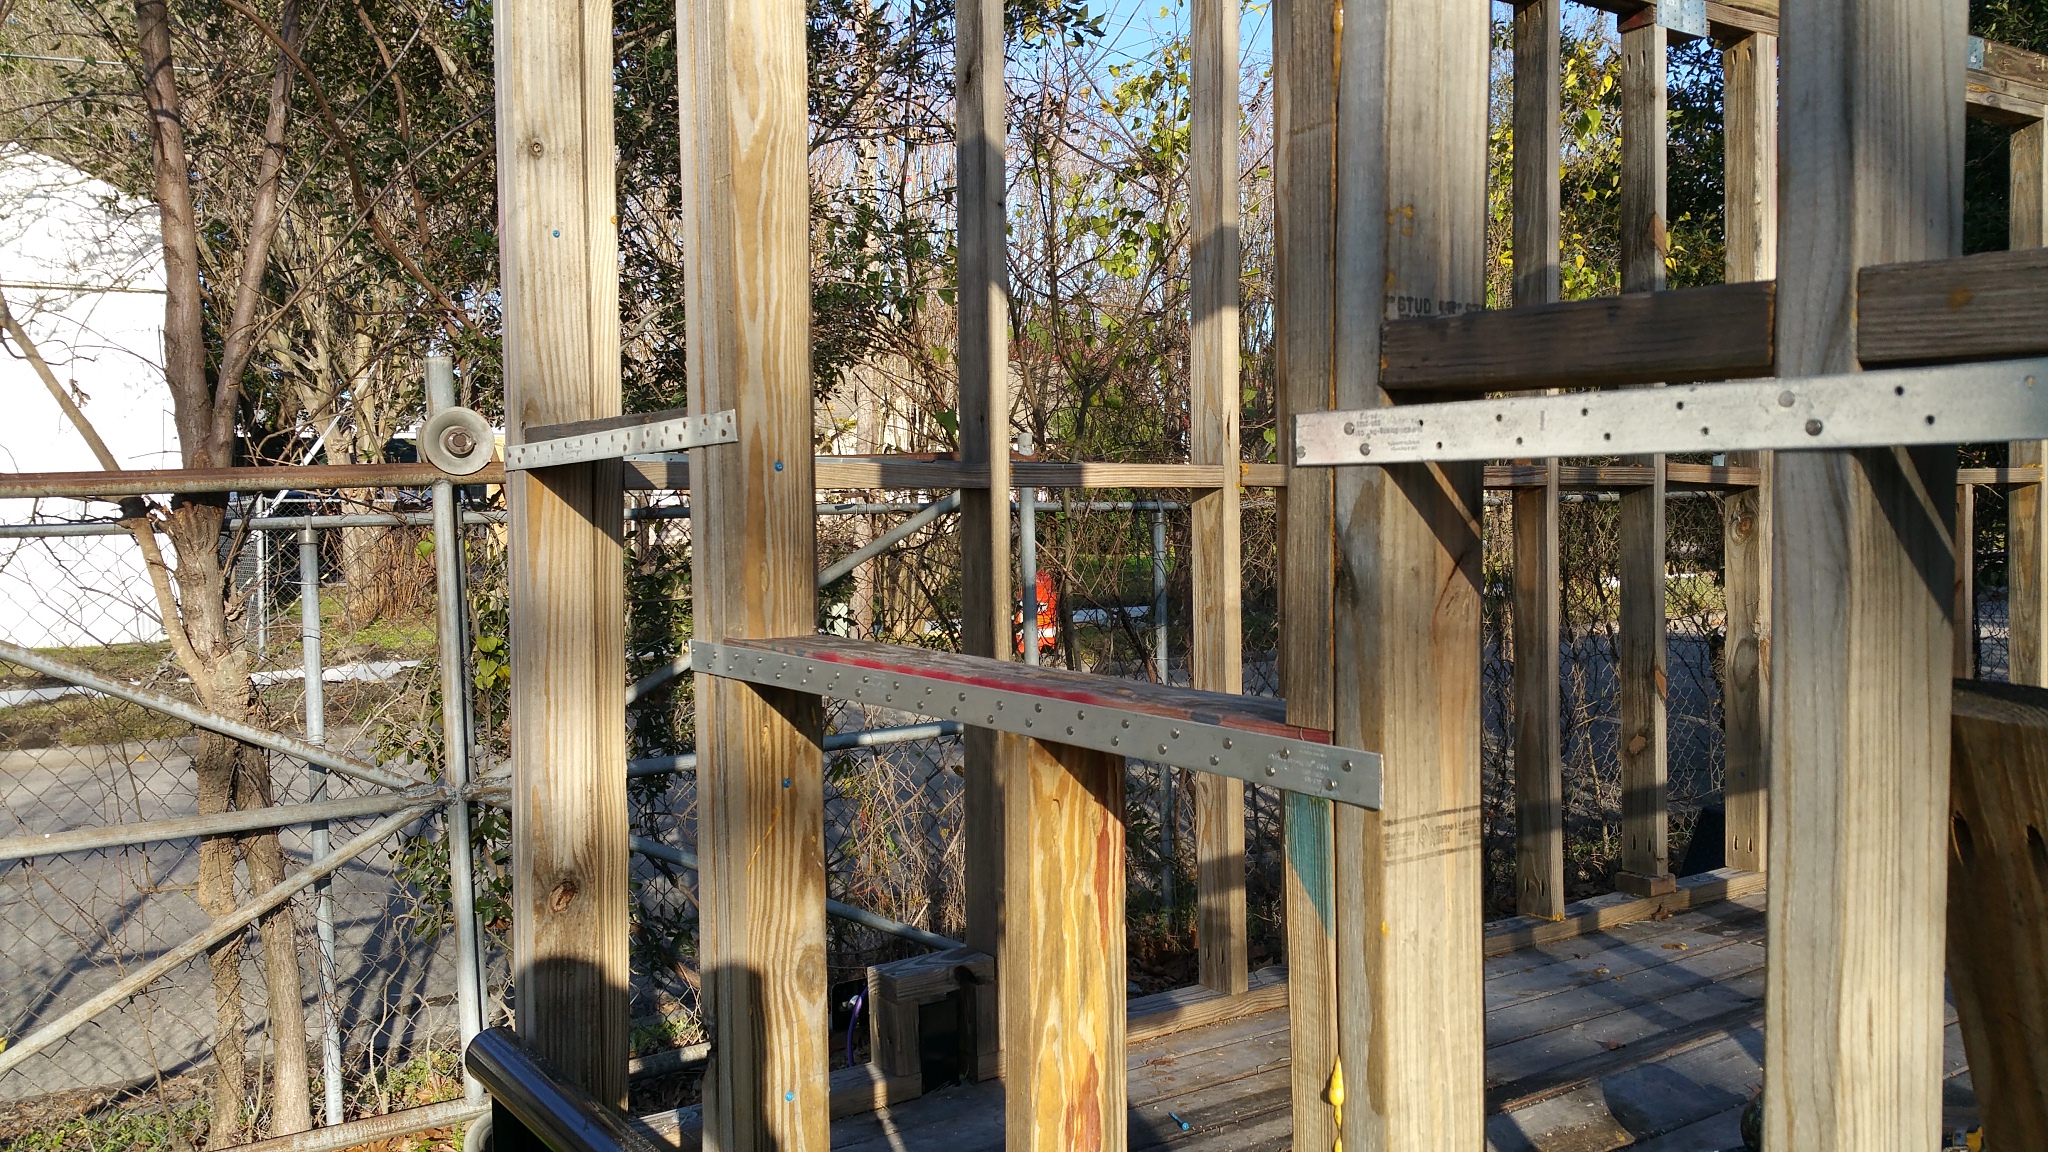
We got the CS 14 strapping installed all the way around the house and it is looking great.
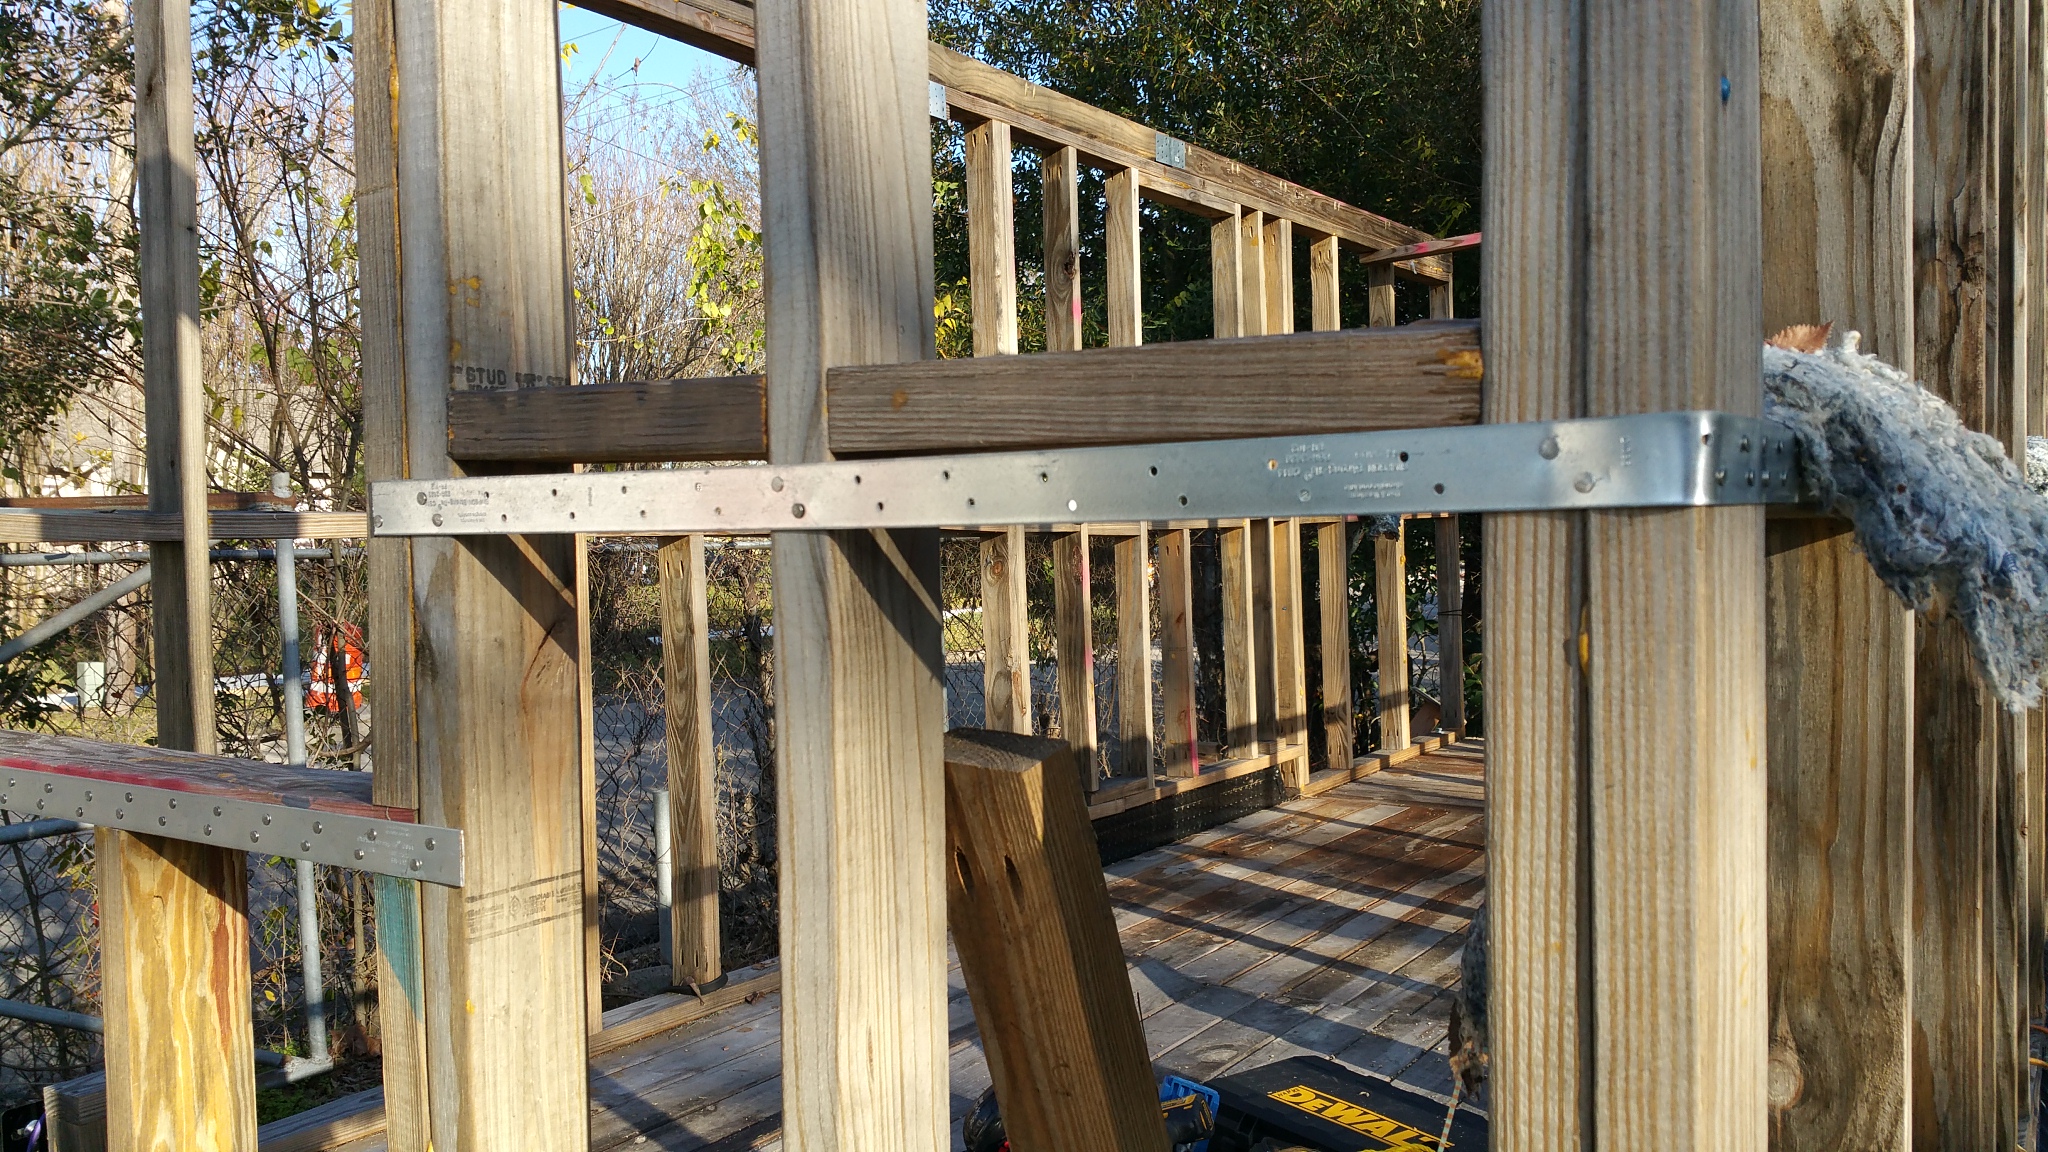
As with many things in his project, it involved some compromise and flexibility. When I laid out the blocking (the wood between the studs), I neglected to get them exactly lined up with one another, so when it came time to install the CS 14, it was obvious it wasn’t going to match.
As with everything else that “went wrong,” I had to remind myself that any job worth doing is worth doing poorly.
Coming to the master bedroom’s window, I had to cut the CS 14 to make it work.
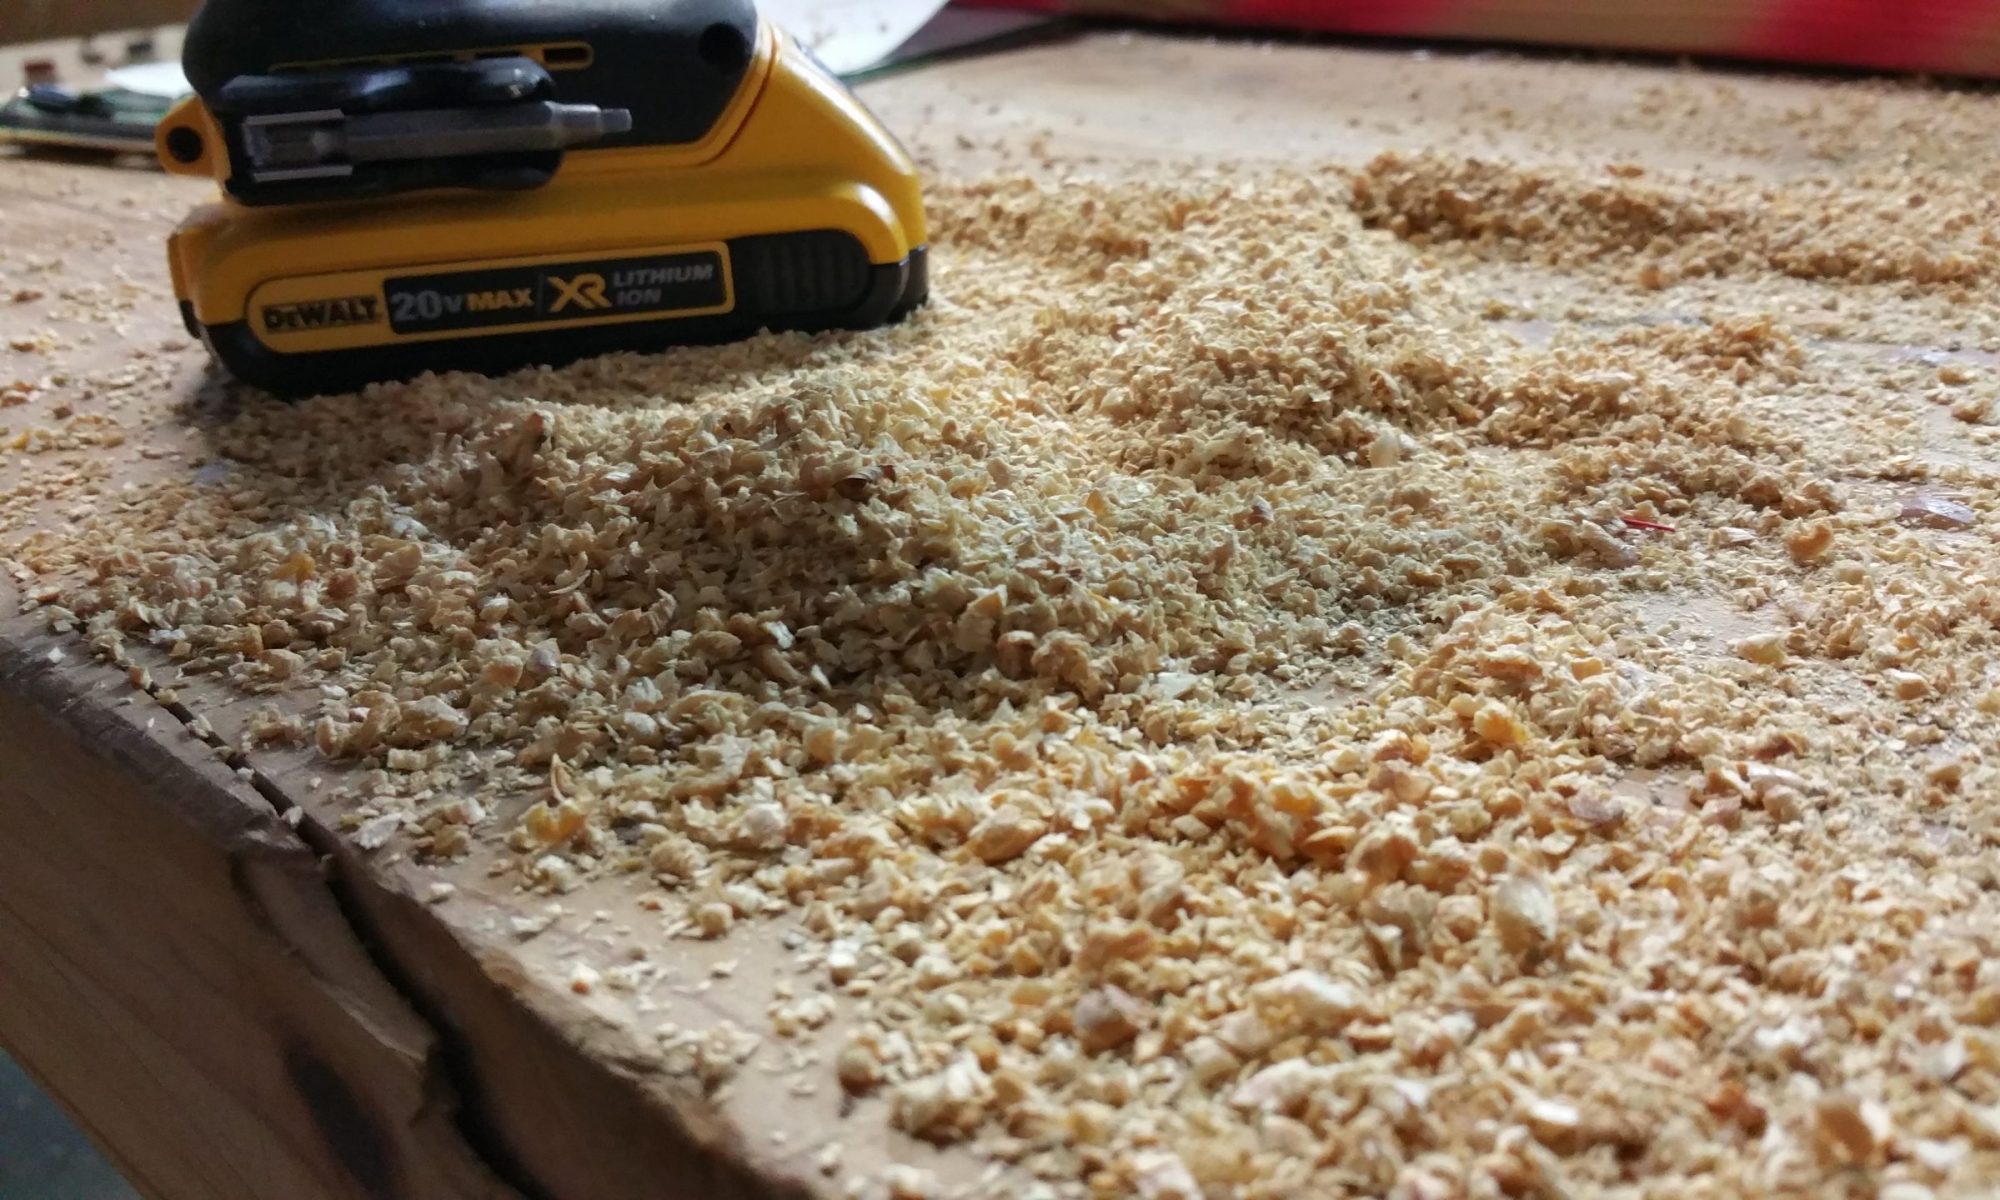
It turns out that tin snips don’t work, but an angle grinder does the job nicely. So with that out of the way, it is time to work on the loft.
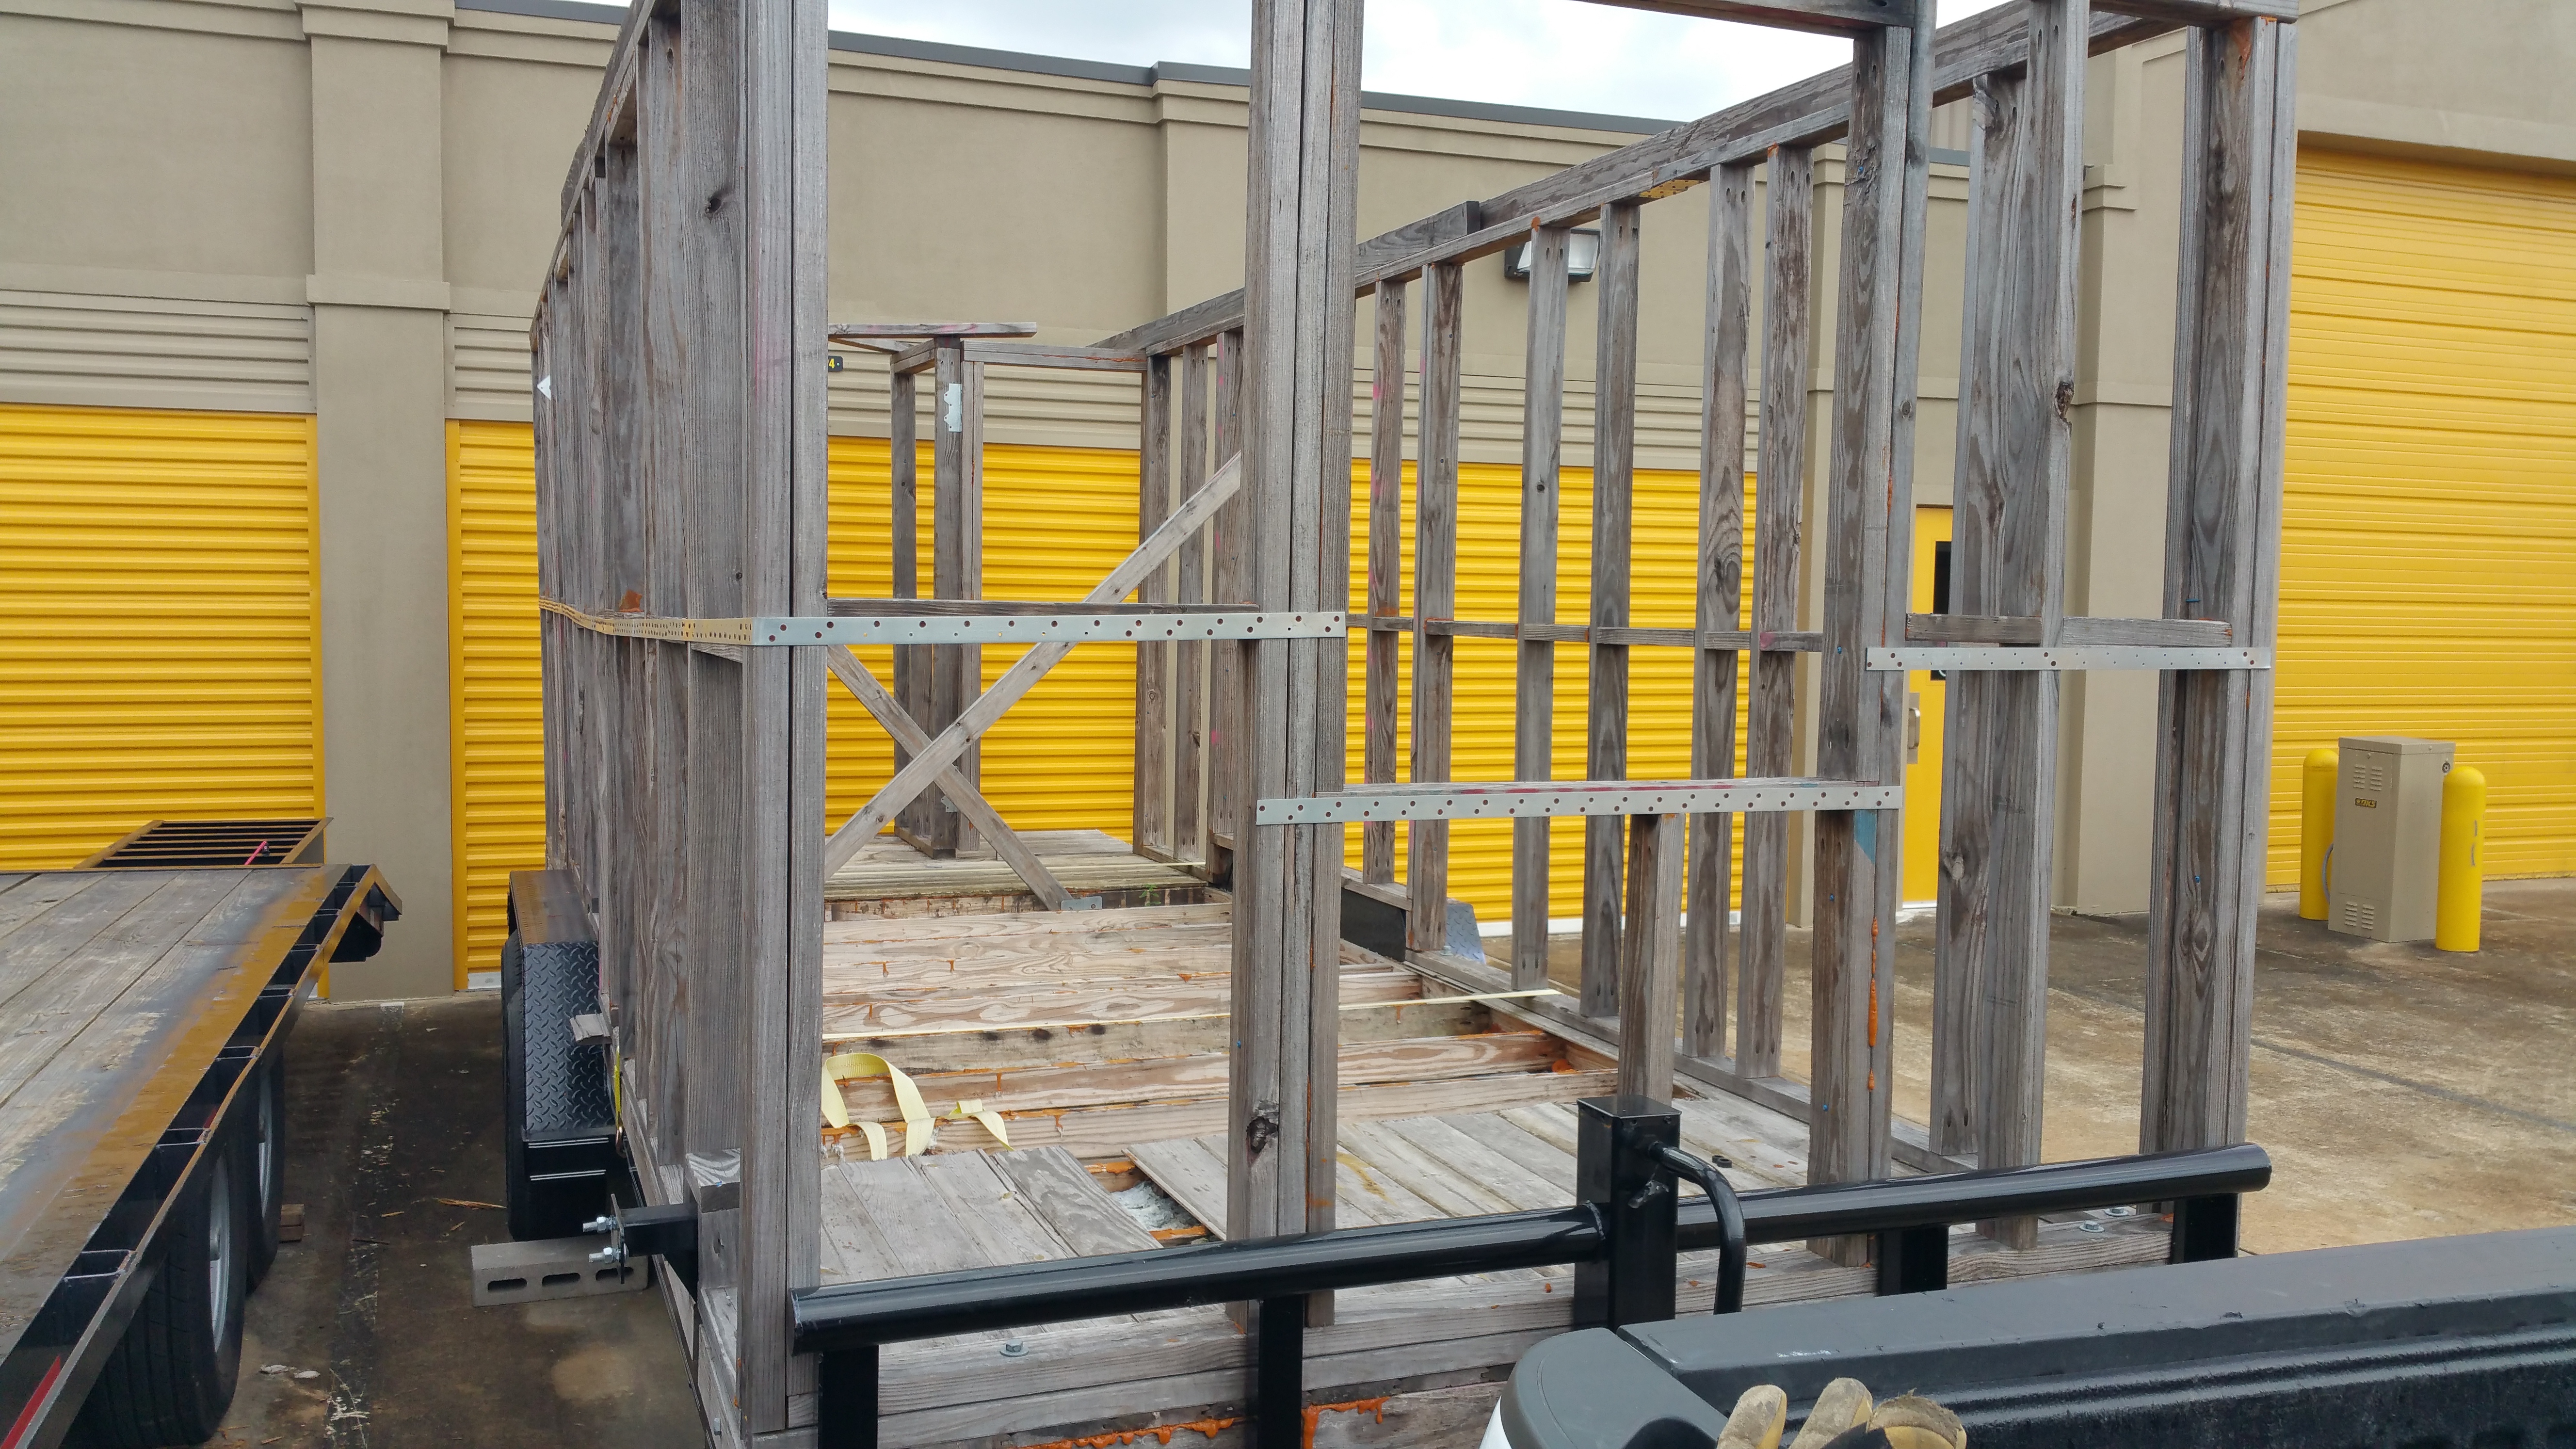
Tiny homes are a little different from conventional construction in that the house needs to handle movement, such as when driving down the road. To help with this, we add some steel to the wood.
The kiddo wanted to help, so the key to keeping him interested and engaged is to give him a task he can complete, along with the opportunity to use power tools. 😄 I asked him to install corner brackets on the door frame and he had a blast.
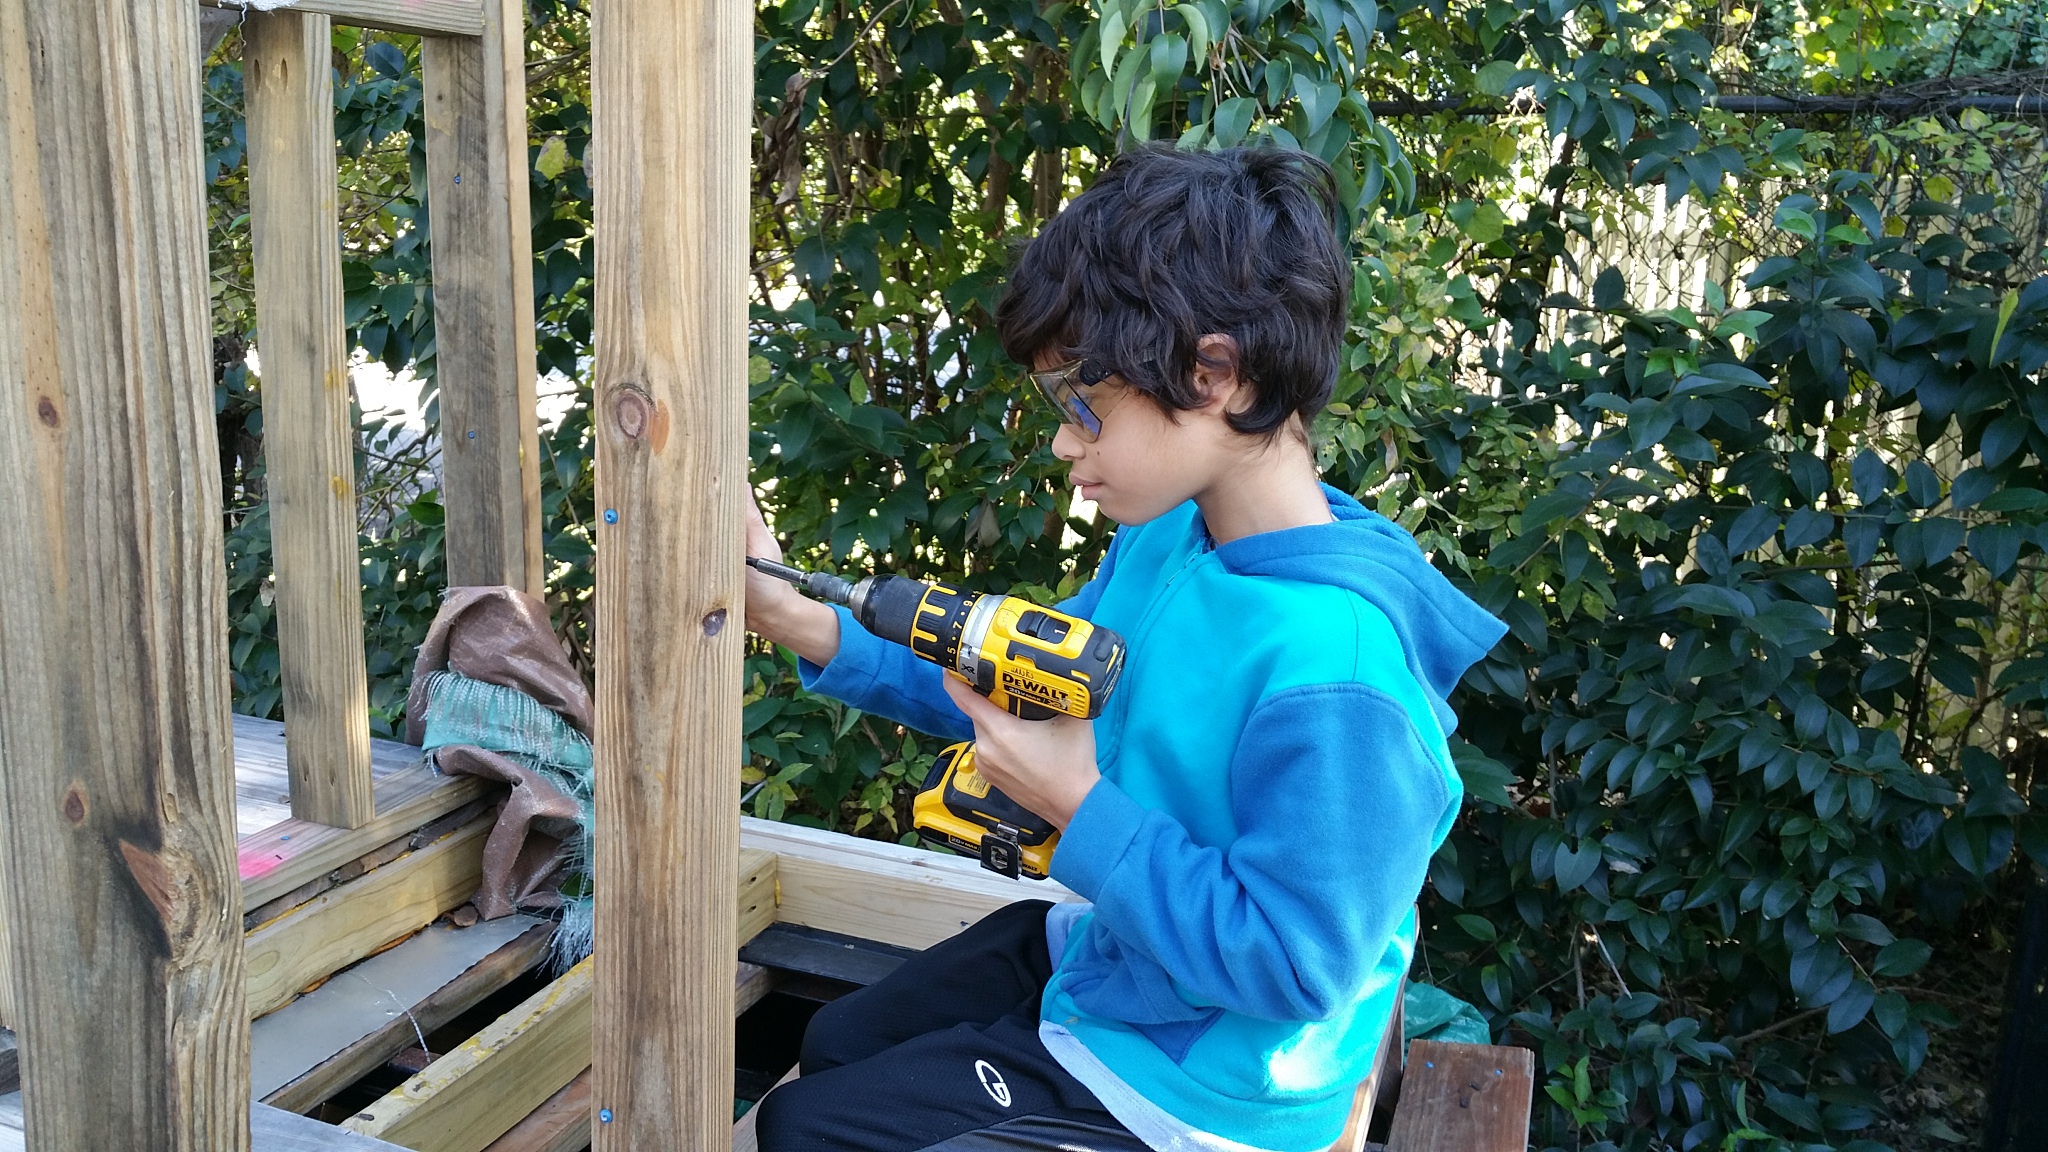
I got a spool of 14 gauge steel strapping to wrap around the house.

It will provide stability to keep the studs from moving around when we’re bouncing around the highway. Or weathering a Cat-5 Hurricane (well, maybe not that part).

It has been long, too long for sure.
Running out of funds cascaded through my situation, and I’ve only just now been able to crawl out far enough to poke my head above water. With the new year comes a chance to restart.
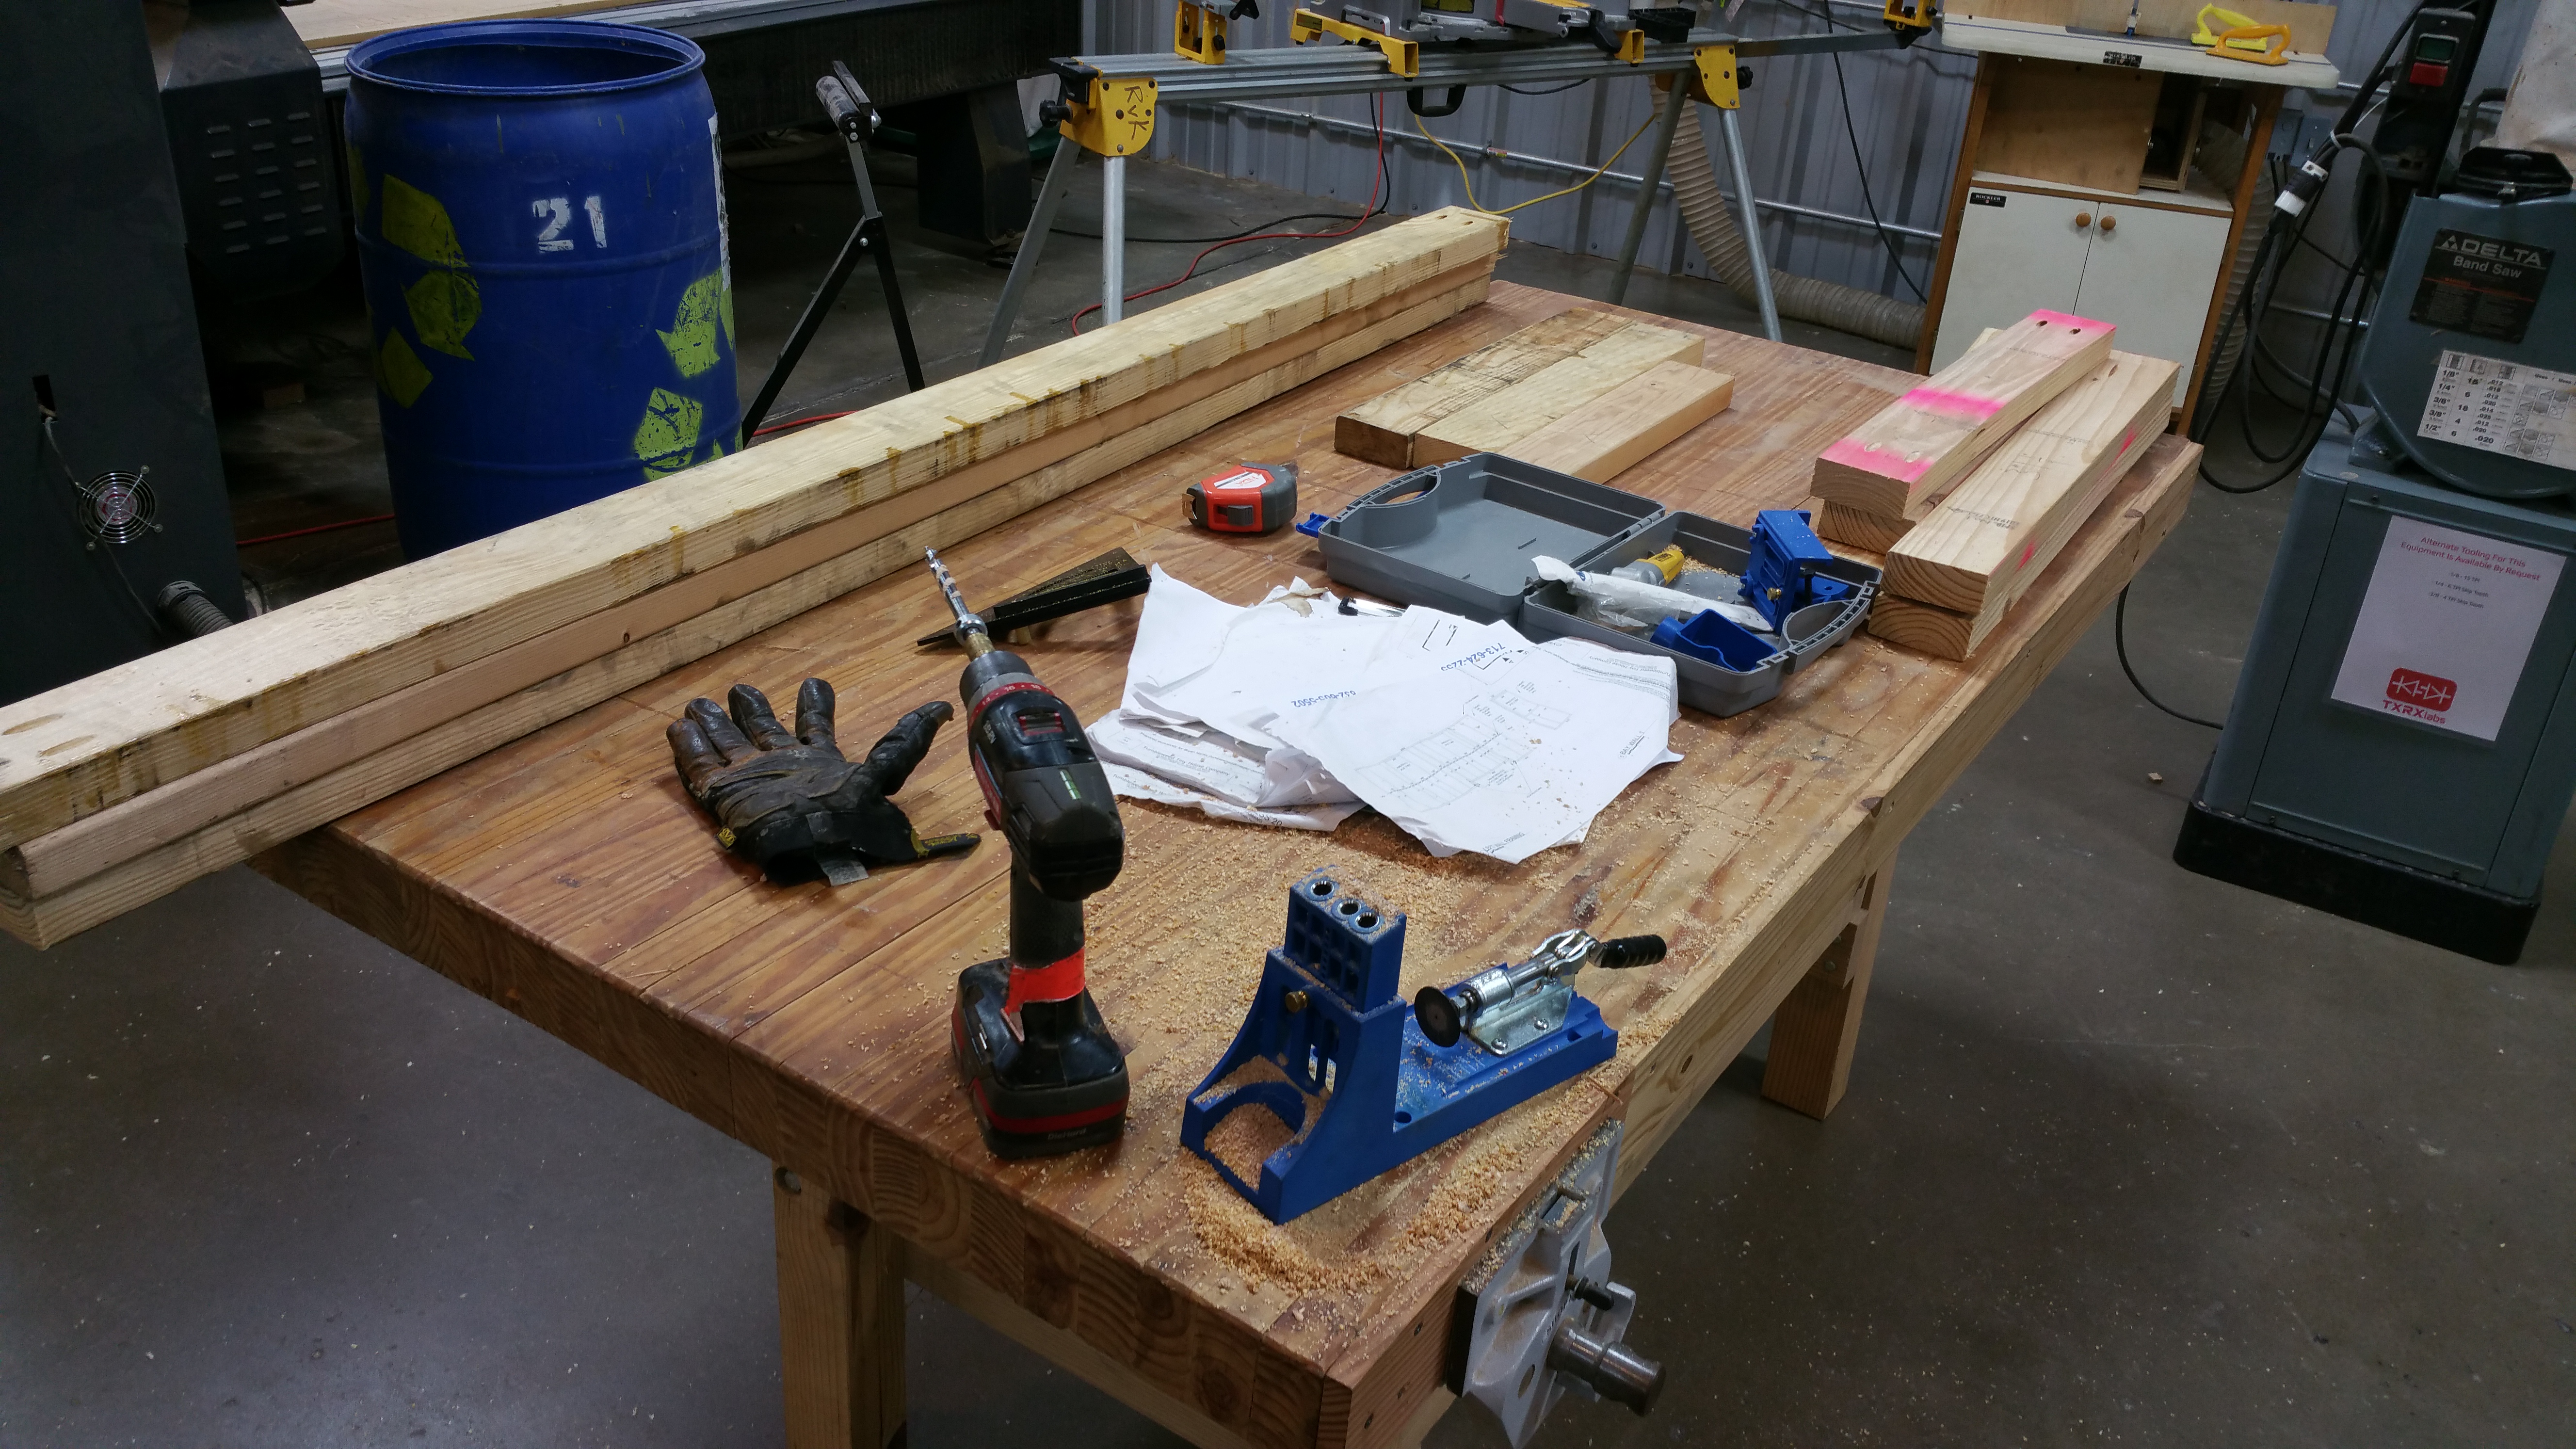
I purchased some wood for the loft about a month ago; sadly twenty of my 2x4s were stolen. At least they left the loft rafters and floorboards! I’ll take this as a lesson-learned: use the wood ASAP; don’t leave it lying around!

So, with the next phase of building approaching, it is time to get more wood, notably the plywood for the walls and roof.
In addition, I’ll need:
I’m guesstimating this will all run me about $500ish + about $50-75 for the truck rental.
Taking a look at my Tiny Home piggybank, I’m out of money. I should have enough money in the bank at the end of the month.
In the meantime, I still need to plumb and square the remaining walls, so I’m not completely dead in the water.
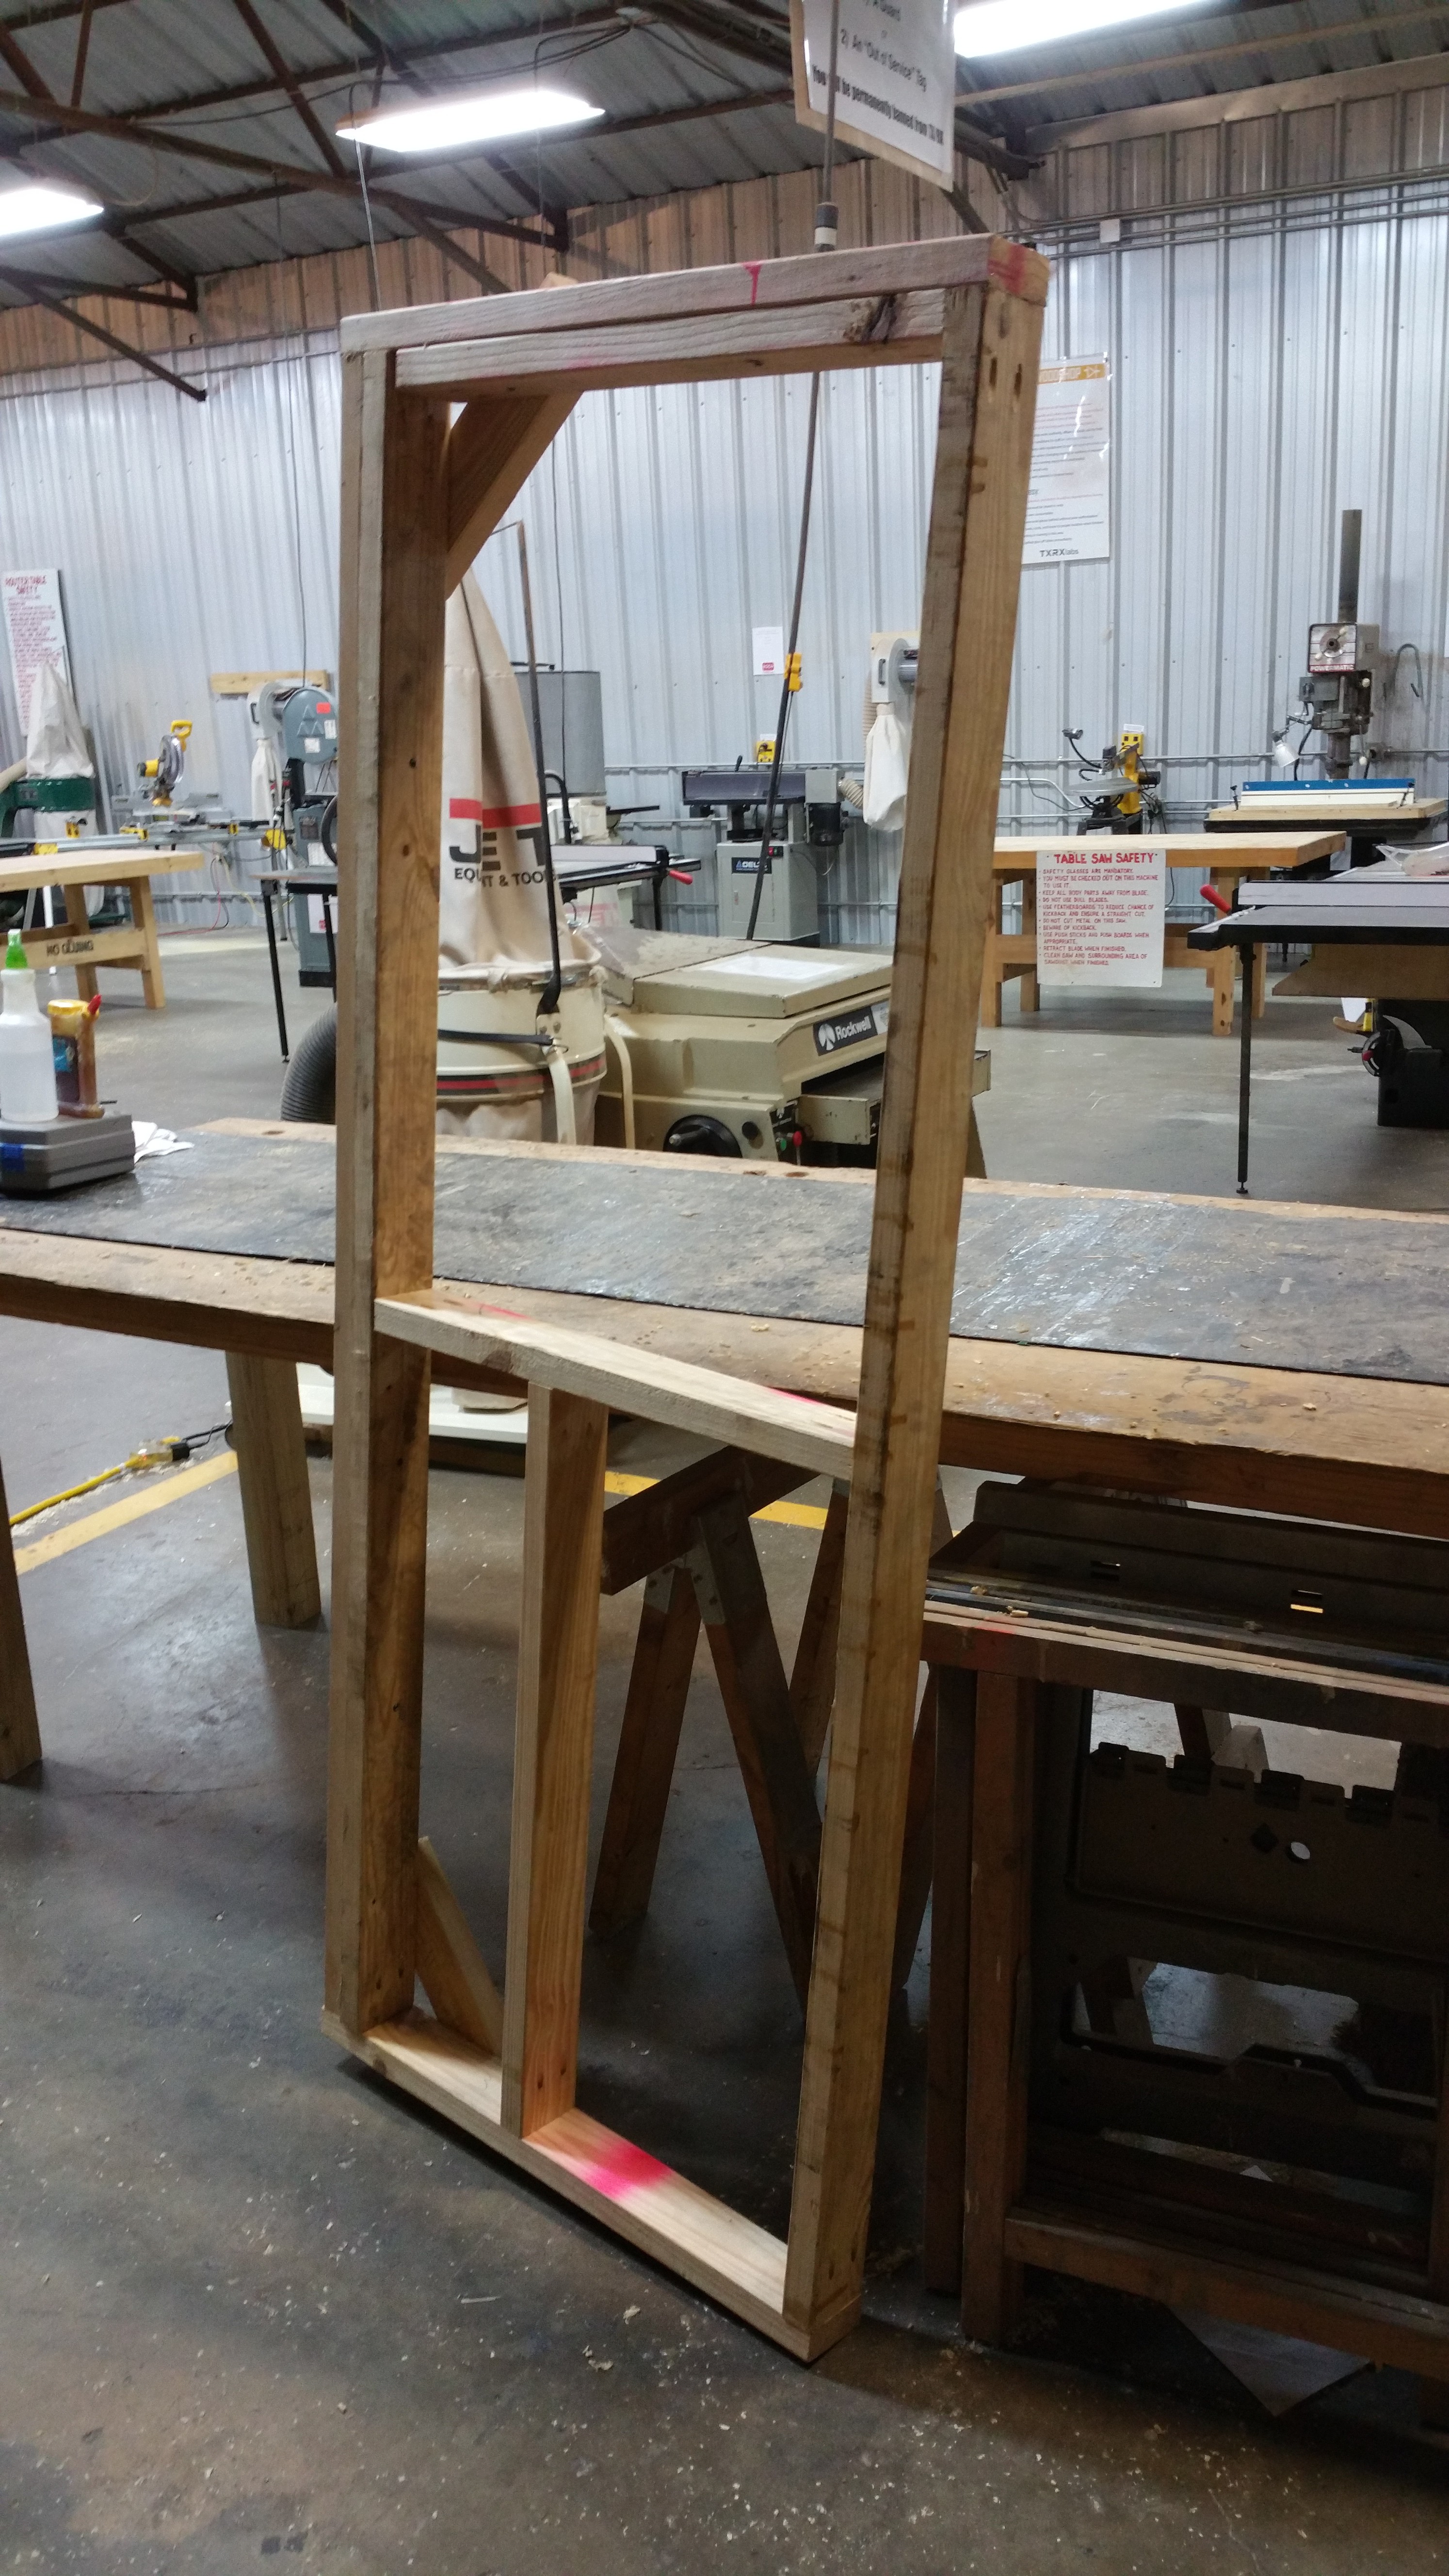
With the fifth wall built, it was time to install it. It didn’t take very long.
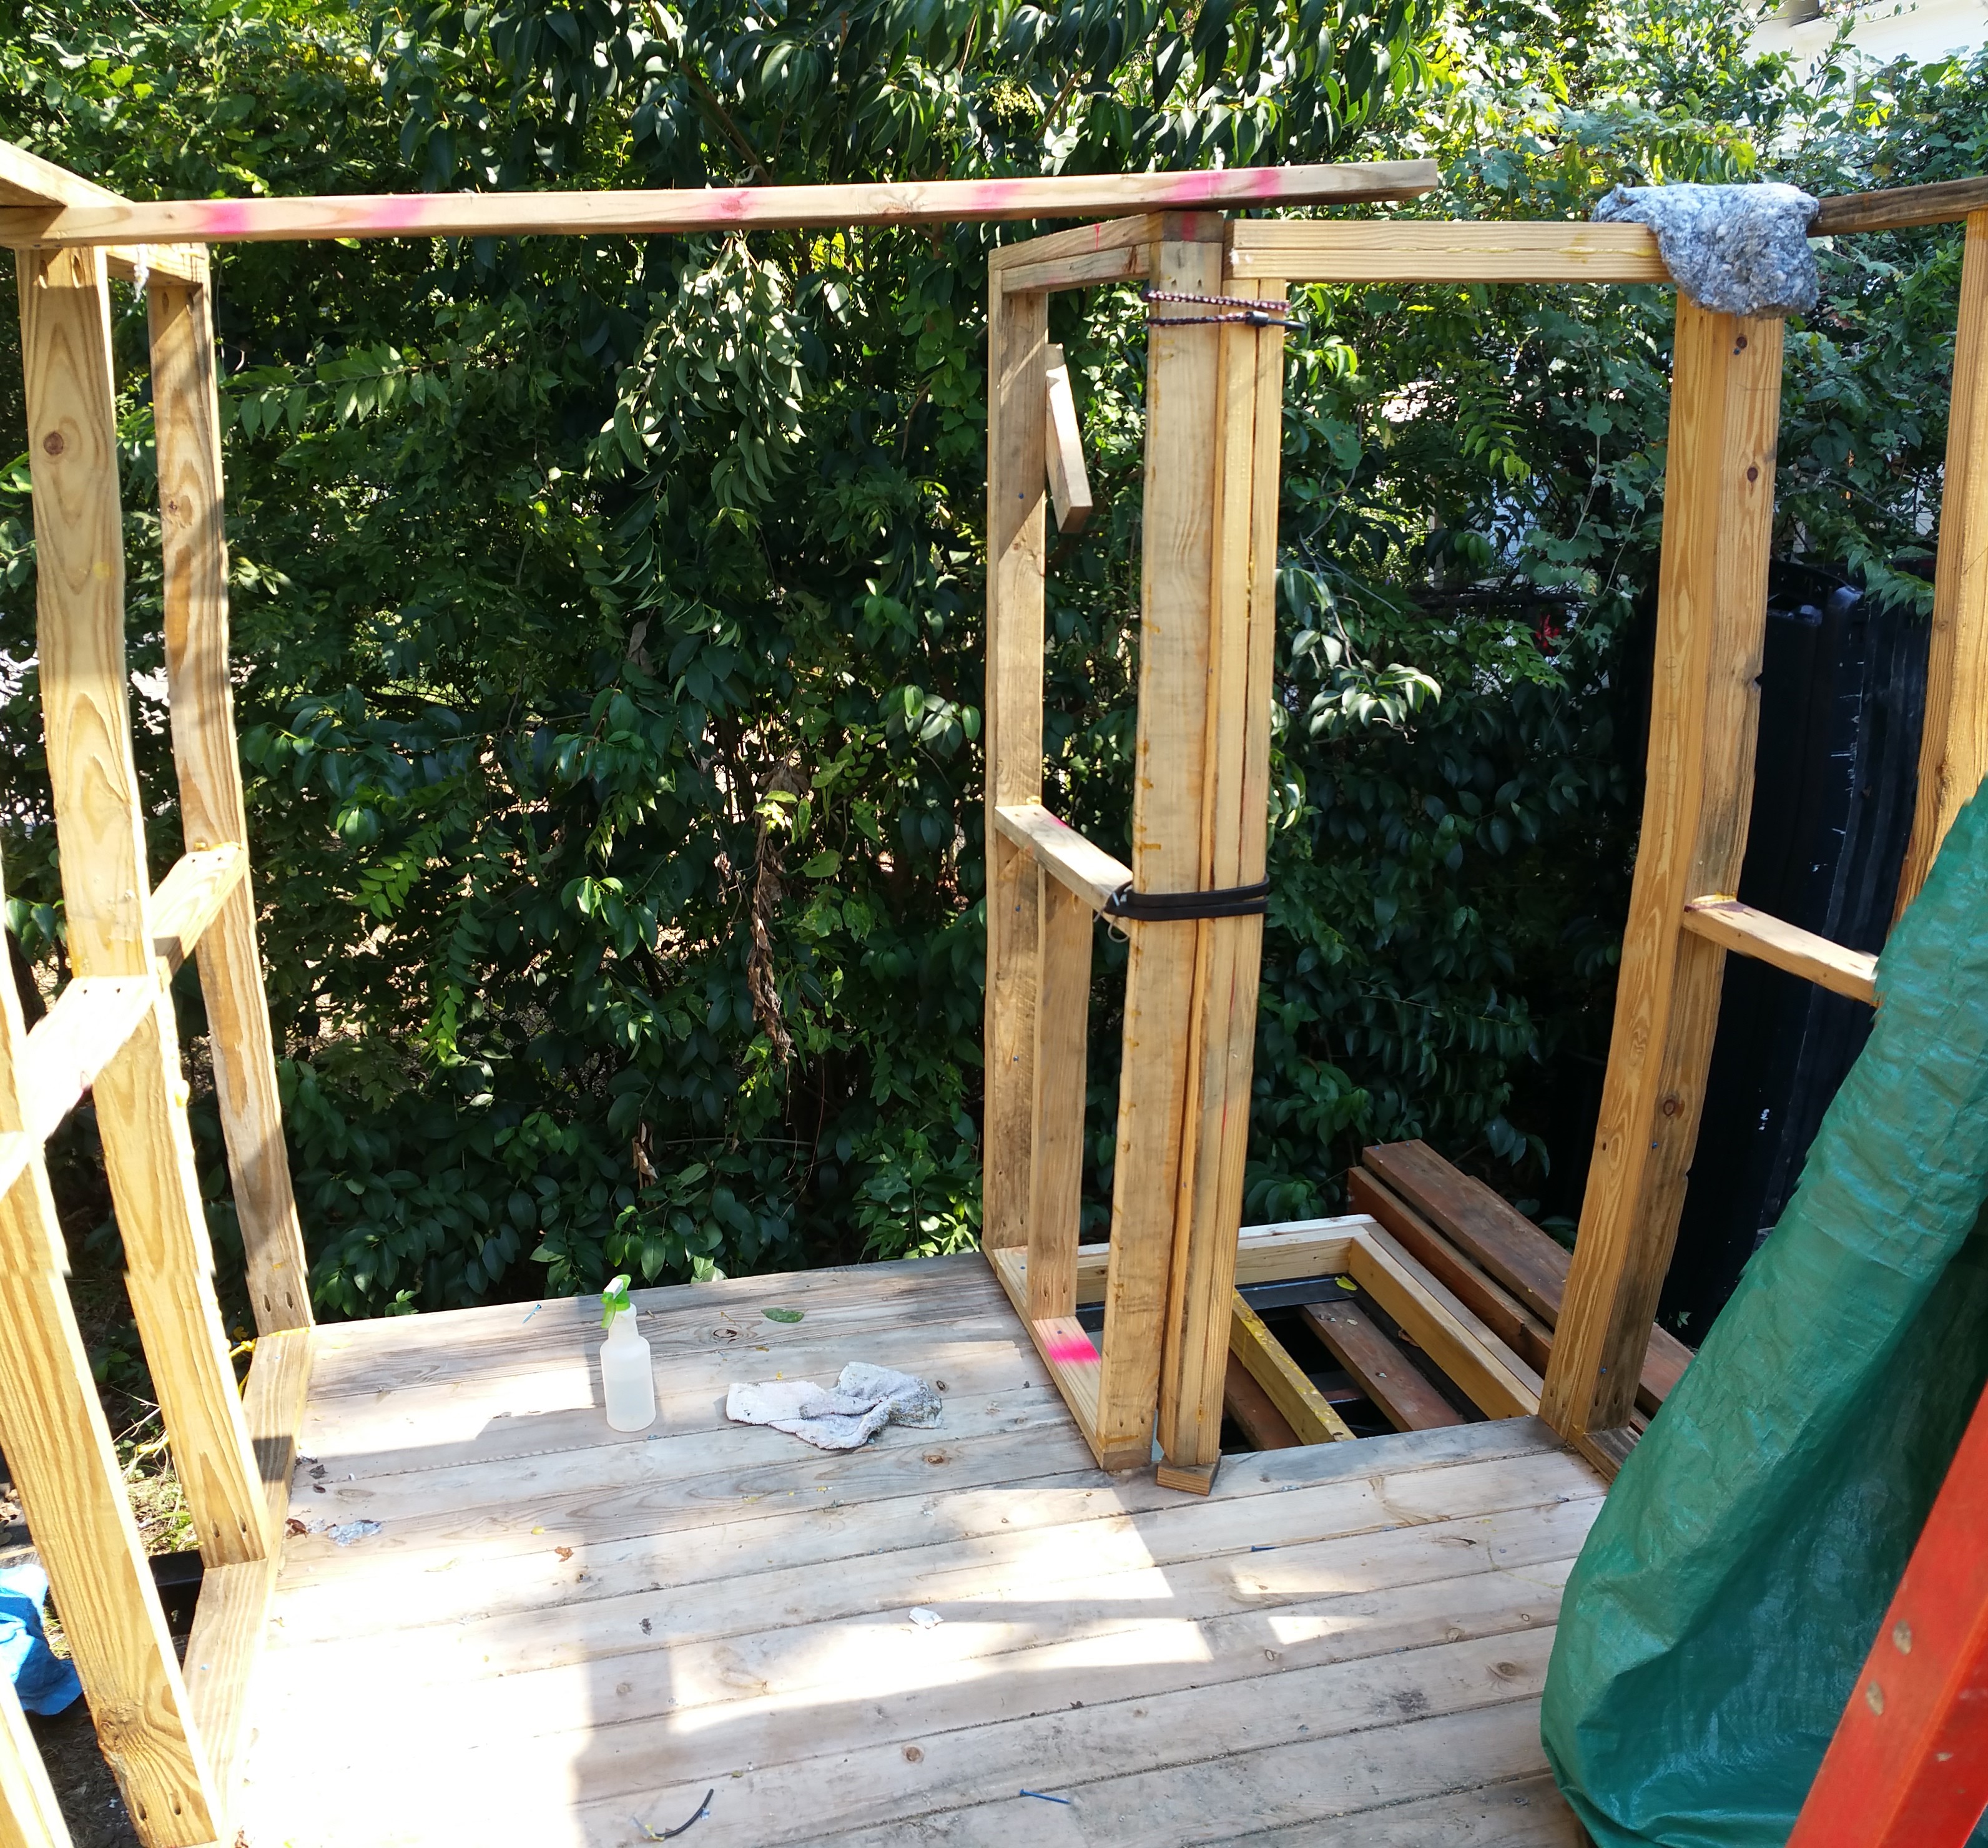
Looking from outside you can see the porch:
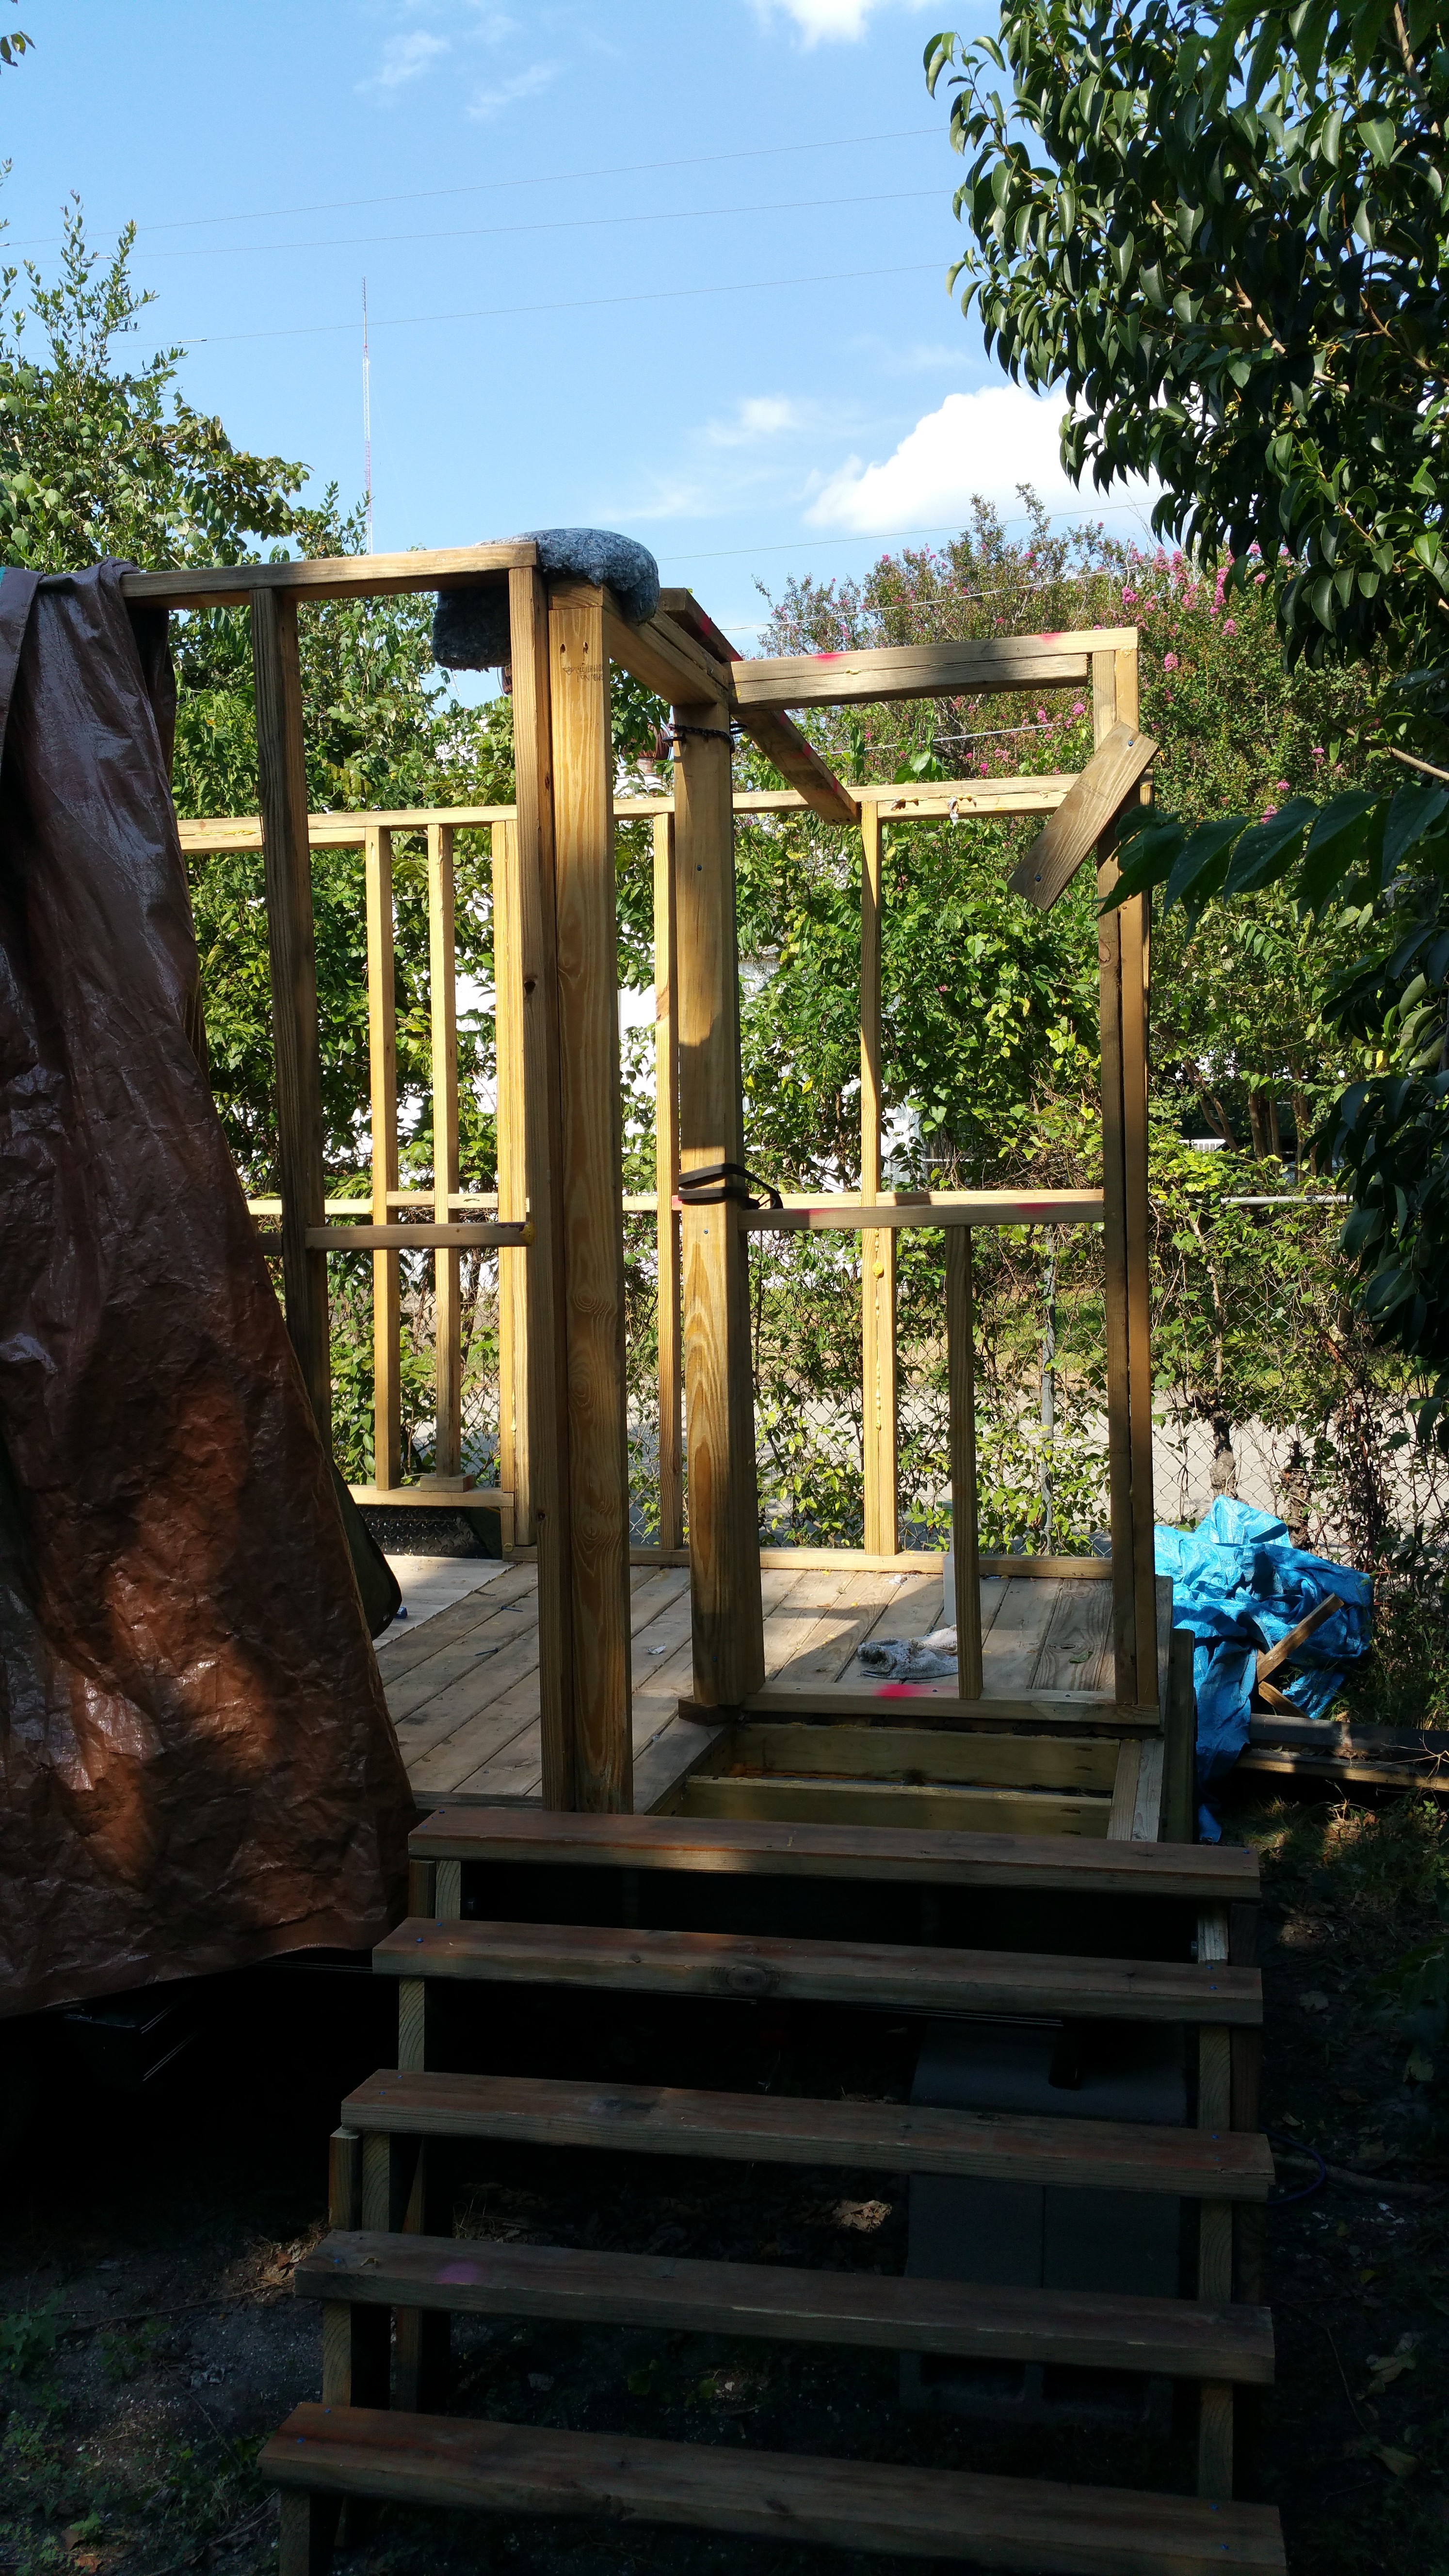
I moved the stairs over here because climbing through the wall was not very easy. Who’da thunk it?
Trying to walk on the porch (really a hole with one rafter across it) is not very easy. I’m thinking I need to install the trap door and flame-throwers sooner, so the porch will be usable.
I took the opportunity to square up and plumb two of the walls (the long one and the bedroom one). What this means is I measure a wall corner-to-corner diagonally, and then measure the other diagonal. They should be the same if the wall is square.
To plumb the wall, I check it with a level to make sure it is straight up-and-down. As a sanity check I also verified the angle between the wall and the floor, although with the floor being buckled and warped a bit from all the rain, I didn’t worry about it being perfect.
Next up is to square and plumb the second-longest wall, then start building the first-floor ceiling/loft floor. And the sixth wall.
Despite the soaking, I regrouped and moved ahead with building the 5th wall.
Assembly went fairly quickly, however I’m starting to run out of wood(!). I had to scrounge around a bit to find the wood for the crossbeams.
A bit of glue and screws later, it was assembled:
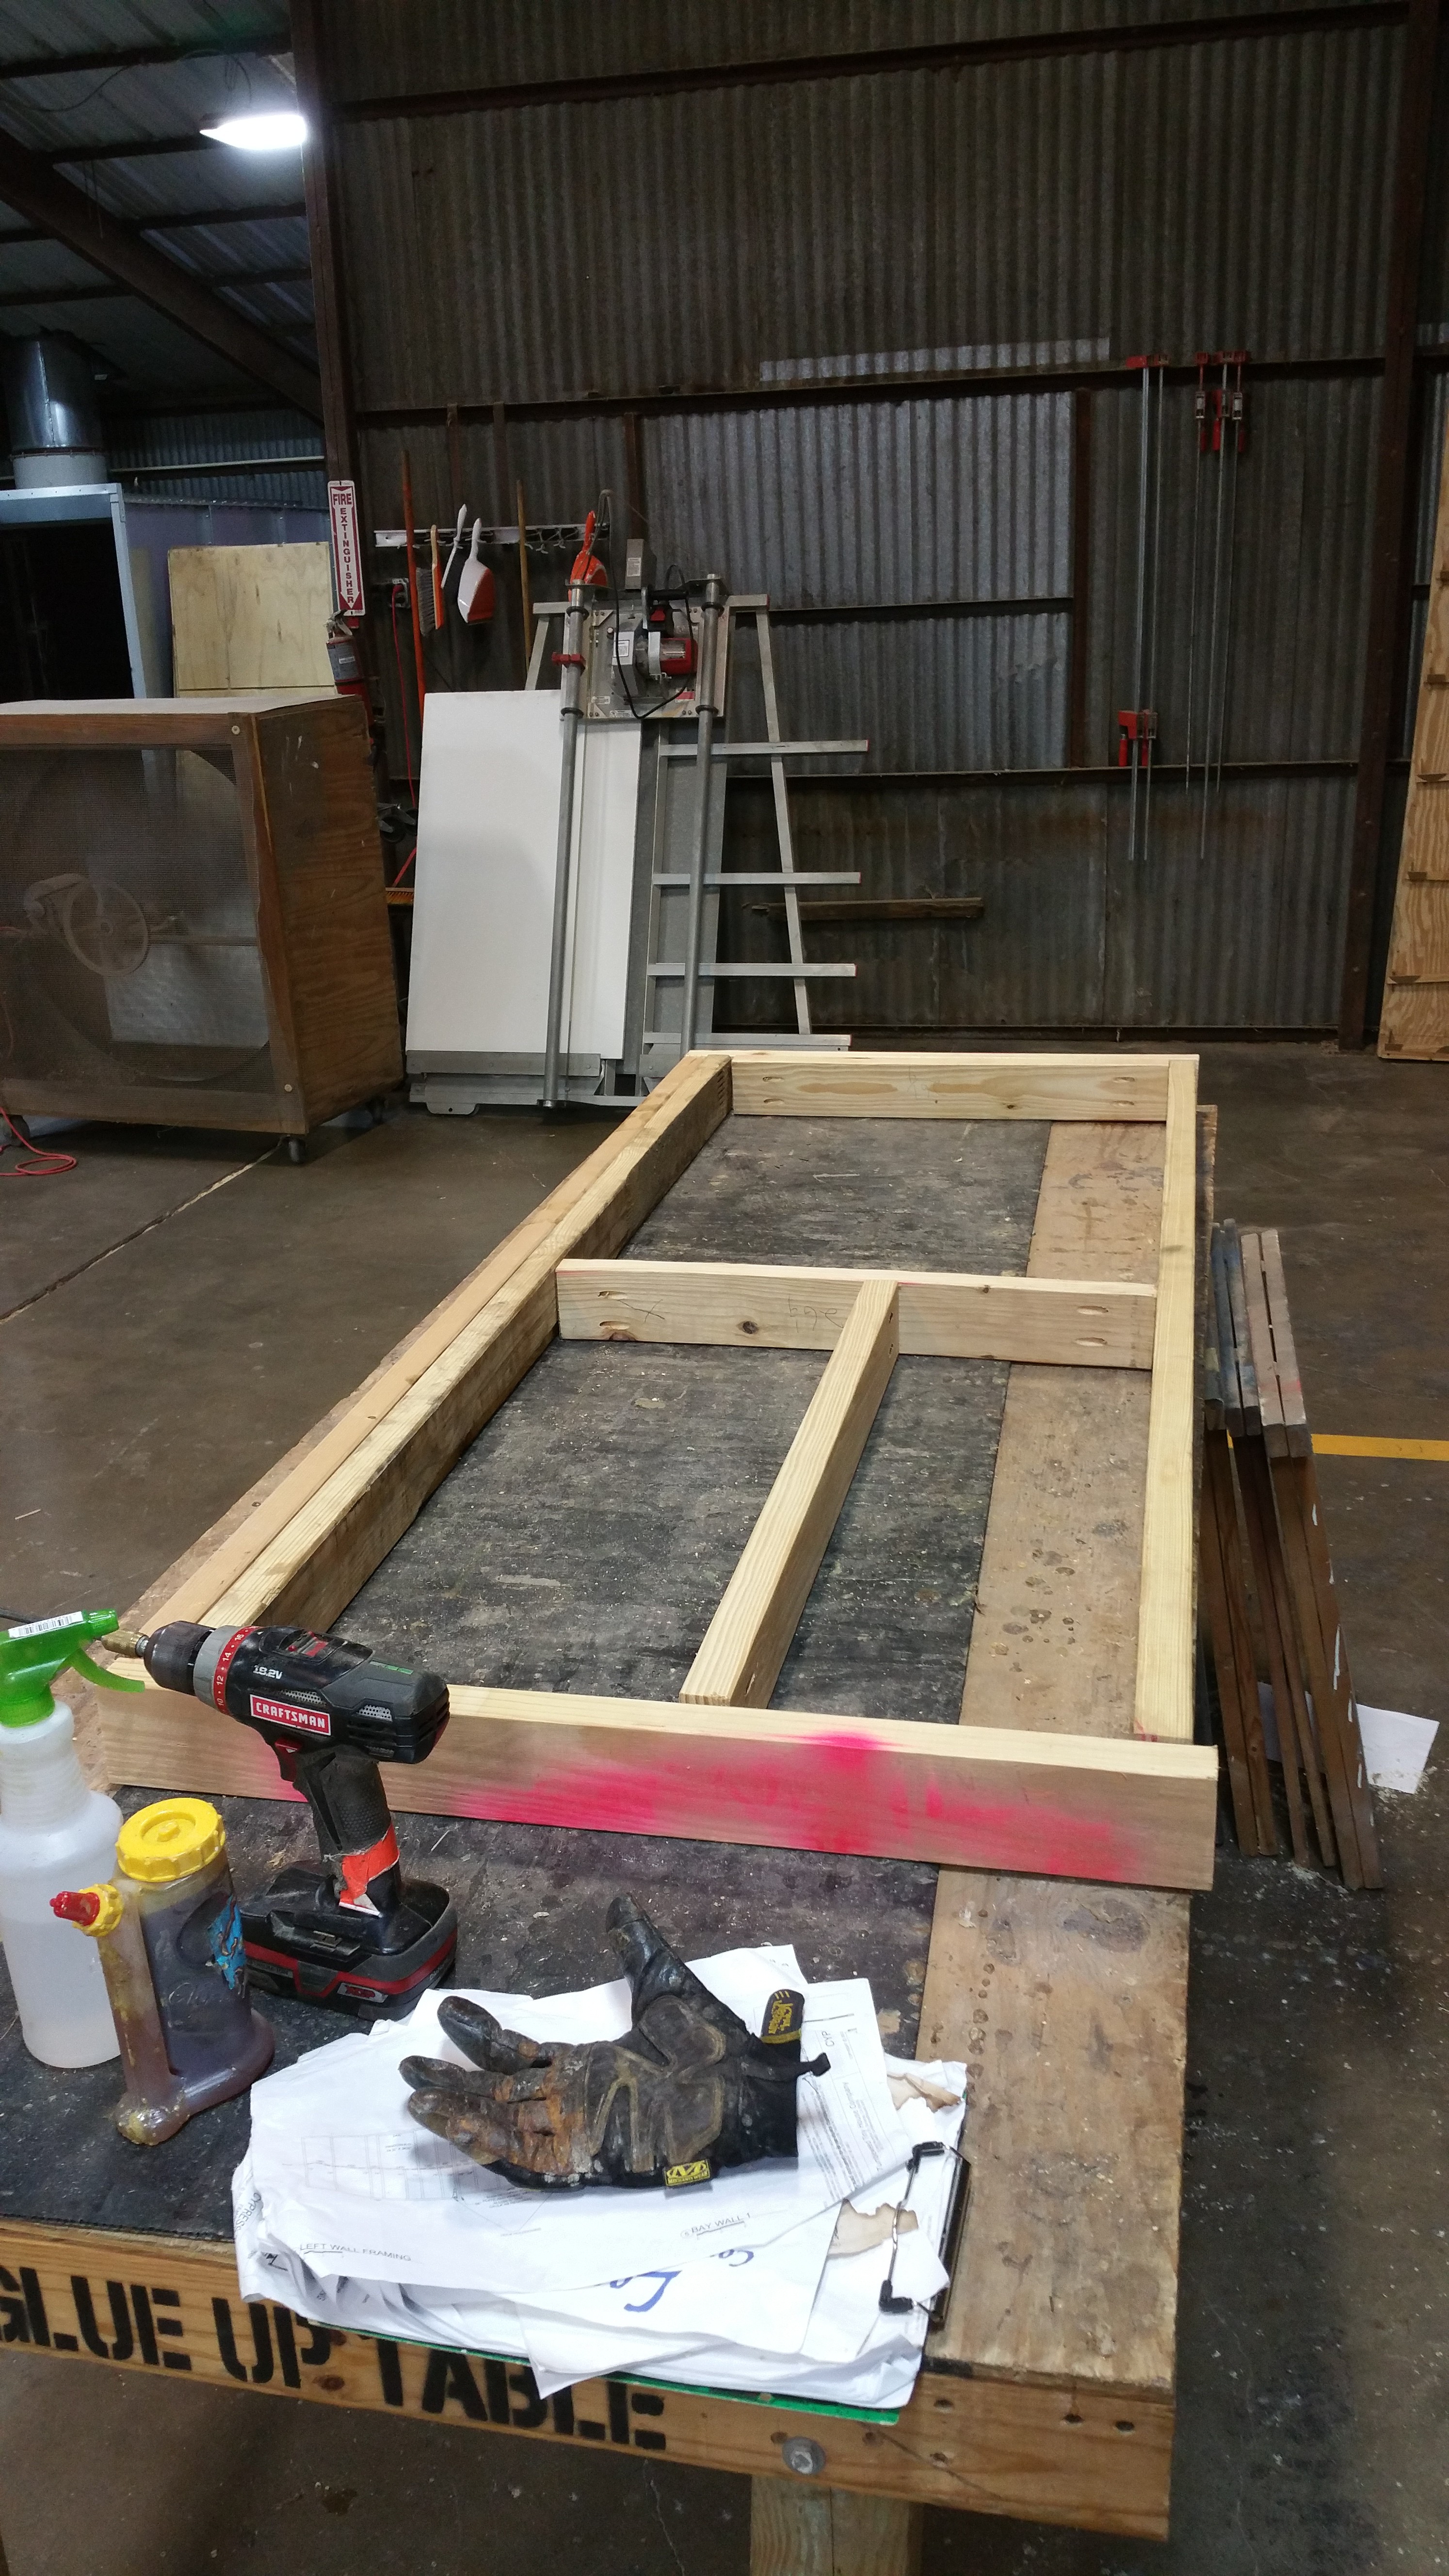
Then I made sure it was square (measuring diagonally from corner to corner) and then nailed on some scraps to keep it that way until I could install it.
I ran out of time to install it, so that will have to wait for next time.
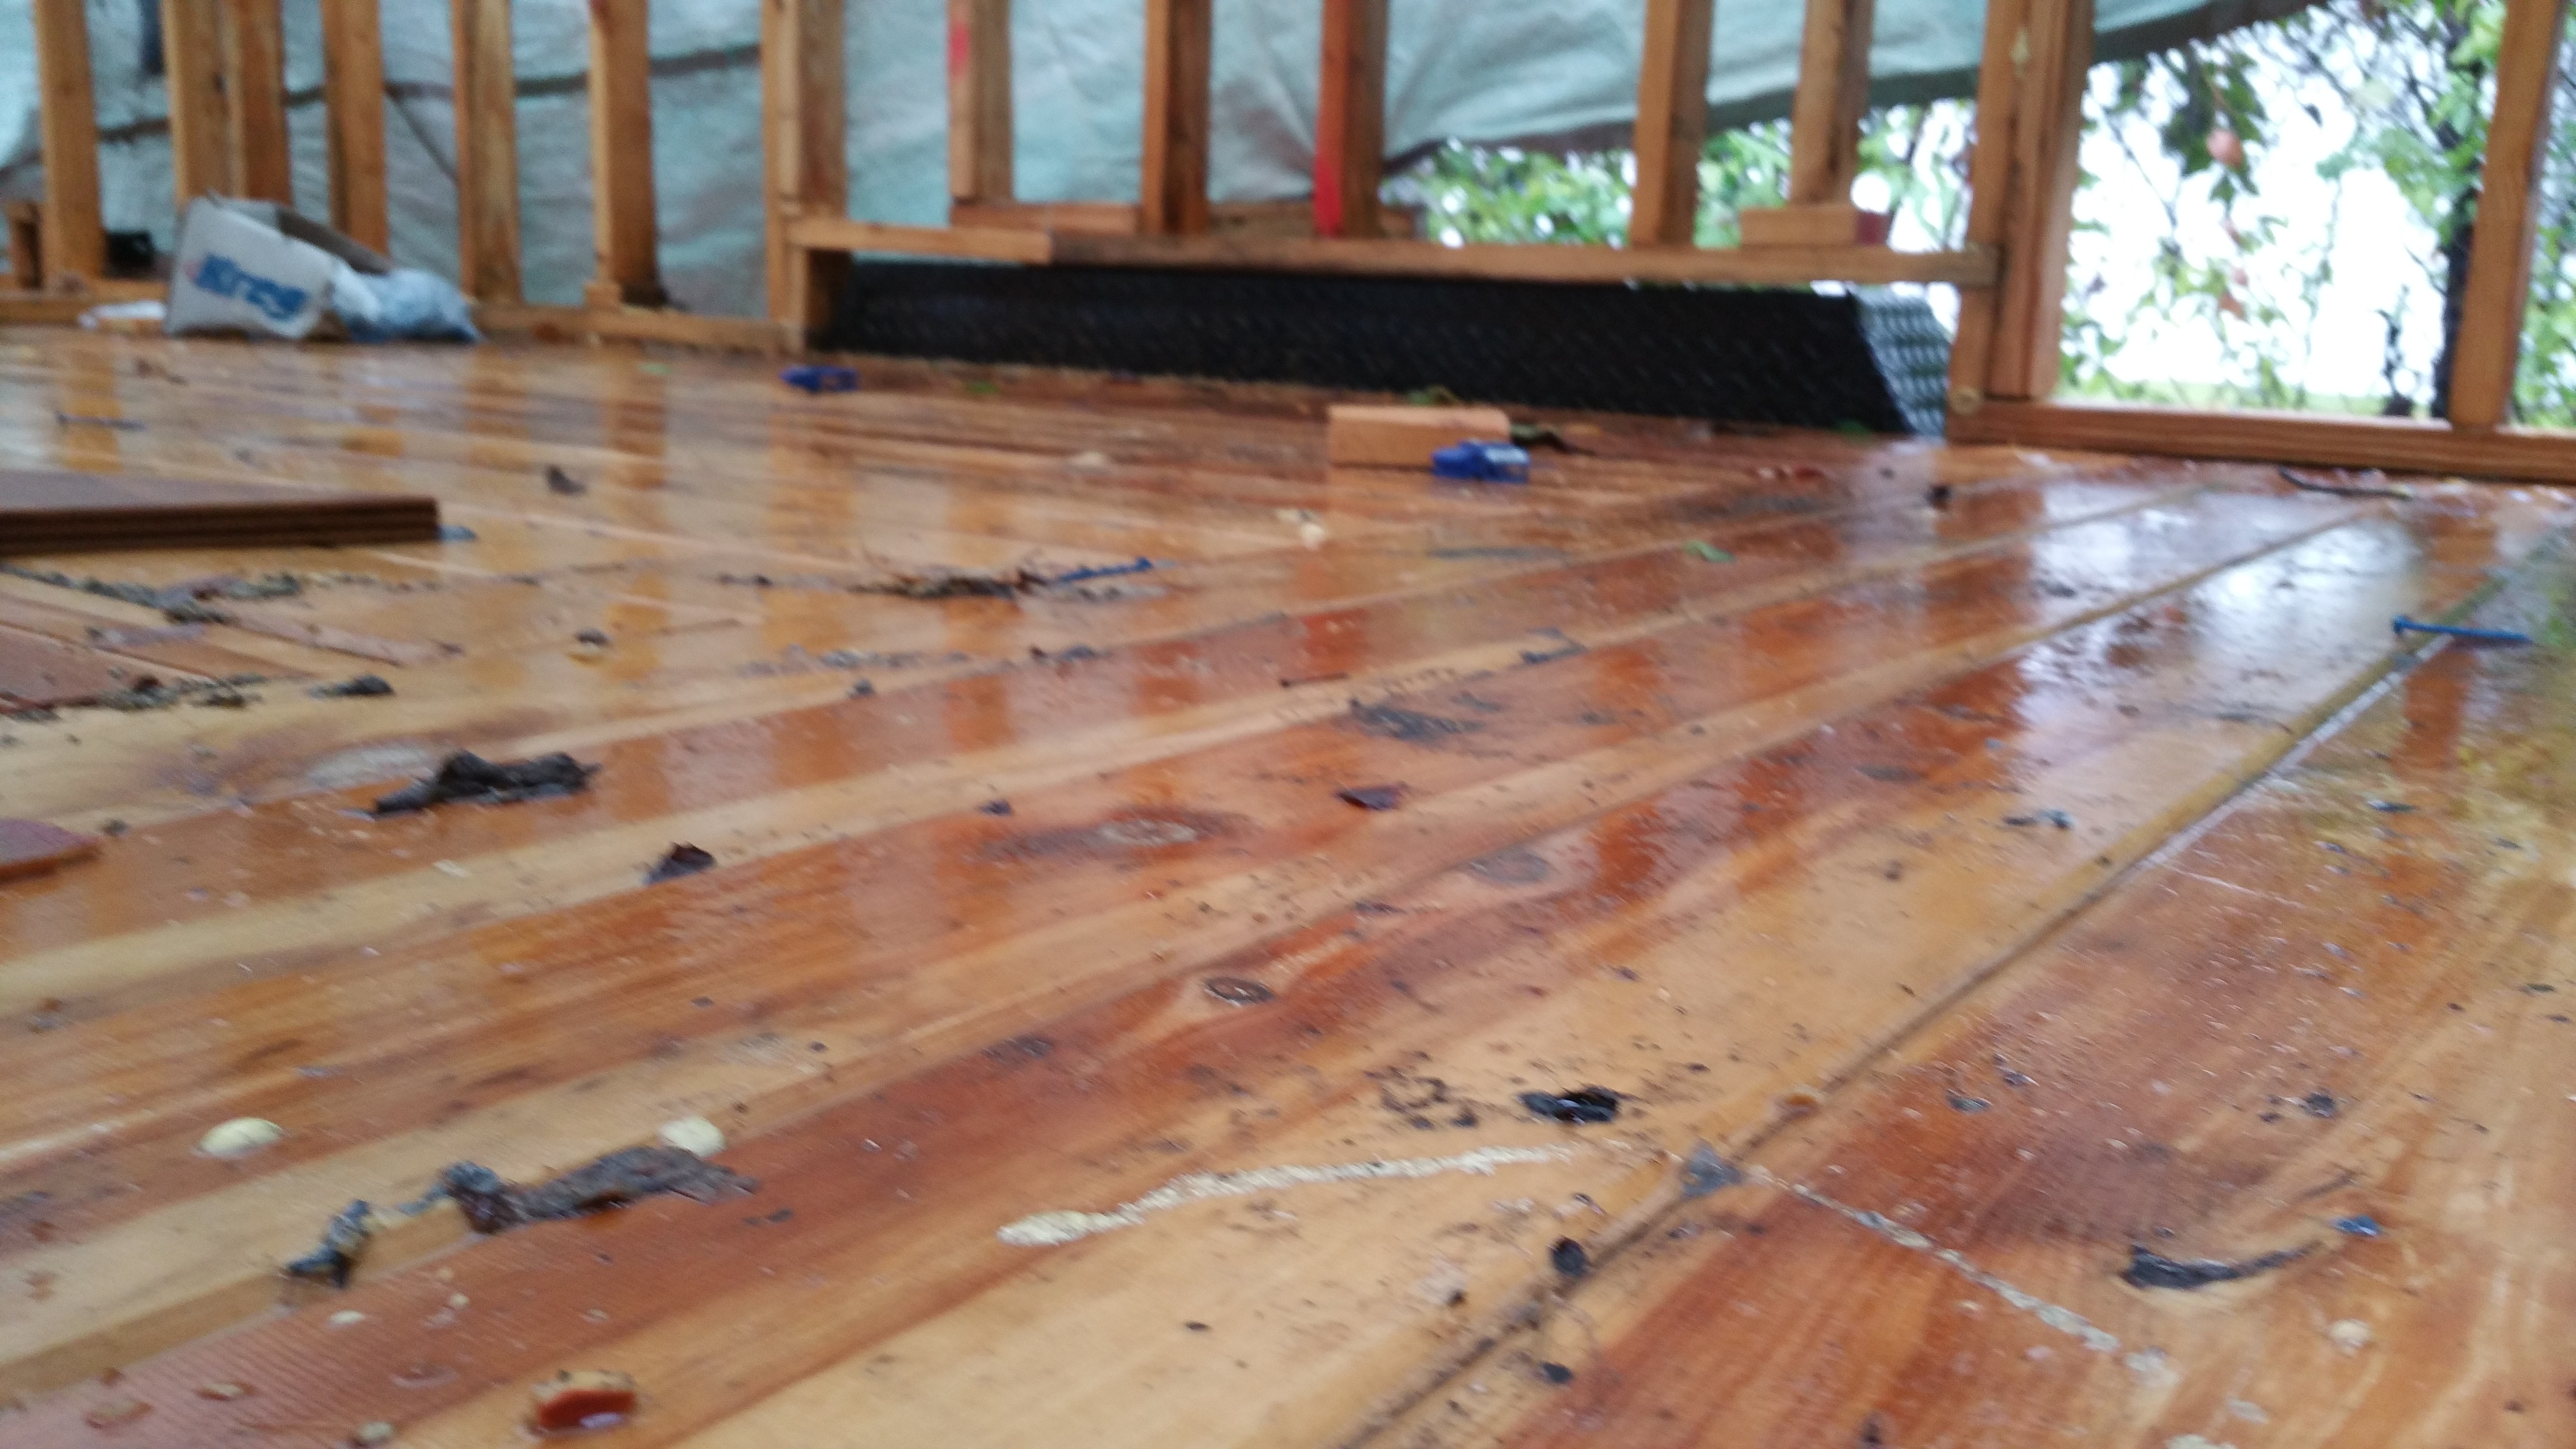
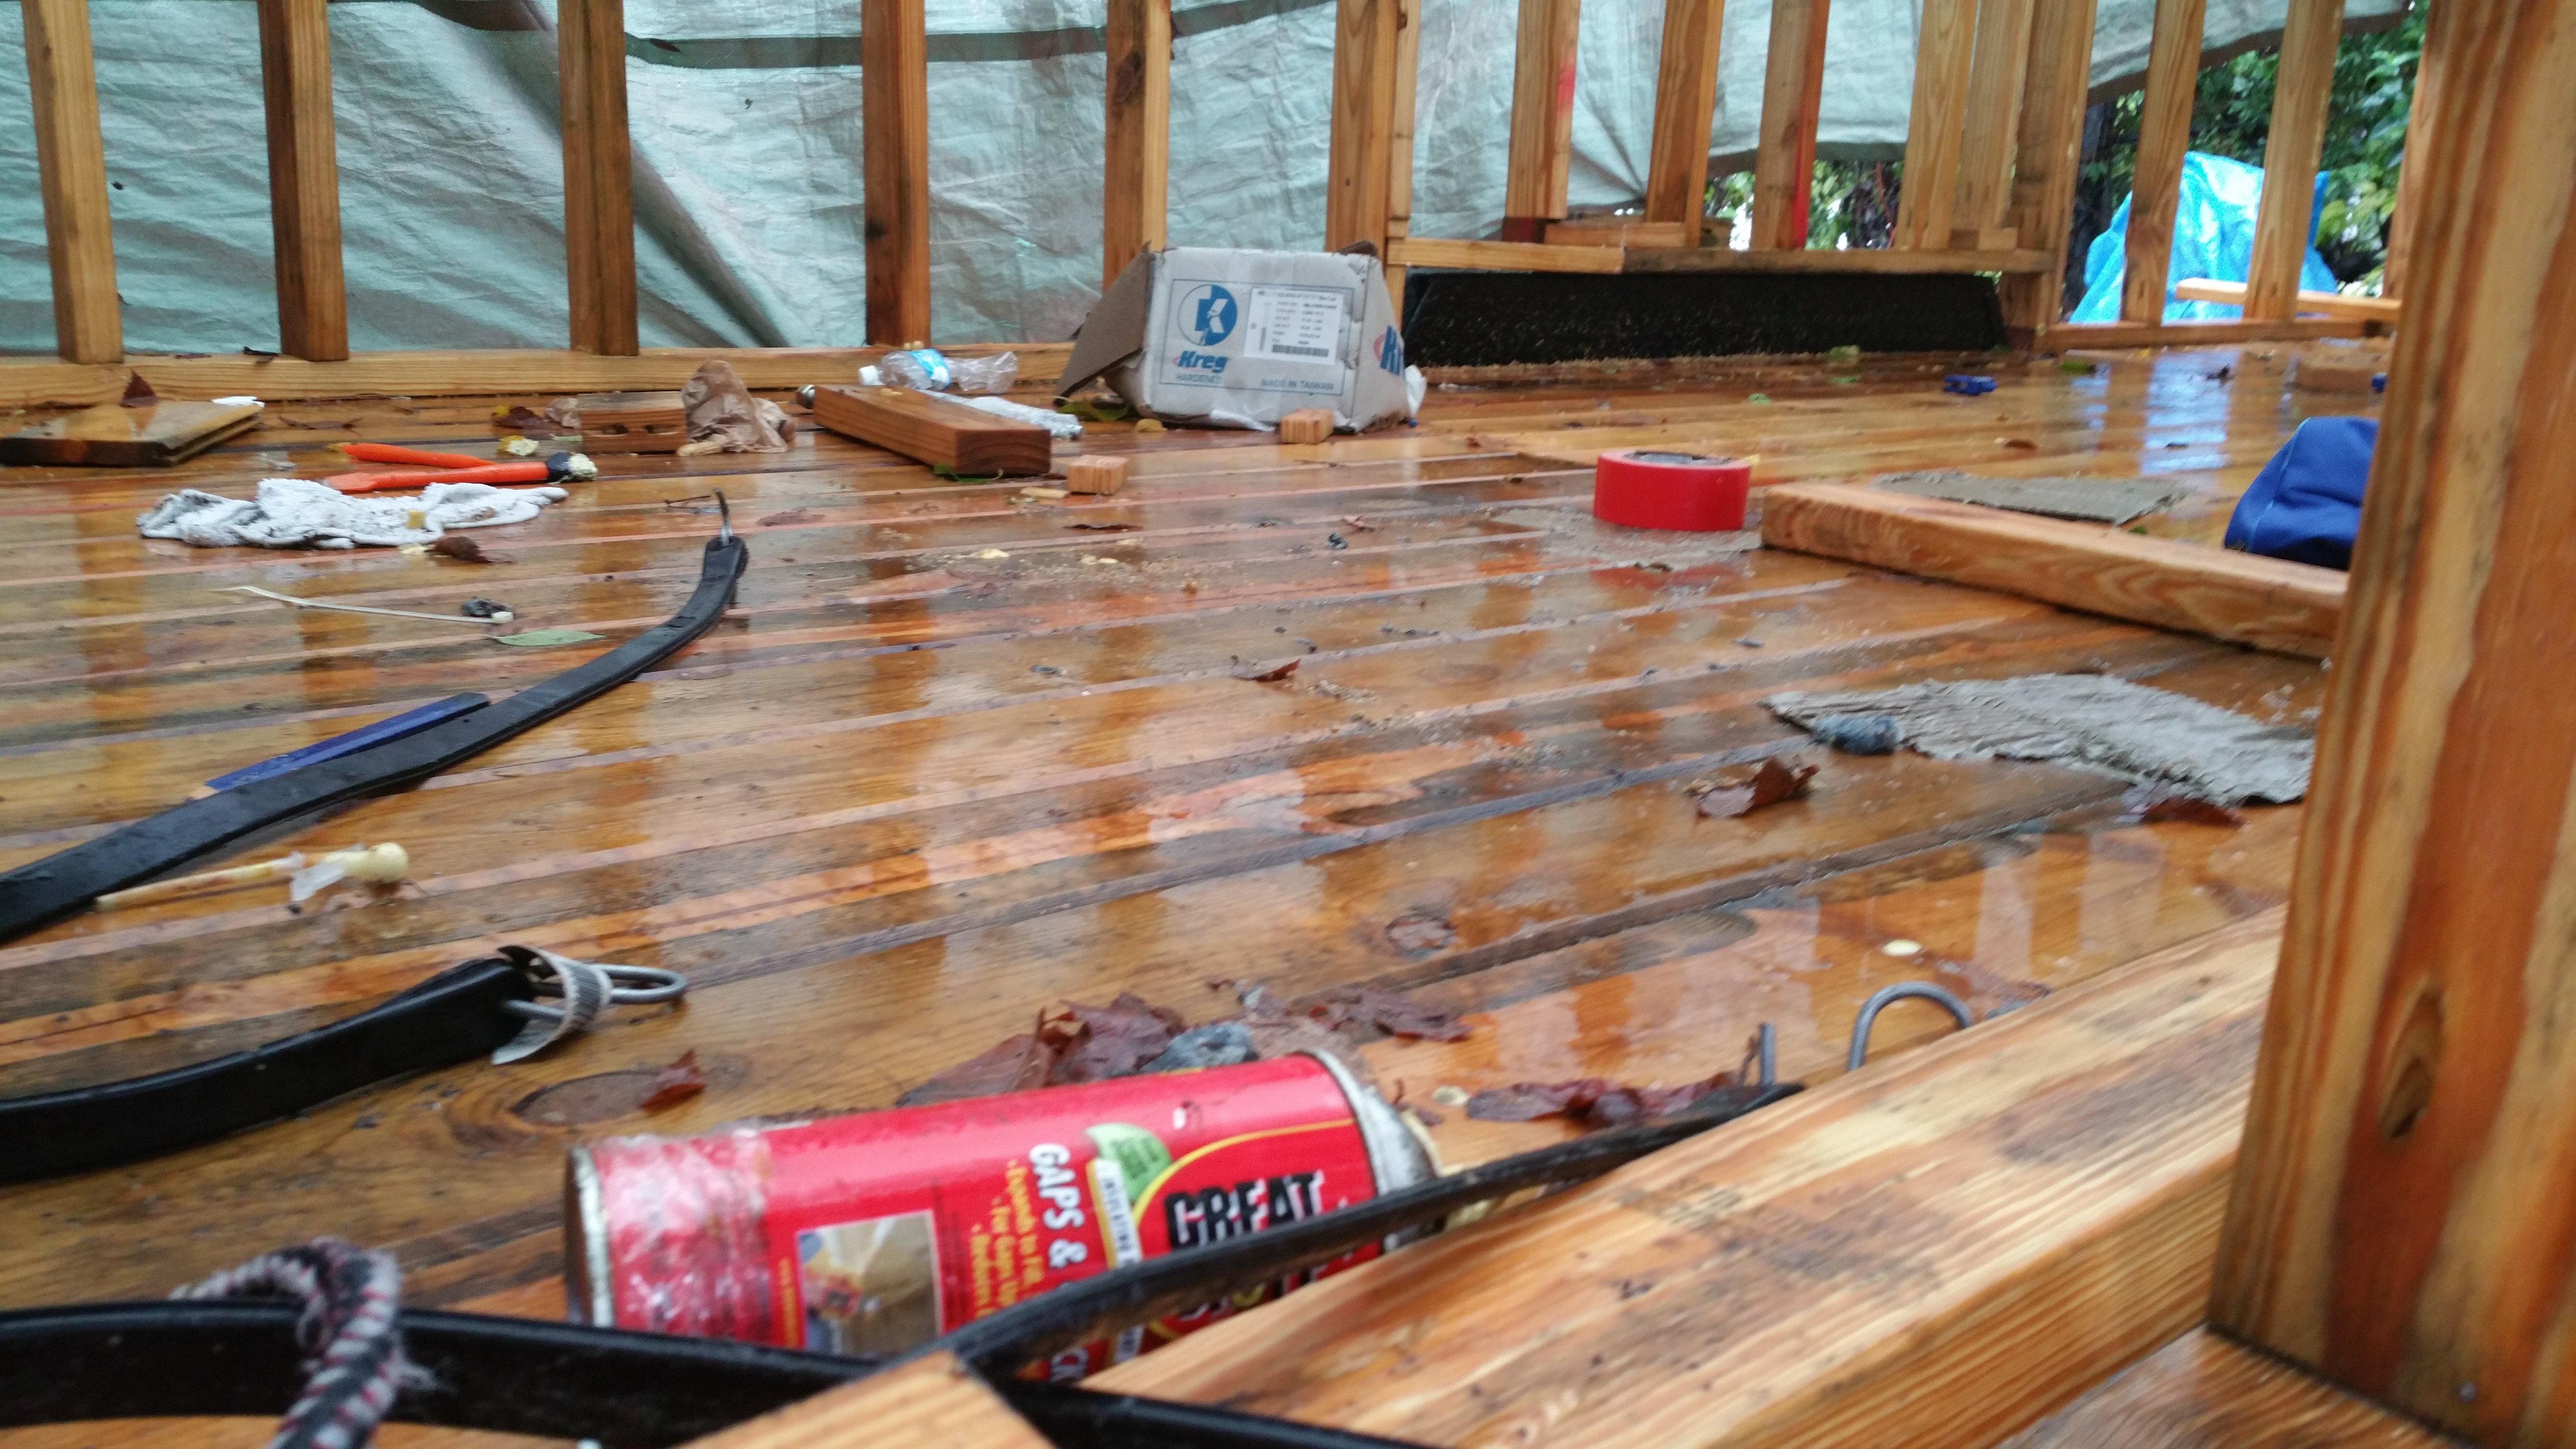
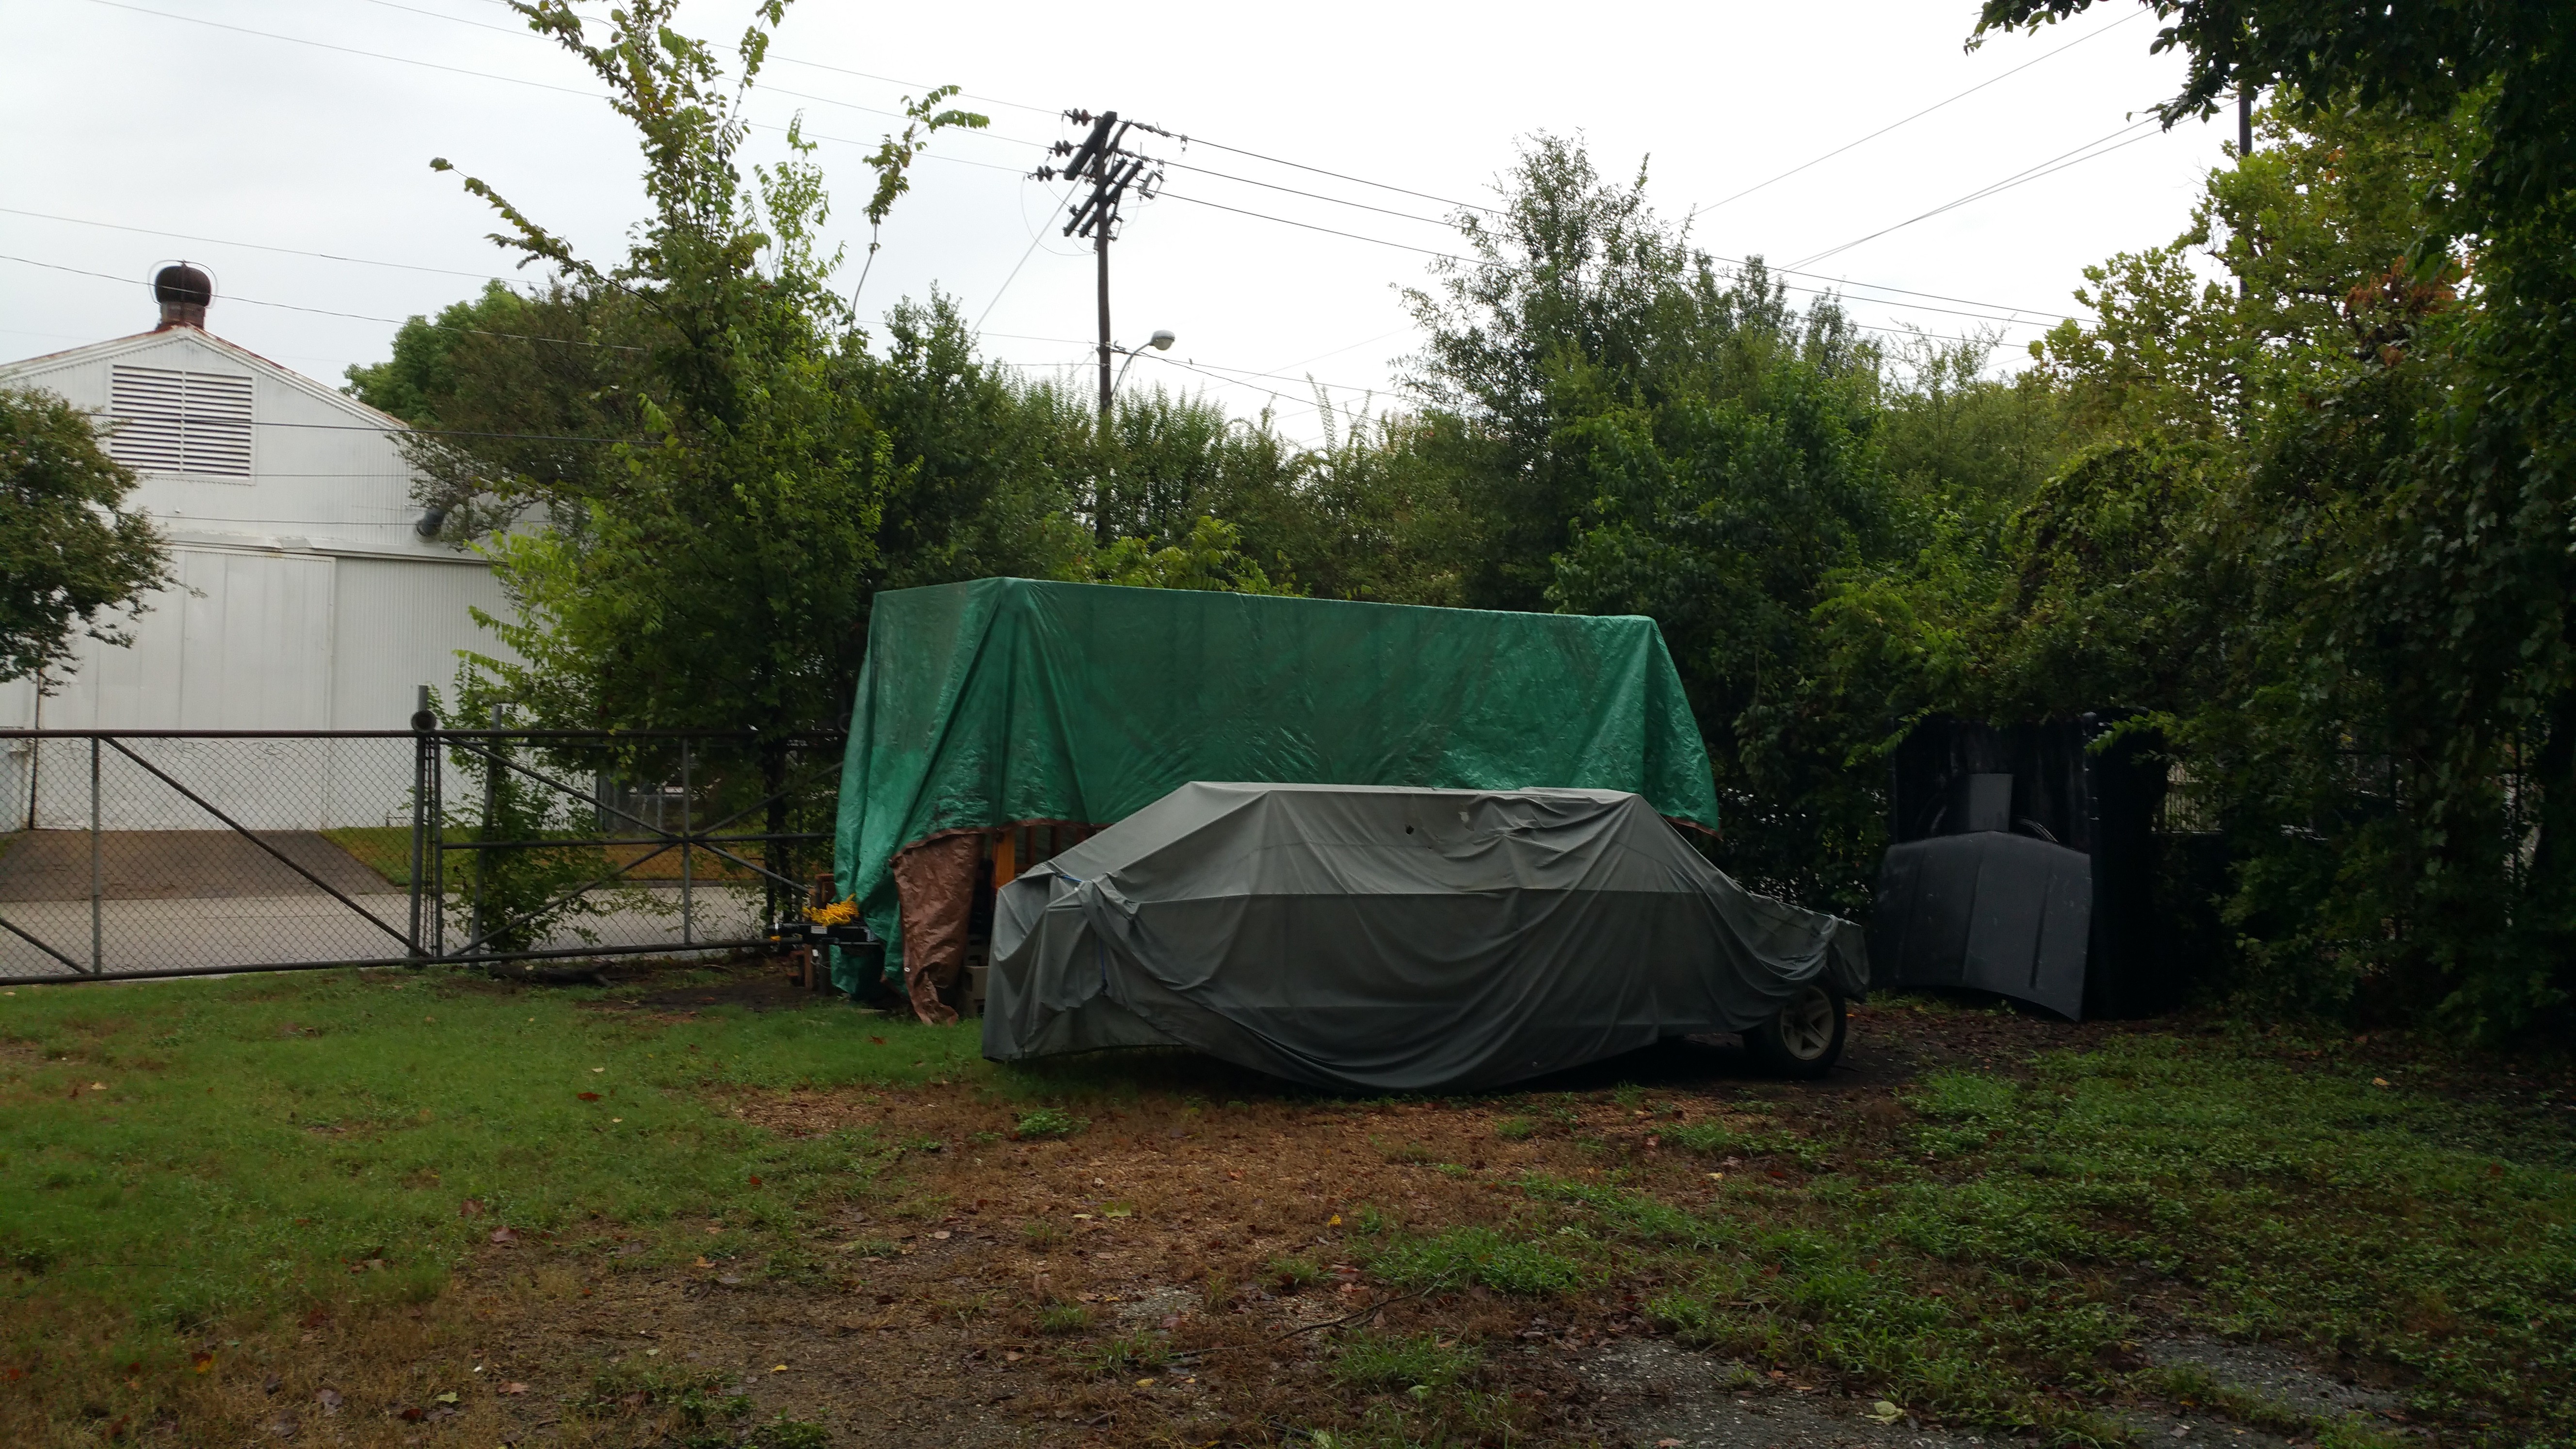
We got a strong rainstorm yesterday, and my worst fear was realized. I’d neglected to tie down one side of the tarp, so the wind must’ve picked it up and flipped it (the tarp) over the side of the house, exposing everything.
Then it rained long and hard, soaking the walls and floor. As far as I know, two “compartments” in the floor got water in them, maybe more.
I repositioned the tarp and tied it down, but noticed it is full of holes. It is disintegrating from being out in the sun for so long.
The only thing to do is wait for the rain to stop and let the surface dry out. Eventually those compartments in the floor will mold (the insulation seems to be very good at resisting mold), so I’ll have to open up them up from the bottom and take out the insulation so I can dry everything out.
Next steps? Plow ahead! I’d been afraid of getting the floor wet since I laid it down and now I don’t have to worry about it!
This weekend I plan on squaring the walls and bolting them down (using the brackets I made) next.