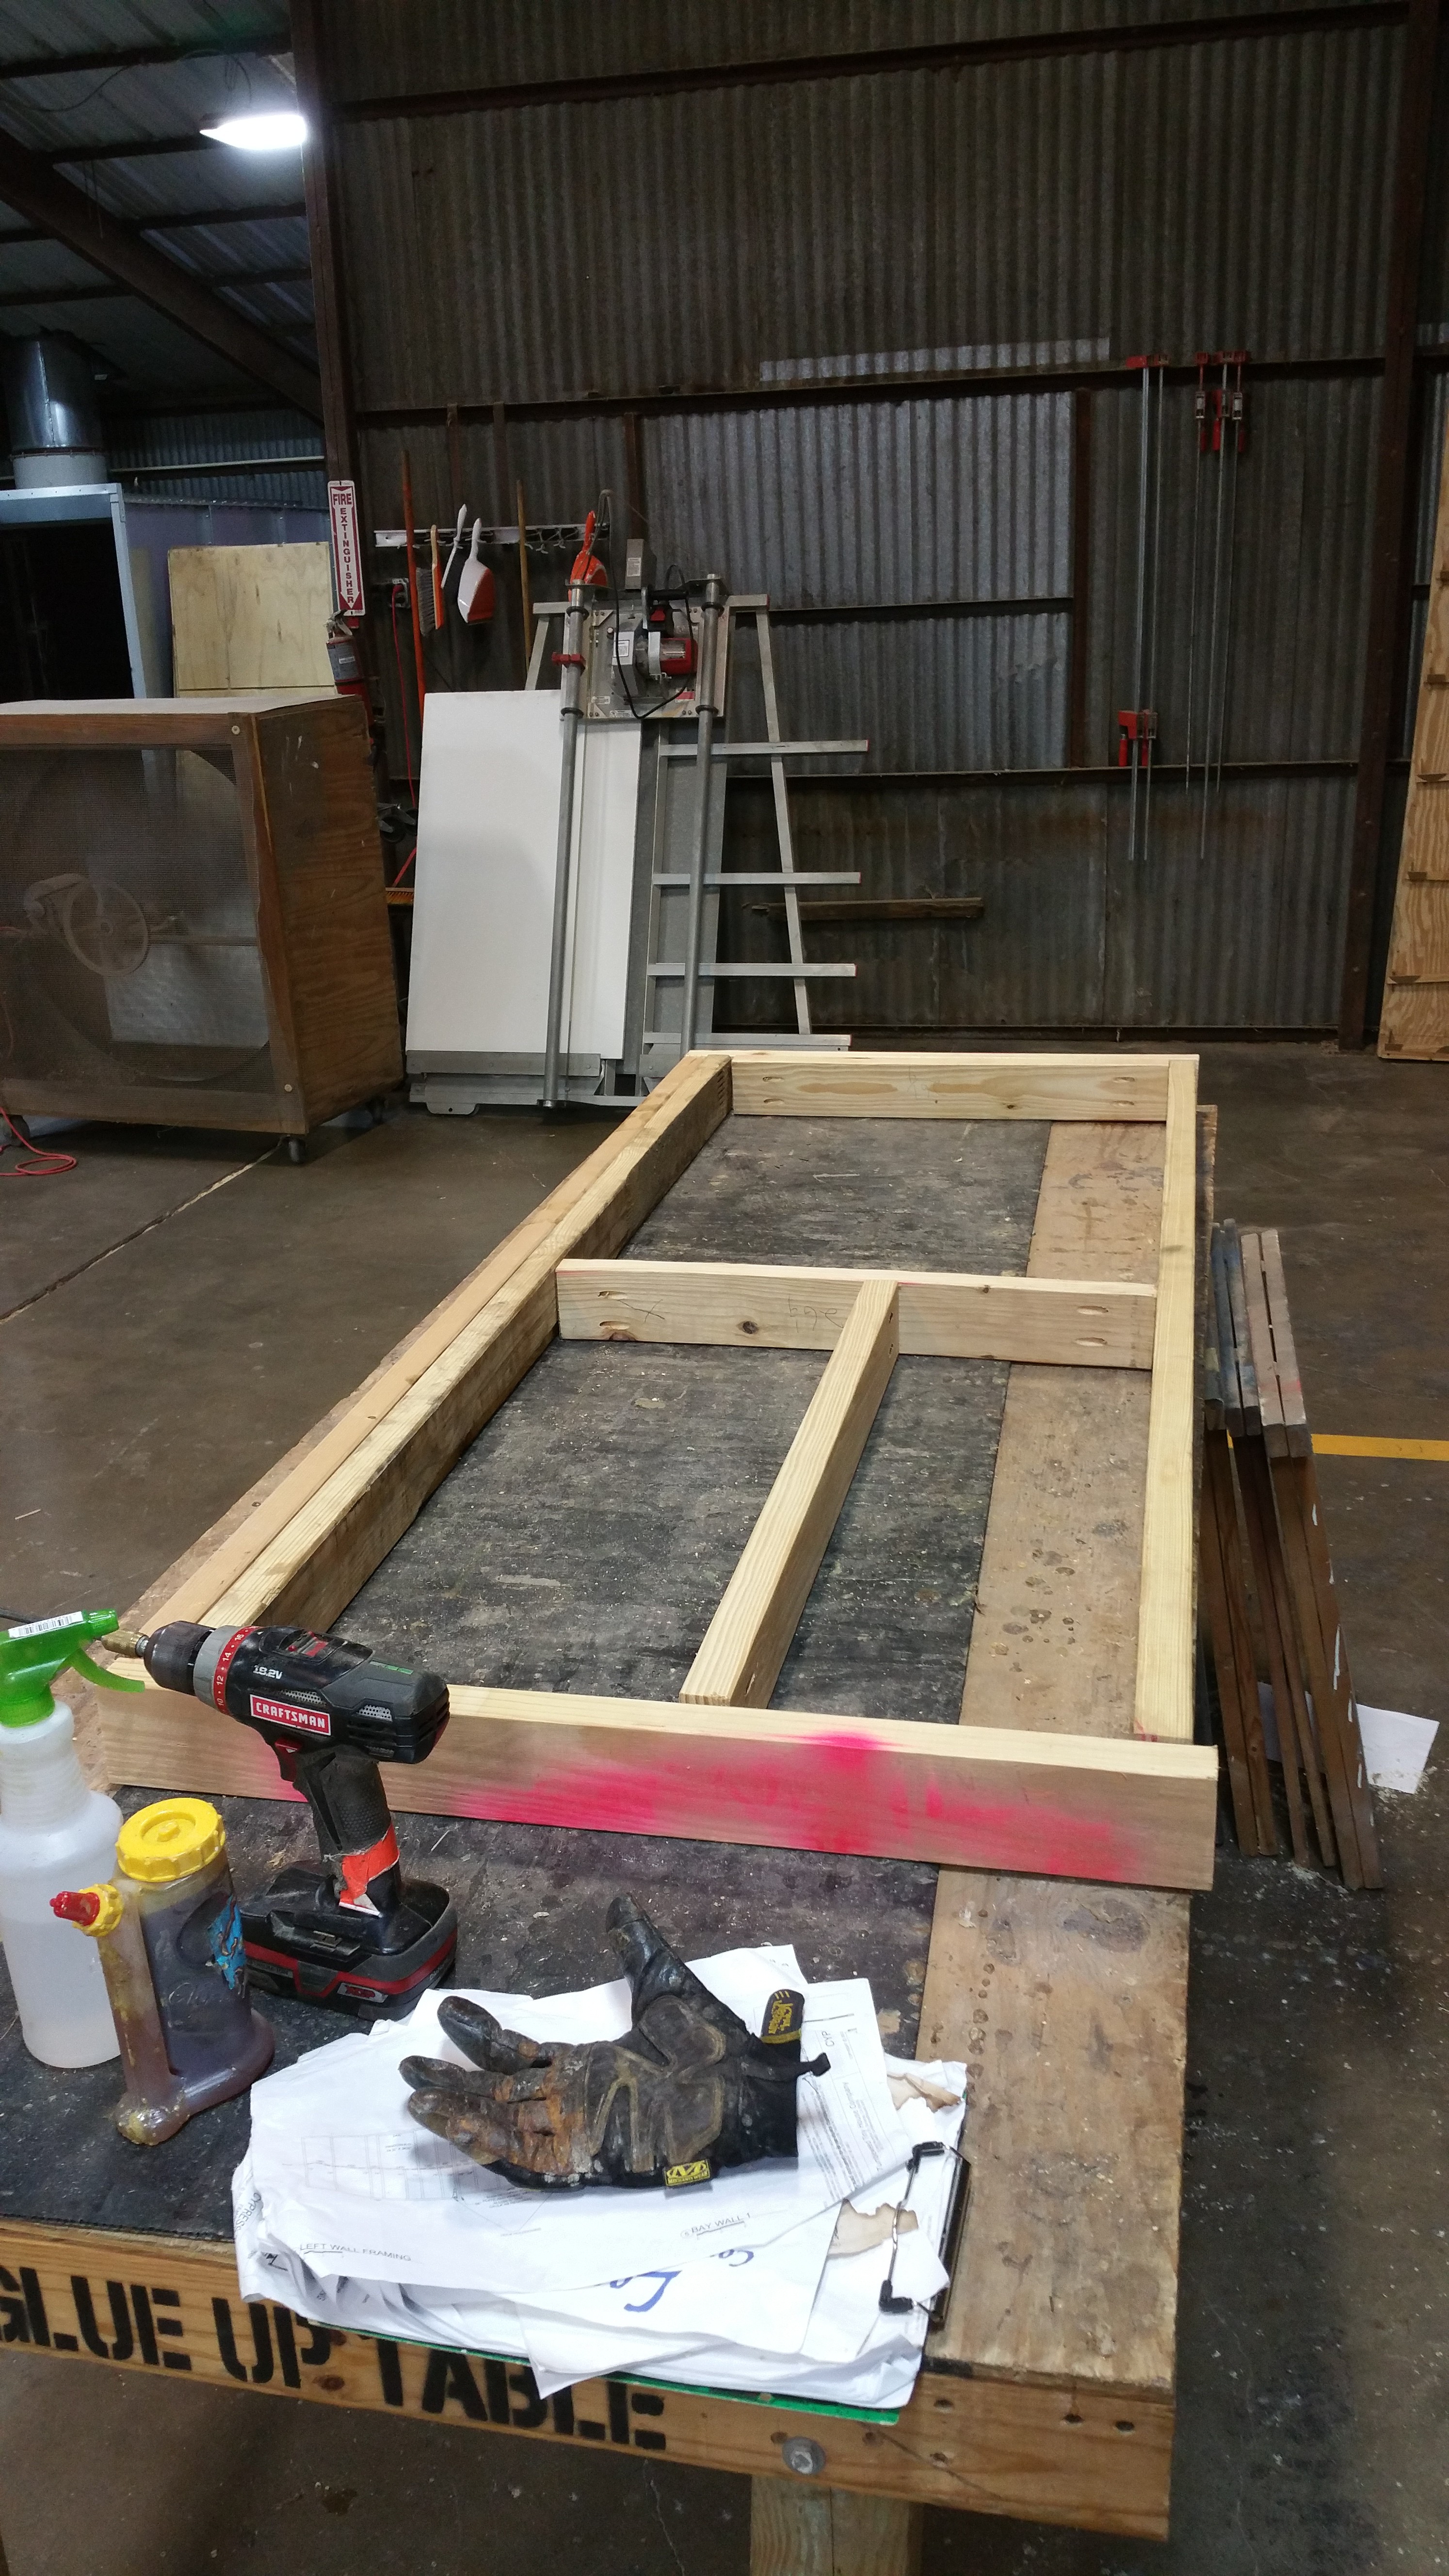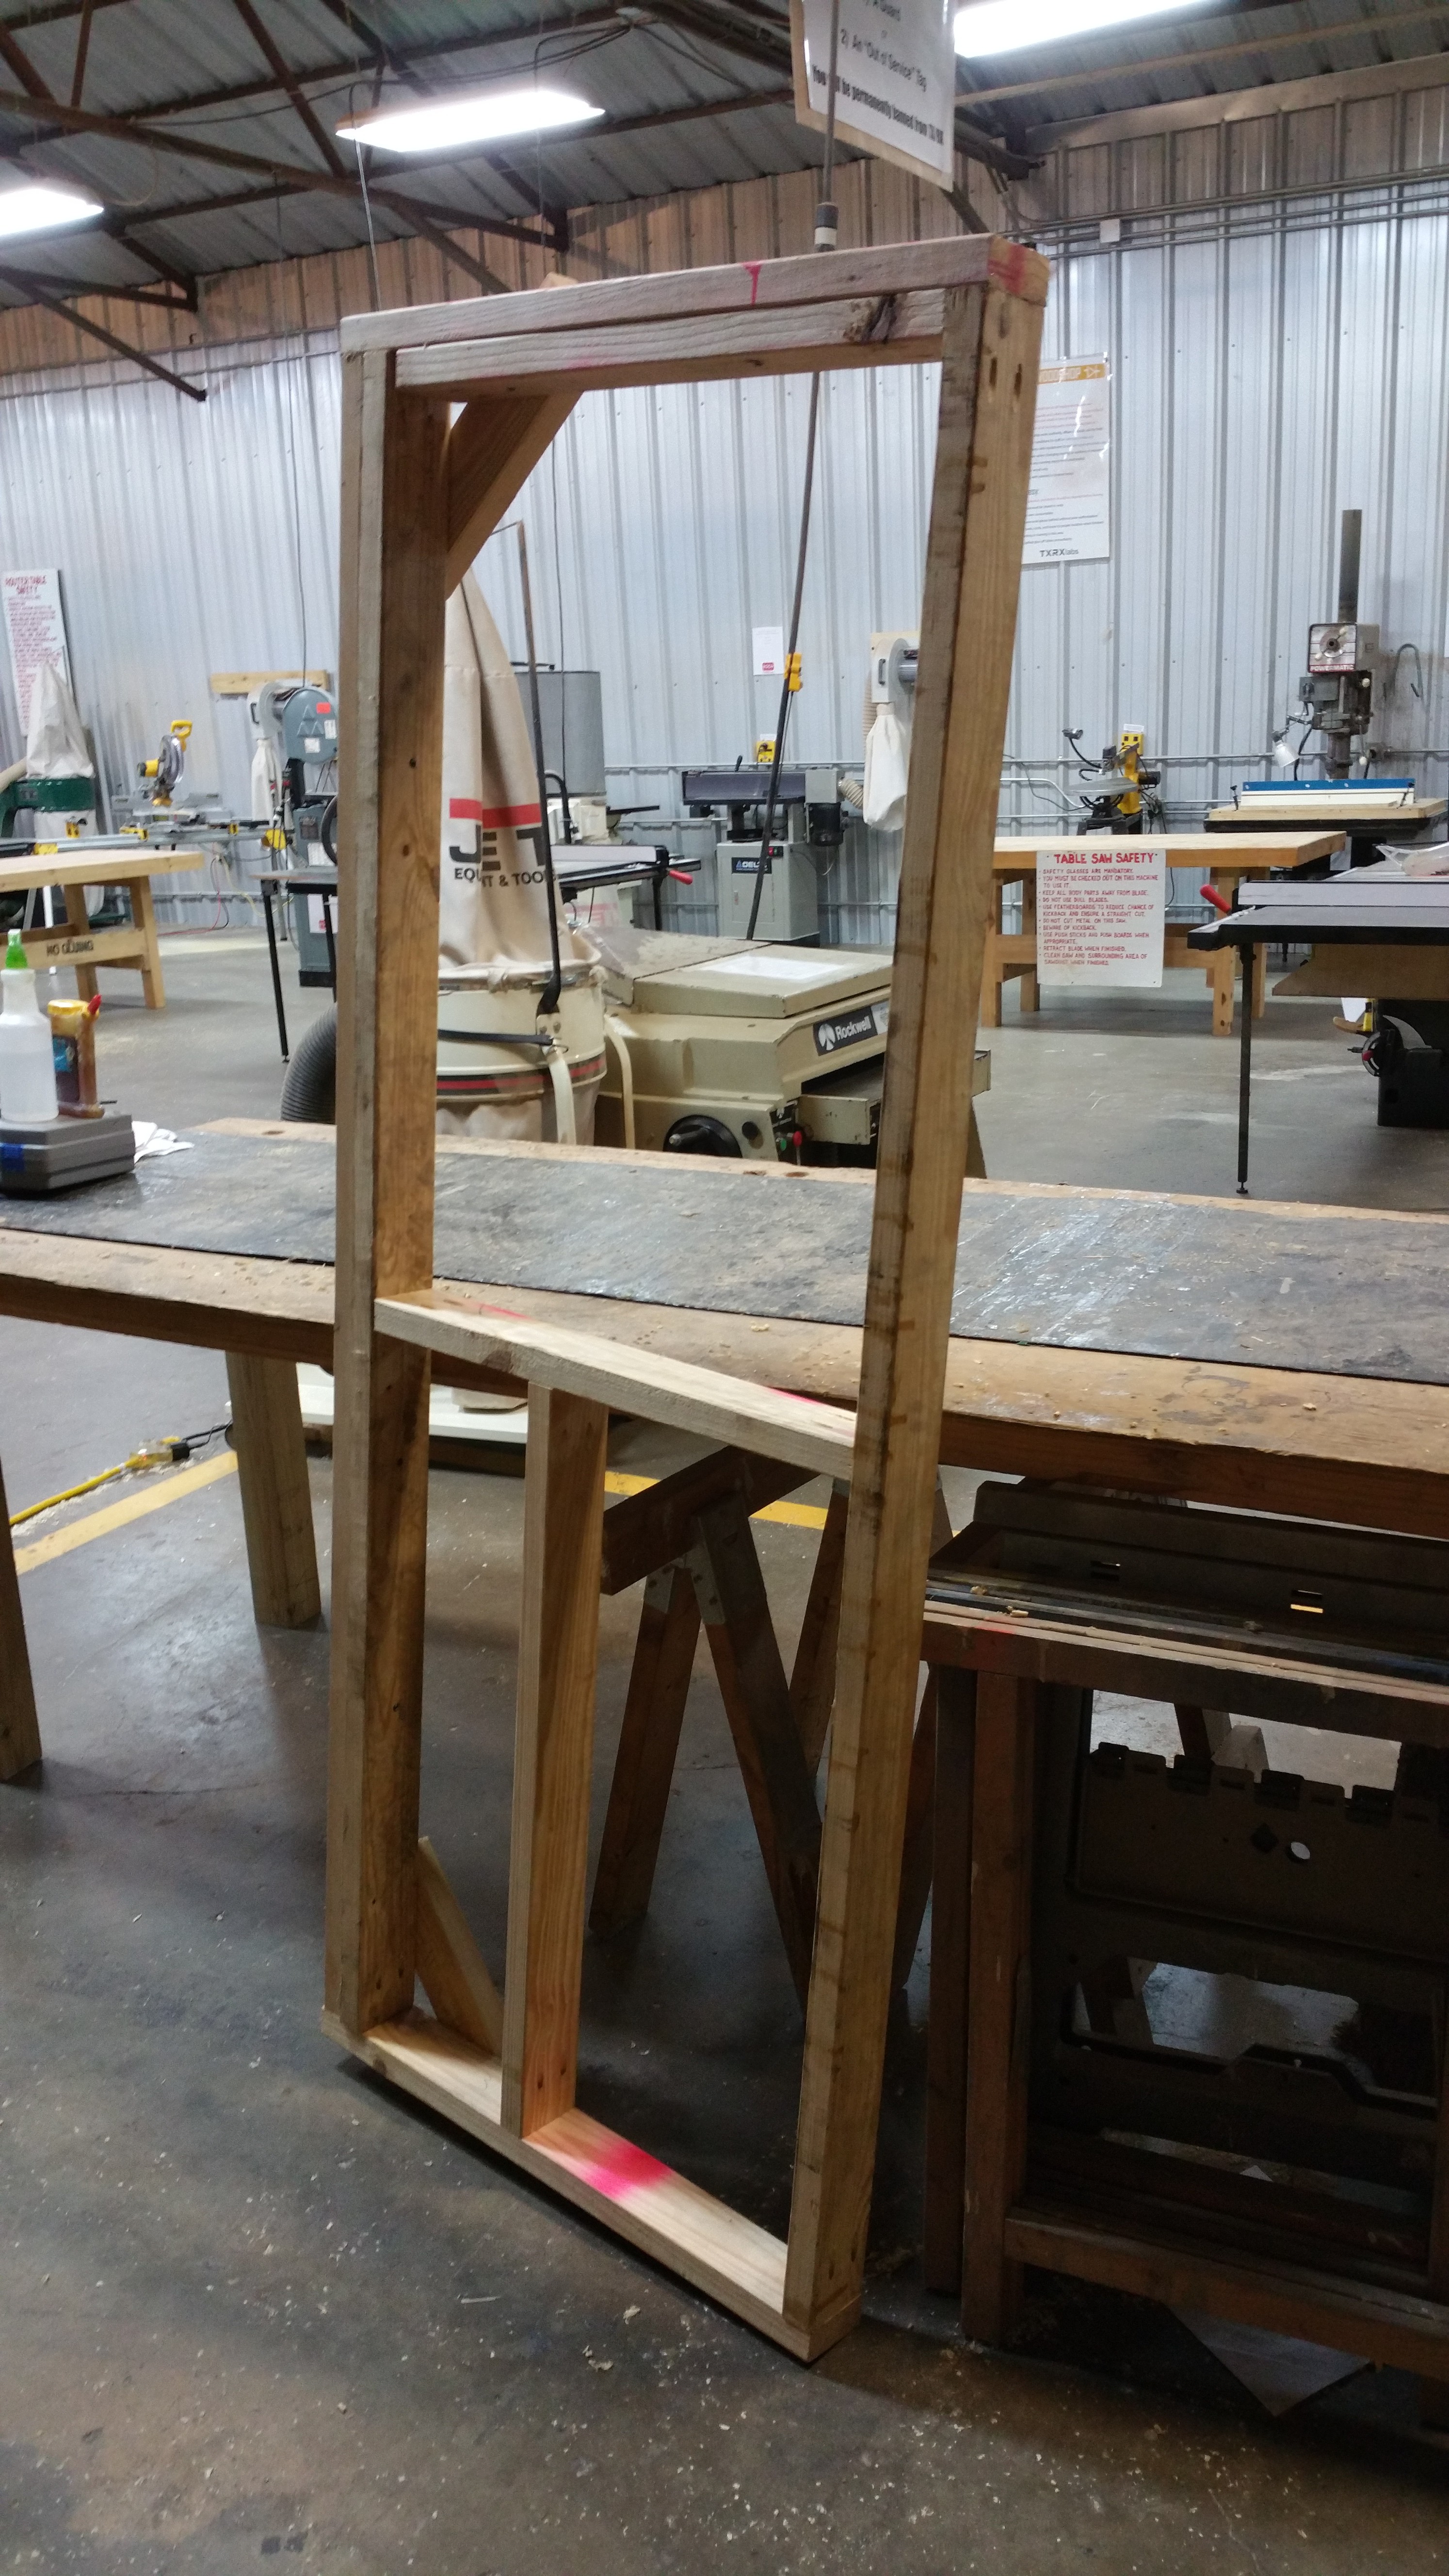
With the fifth wall built, it was time to install it. It didn’t take very long.
Looking from outside you can see the porch:
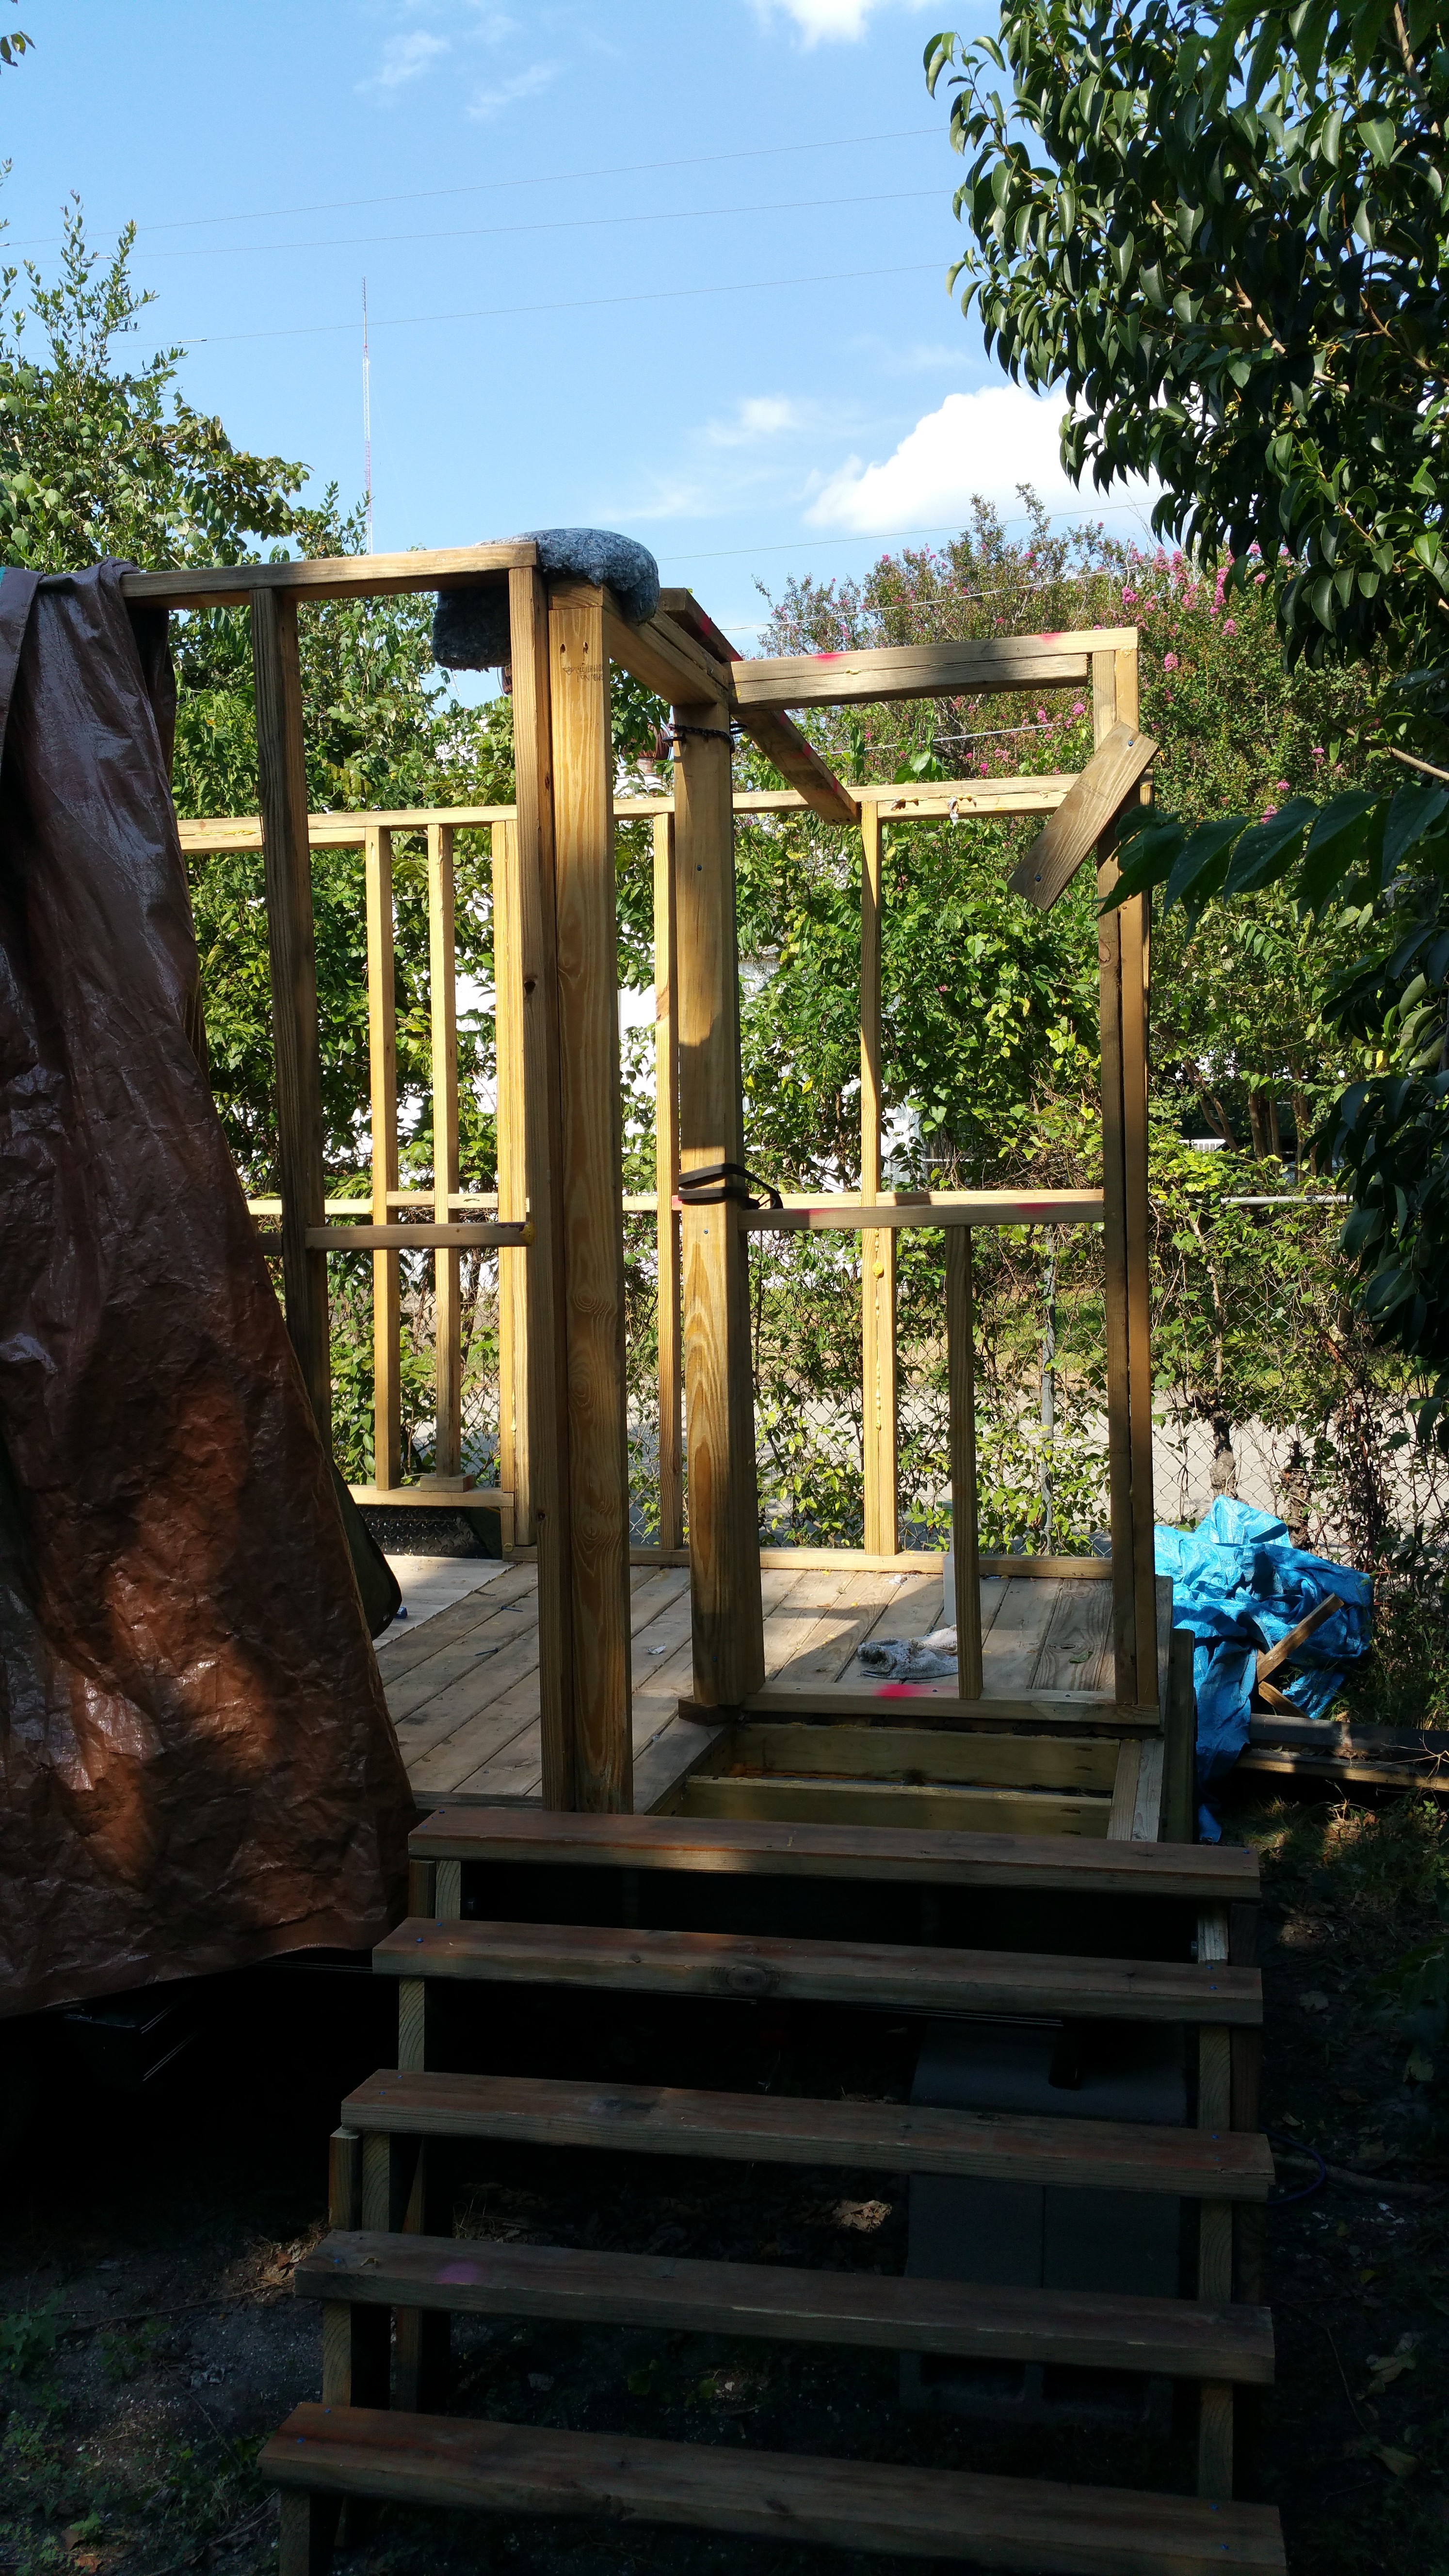
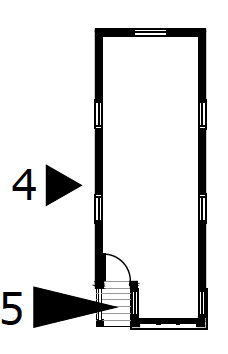
I moved the stairs over here because climbing through the wall was not very easy. Who’da thunk it?
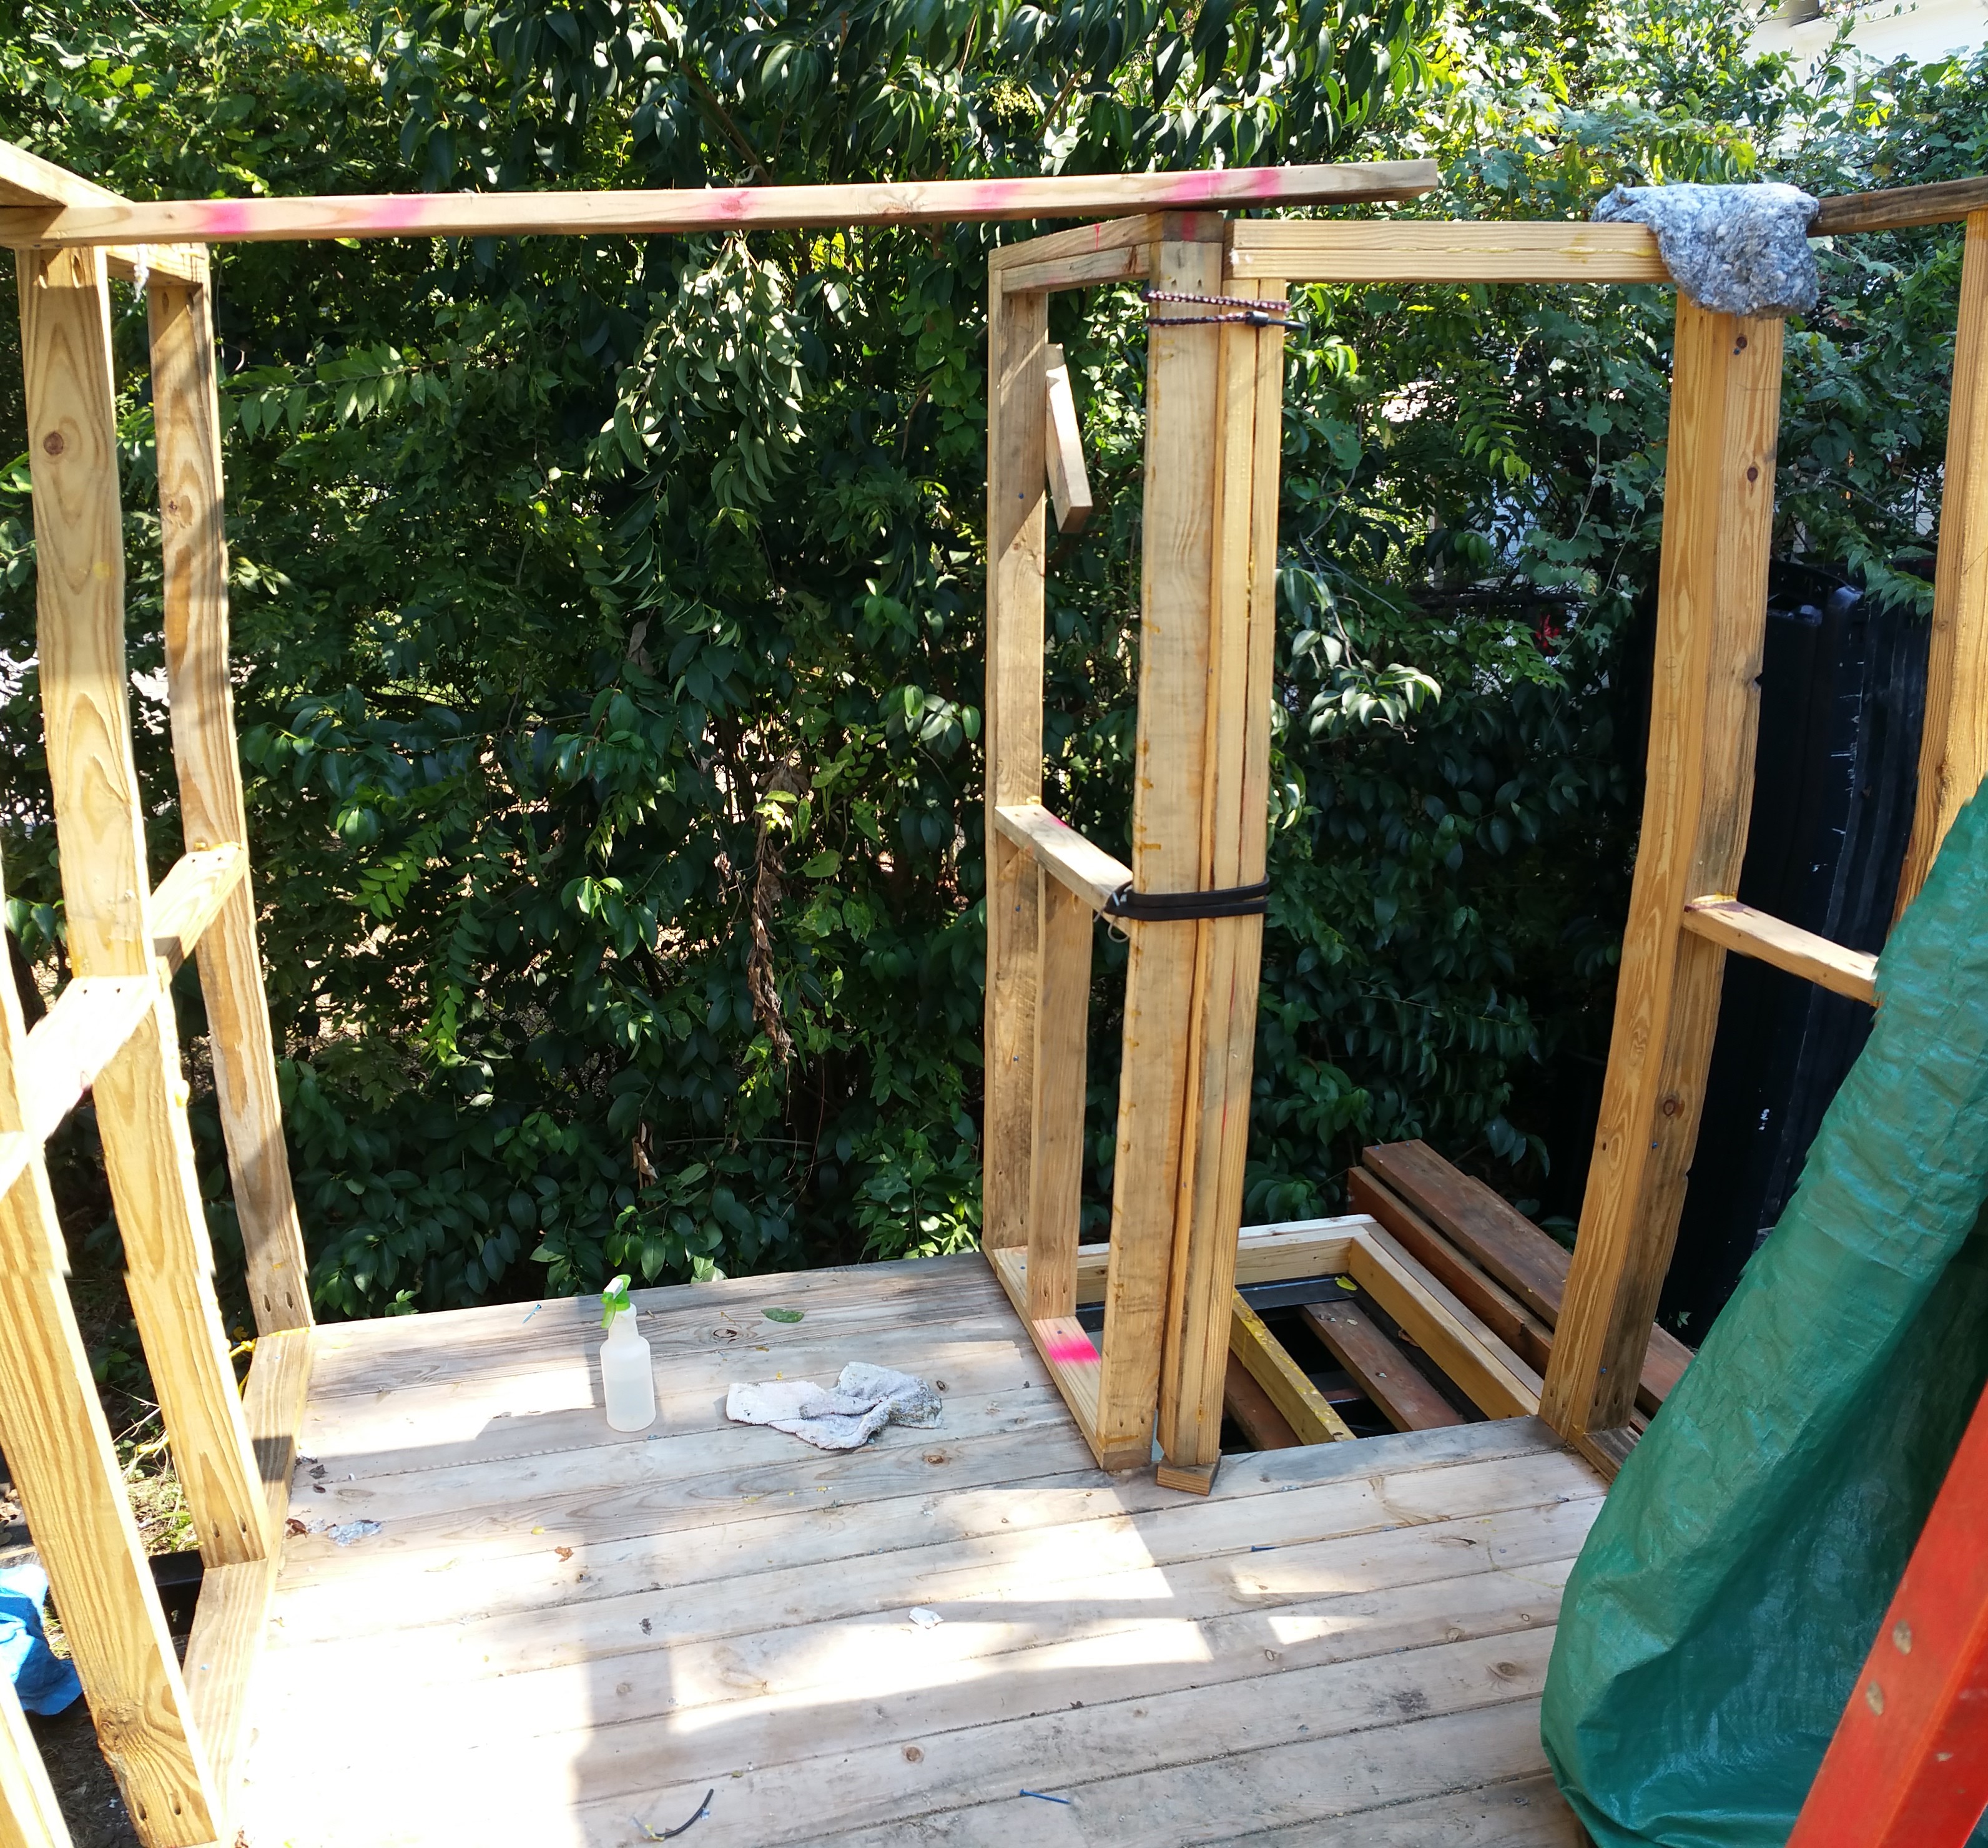
Trying to walk on the porch (really a hole with one rafter across it) is not very easy. I’m thinking I need to install the trap door and flame-throwers sooner, so the porch will be usable.
I took the opportunity to square up and plumb two of the walls (the long one and the bedroom one). What this means is I measure a wall corner-to-corner diagonally, and then measure the other diagonal. They should be the same if the wall is square.
To plumb the wall, I check it with a level to make sure it is straight up-and-down. As a sanity check I also verified the angle between the wall and the floor, although with the floor being buckled and warped a bit from all the rain, I didn’t worry about it being perfect.
Next up is to square and plumb the second-longest wall, then start building the first-floor ceiling/loft floor. And the sixth wall.