Installing the roof

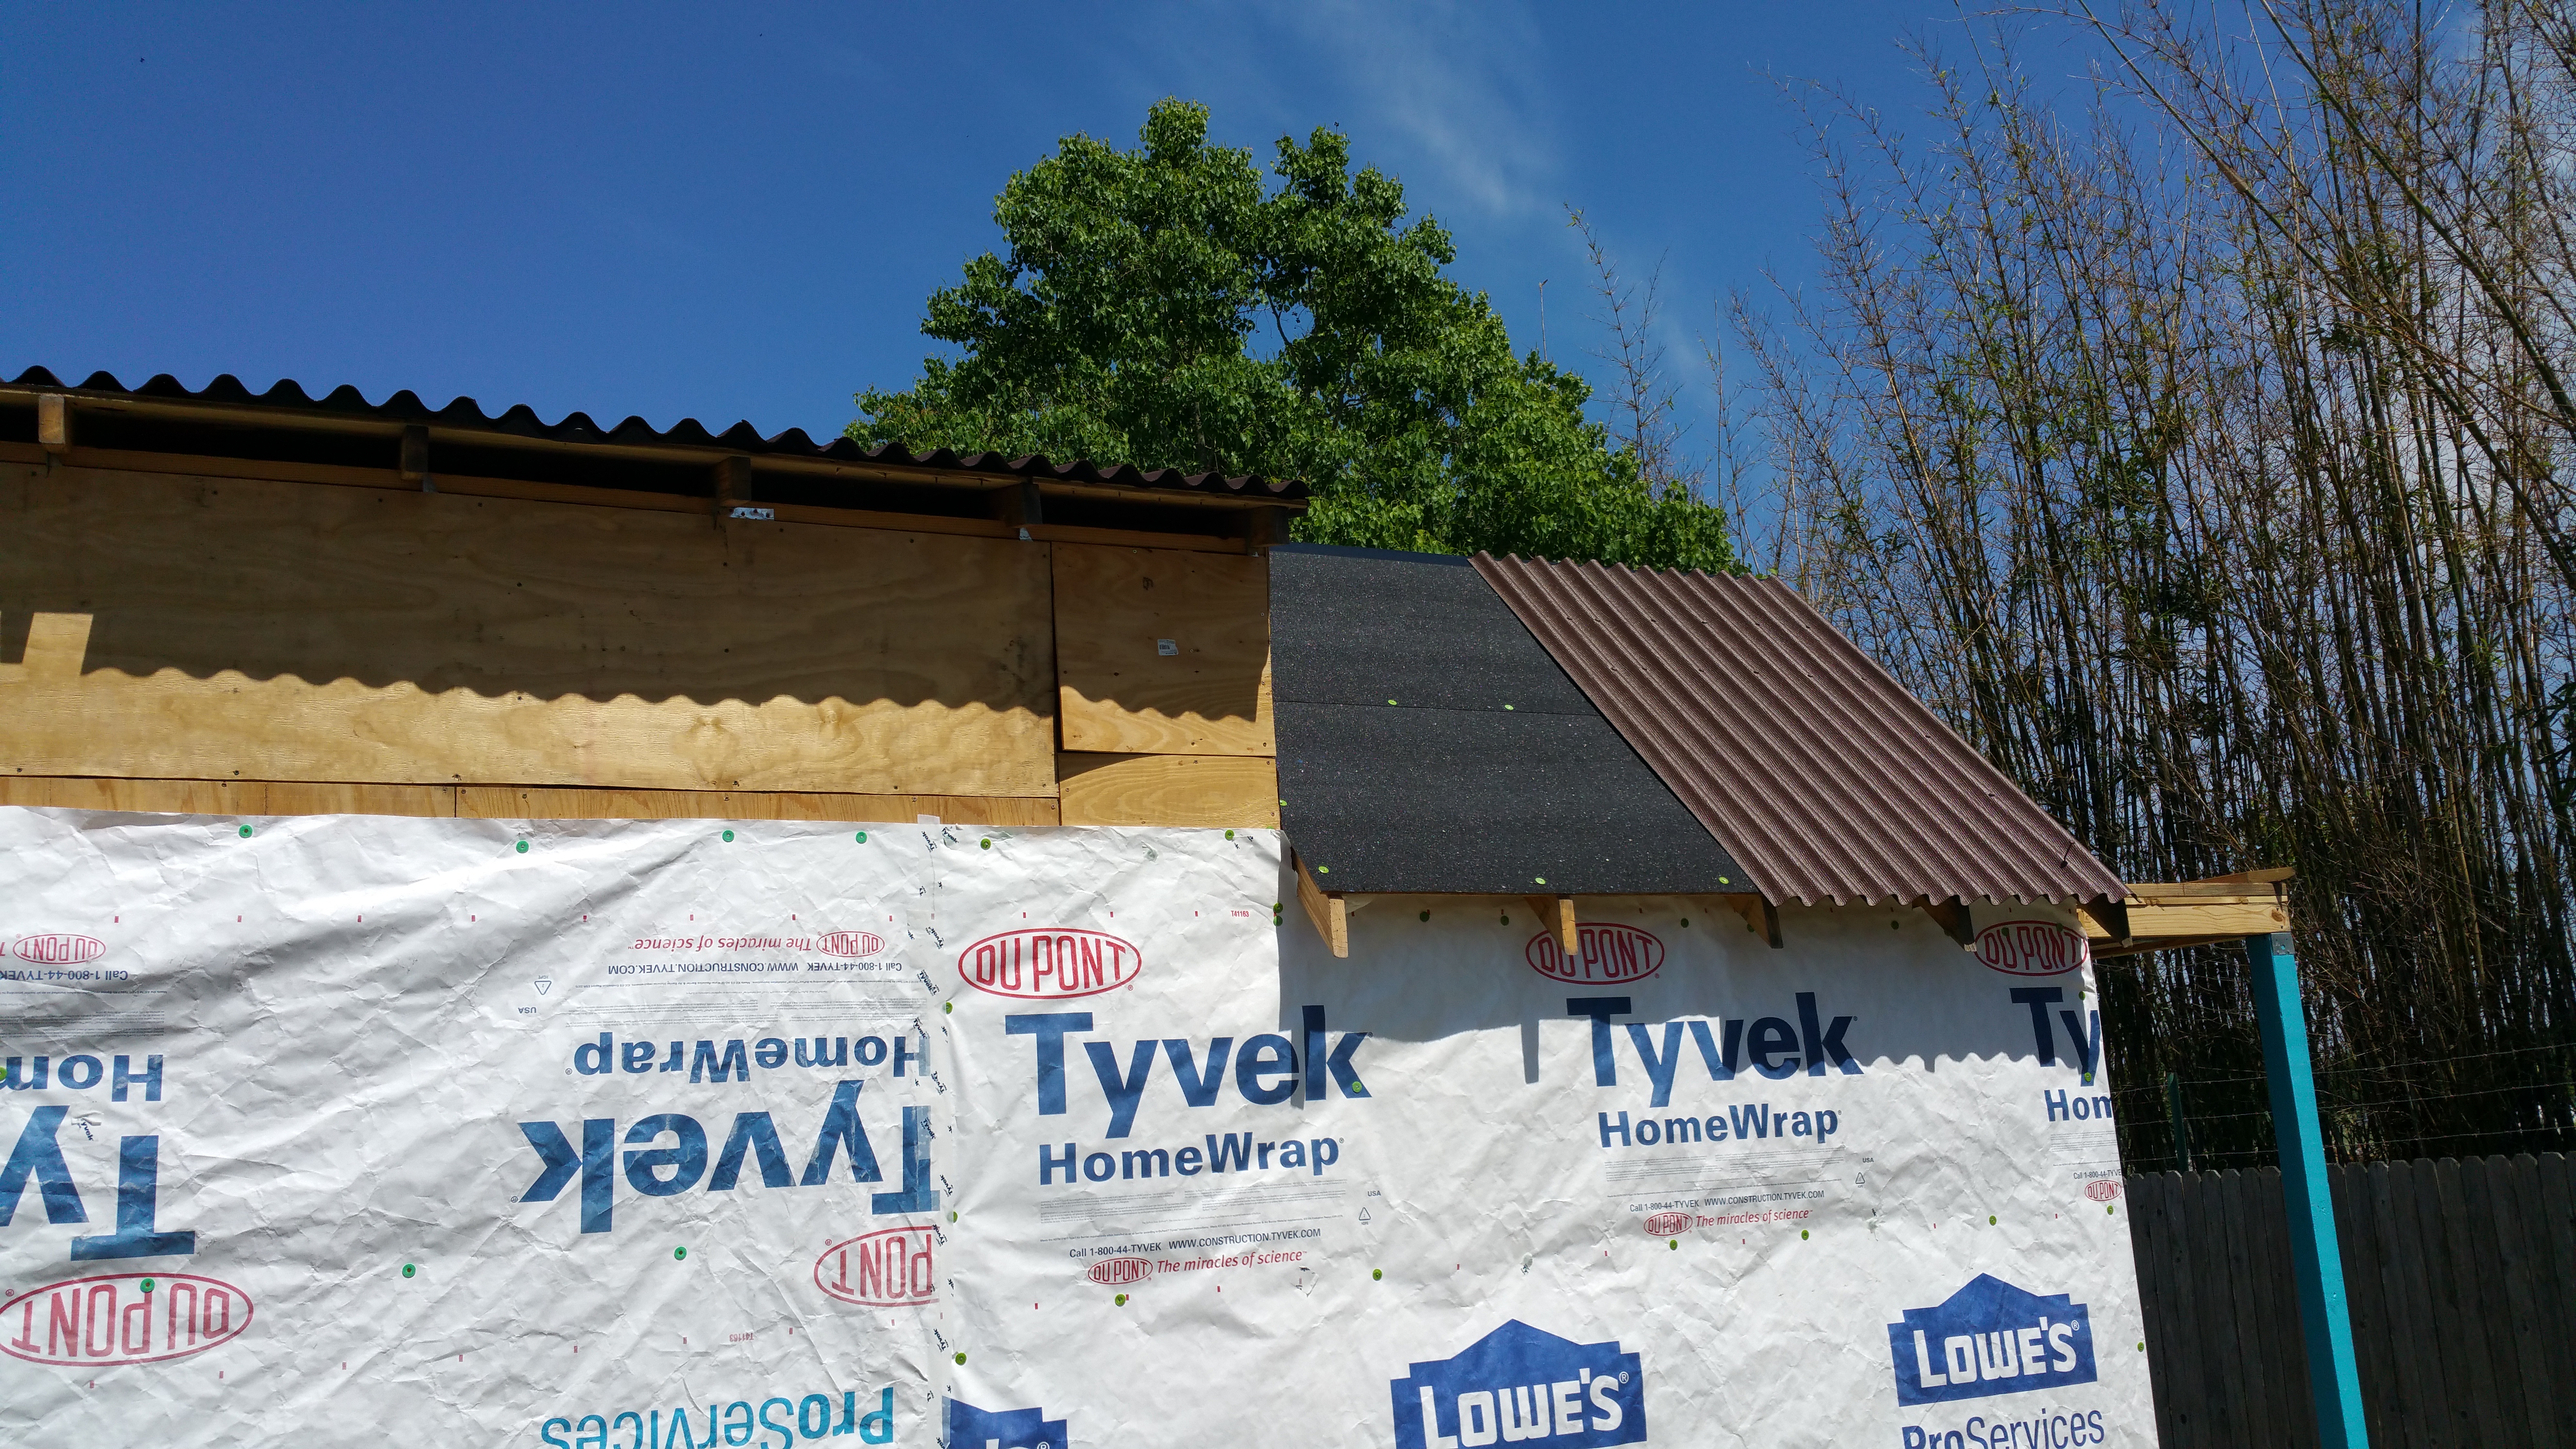
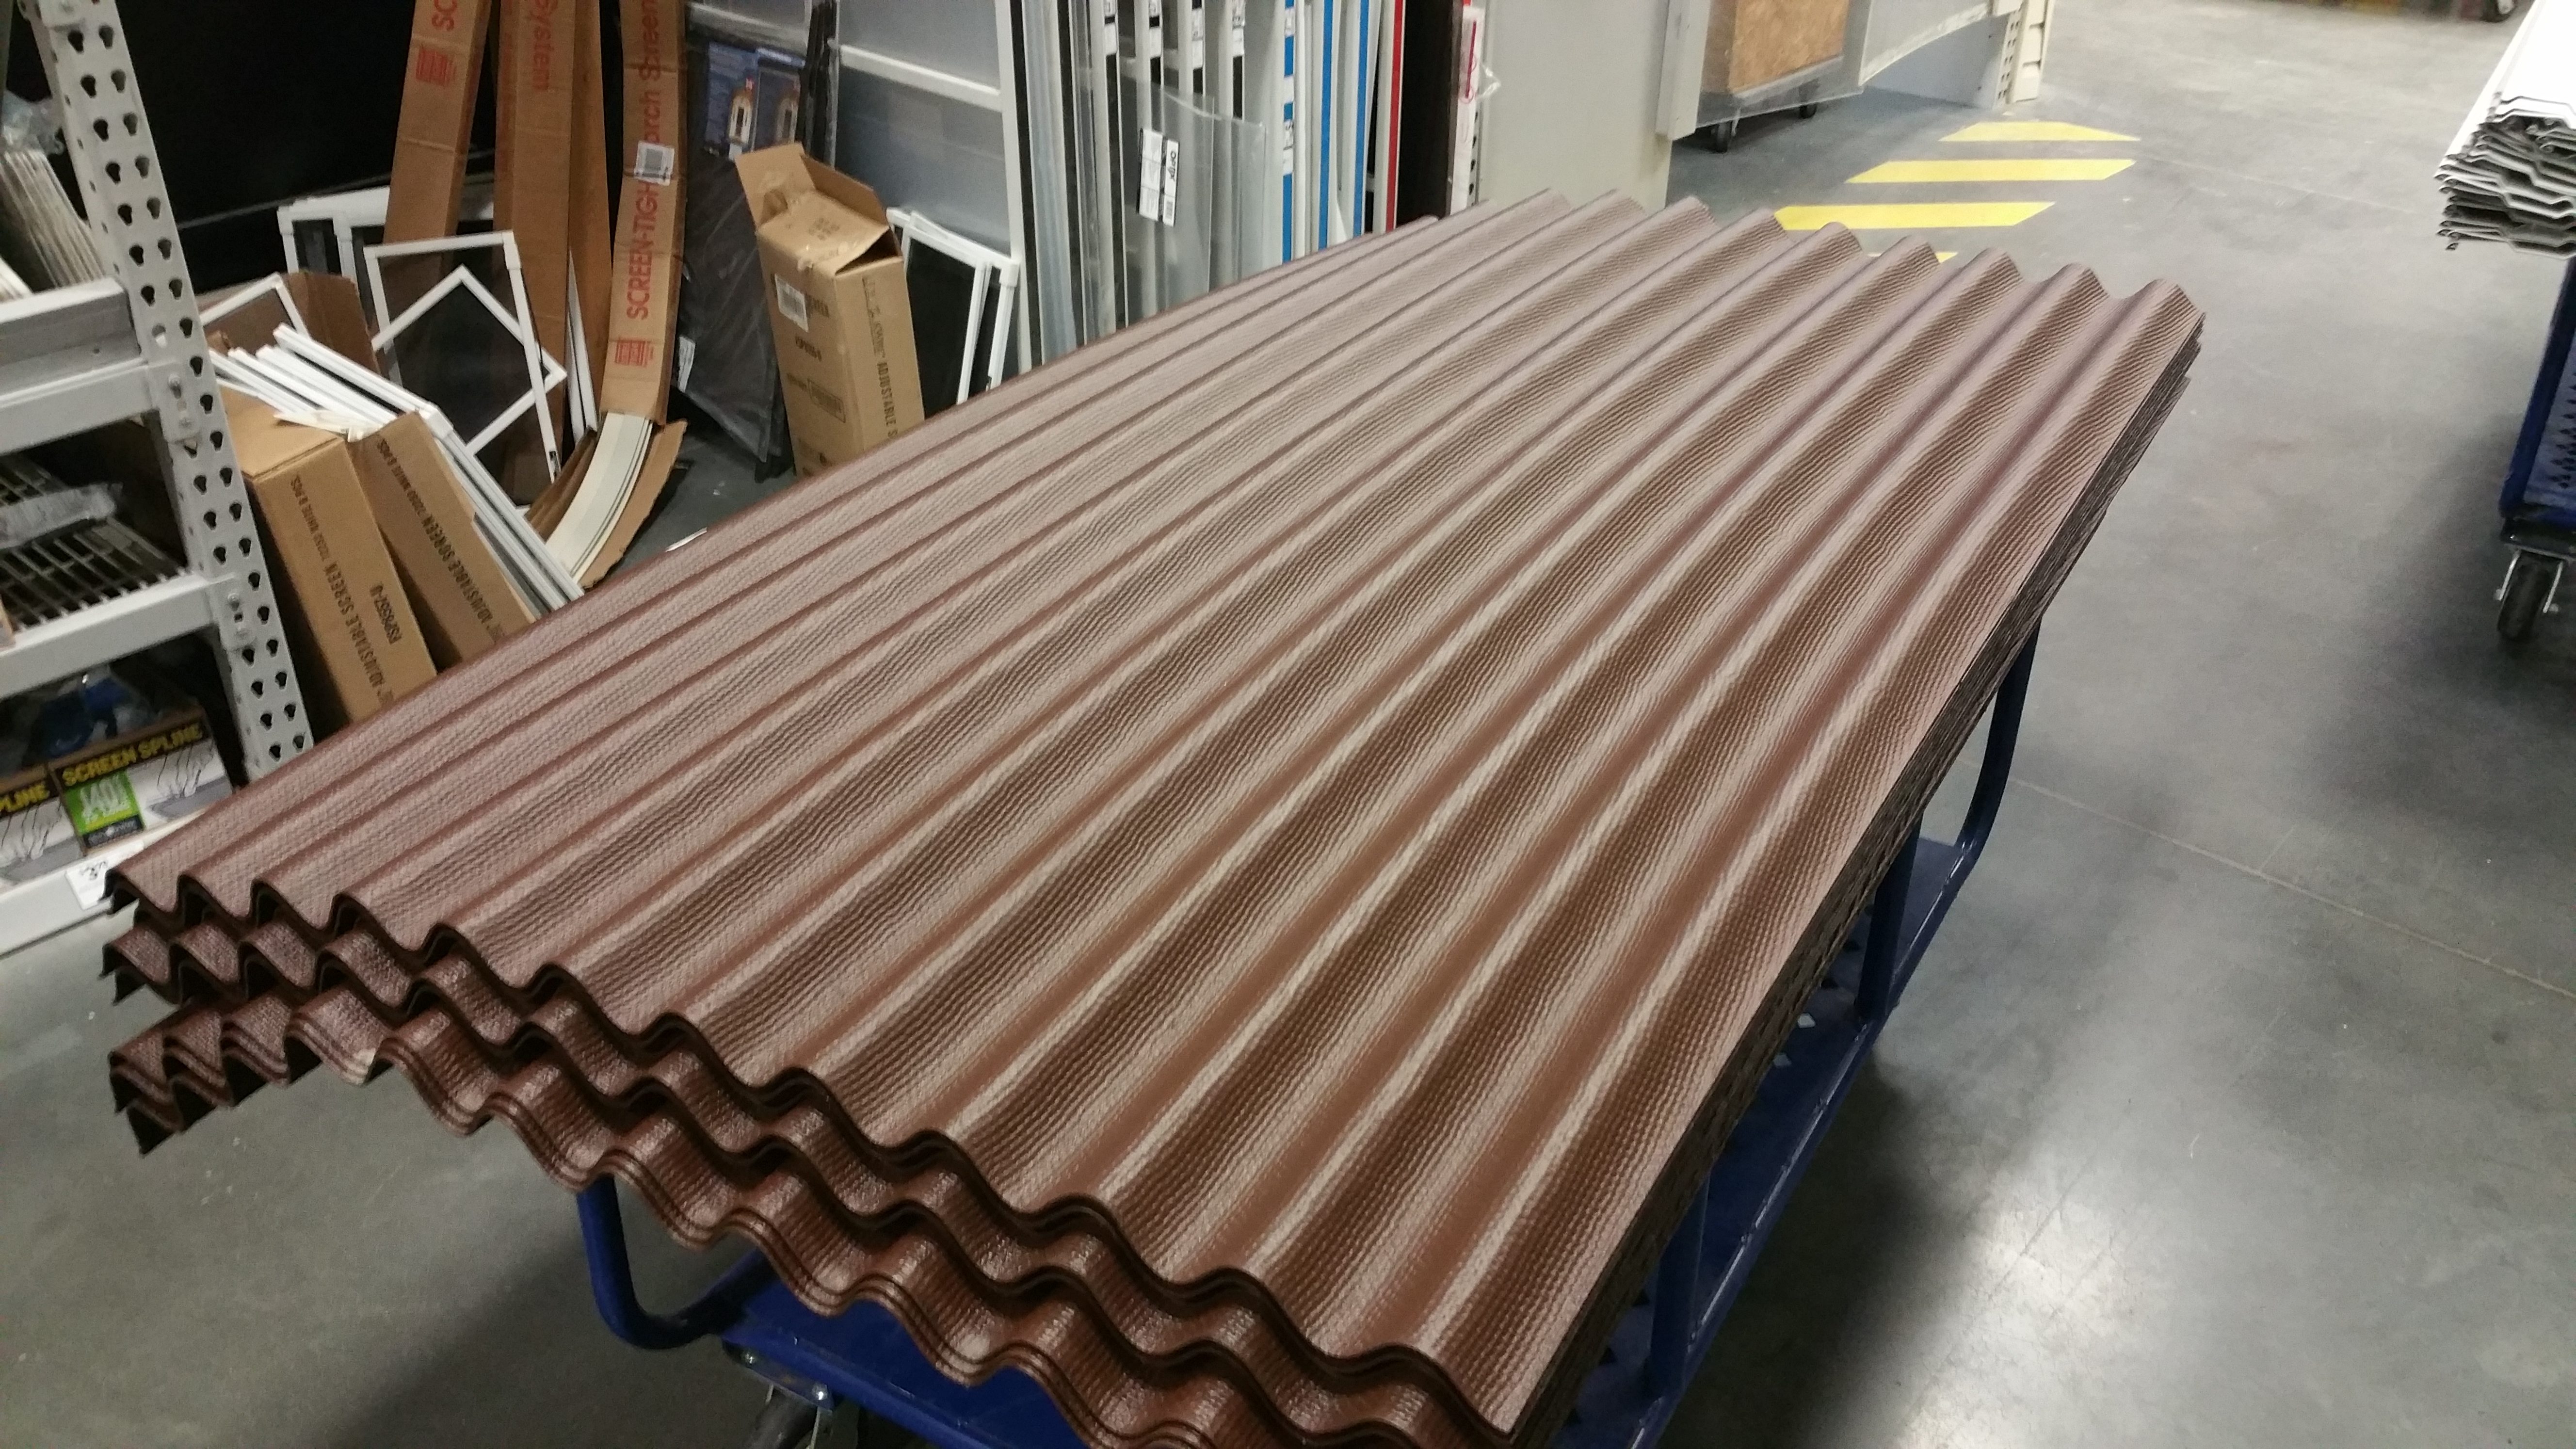
Installing Ondura is fairly easy, using nails that have a rubber washer near the head to prevent rain intrusion.

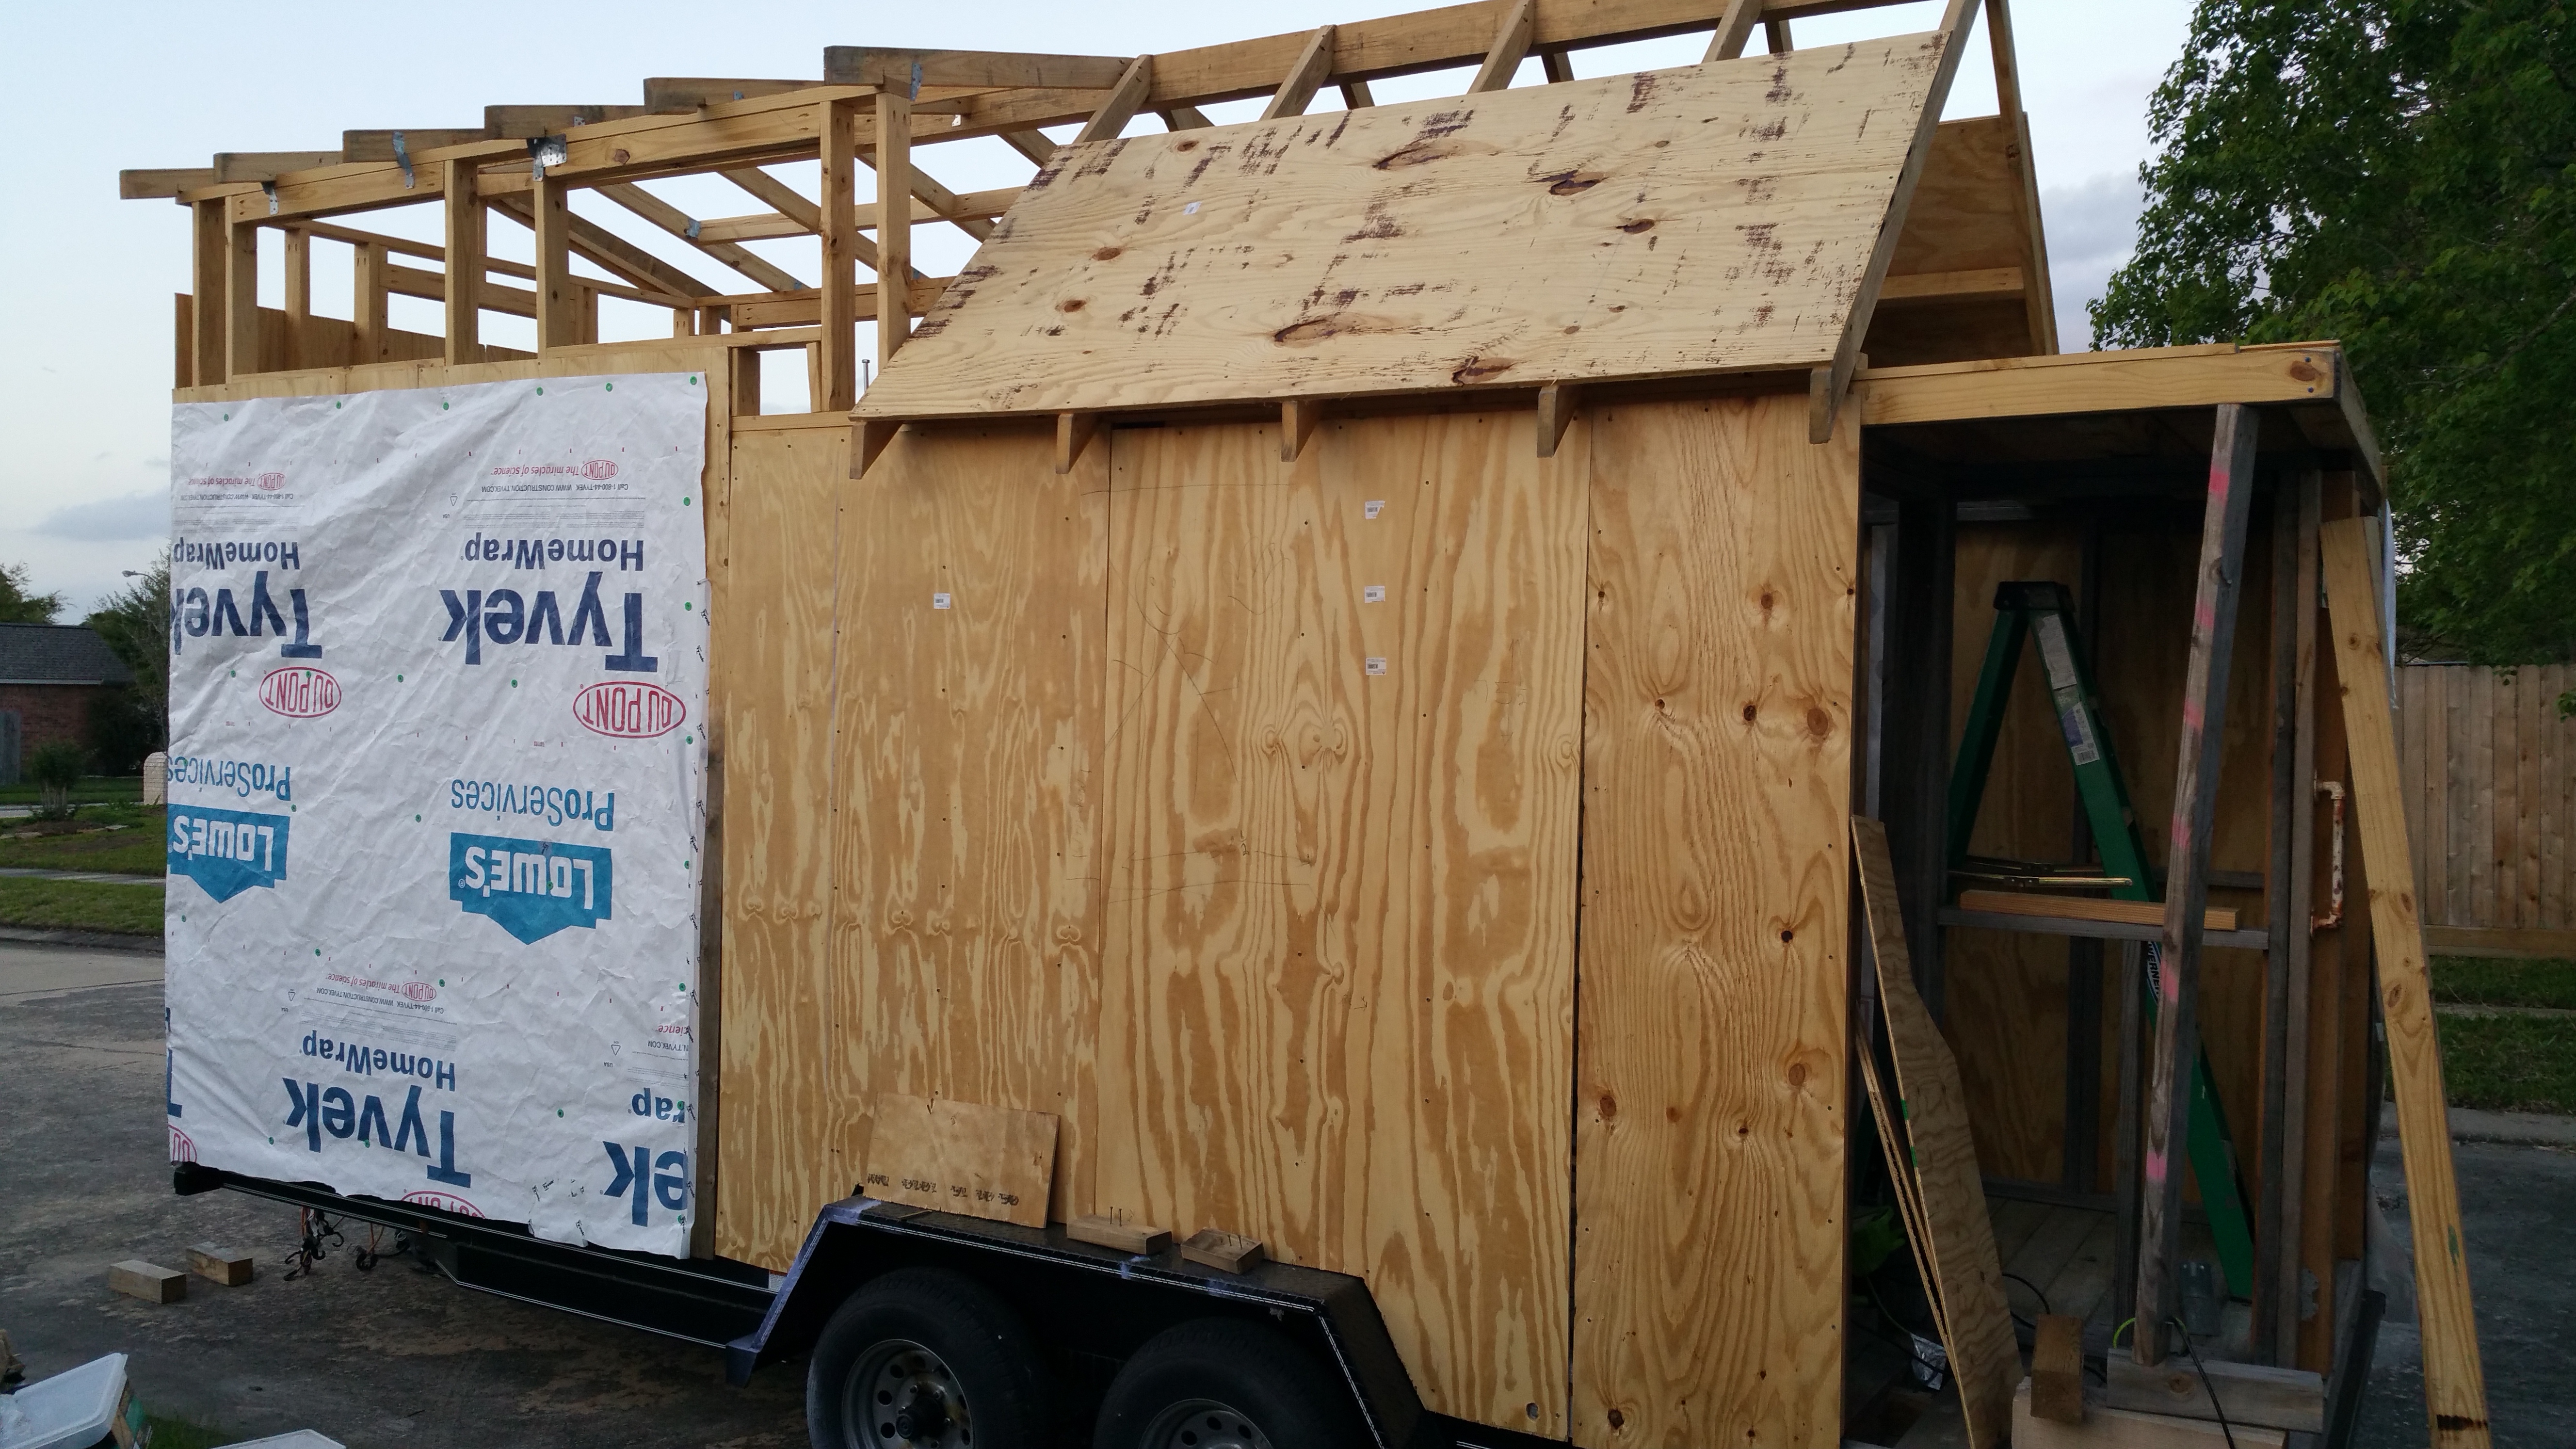
The manufacturer says you can install it over anything, so I decided to lay down Corning Weatherlock-G, which is a ice and water barrier. It is also rough on the top side, so it is possible to (barely) walk on it and not slide to your death. I used the same nailsĀ  on the Weatherlock as I did on the Tyvek .

Installing Ondura

Getting the roofing

In my original plan, I was going to get a metal roof. After doing a lot of thinking and research, I scratched that idea because, well, metal scratches. Because the house can move, if it goes under a low-hanging tree, a metal roof will get scratched up. This can cause it to rust, which isĀ bad.

Regular shingles are out also, because they tend to fly off during high winds (or, in this case, when driving on the freeway).

I was turned on to Ondura by another Tiny Houser, and couldn’t be happier. It is lightweight, strong and very easy to work with. You can cut it with a box-cutting knife, jig saw or table saw.

Picking up Ondura from the store

Additional reinforcement

One area that requires additional reinforcement is the short wall — the one adjacent to the door. It is framed with 6×6 cedar posts, for strength.

As per the plans, in order to keep them from bowing, I threaded a 1/2 rod and anchored it with washers and nuts.

Threaded rod between 6×6 beams

After the rod is installed and tightened, it is time to cut off any excess:

Threaded rod excess

Installing the roof

We start with the bare rafters, and install 3/4″ plywood for the roof decking. The plywood has to be thicker because it must withstand the weight of the other roof elements (waterproofing, shingles), but also any ice or snow that may accumulate.

In a normal house, the rafters would be closer together, but we can get away with them spaced a little farther apart (~ 23 inches) because the house is so small compared to the plywood.

Interior looking up at a tarp covering the rafters
Installing the roof decking
Exterior with roof decking
Exterior view of the loft

Sheathing the walls

The whole structure is wobbly (but not just-about-to-fall-down wobbly) because the only thing holding it up is 2x4s and the metal CS14 wrapped around it. Wood flexes, of course, so standing in the loft can be nerve wracking.

The fix is to add plywood sheathing.

Once the sheathing is added, I cover it with Tyvek. This is a permeable plastic that allows water vapor to escape from the wood, but doesn’t let water in.