Getting the property prepped starts with being able to actually access the property. There’s a drainage ditch next to the road that has a dirt (mud, if you’re nasty and rainy) culvert covering a concrete pipe, but it isn’t clear if it is sturdy enough to support driving the tiny house across it, let alone trucks and cars.
This means we need a proper driveway.

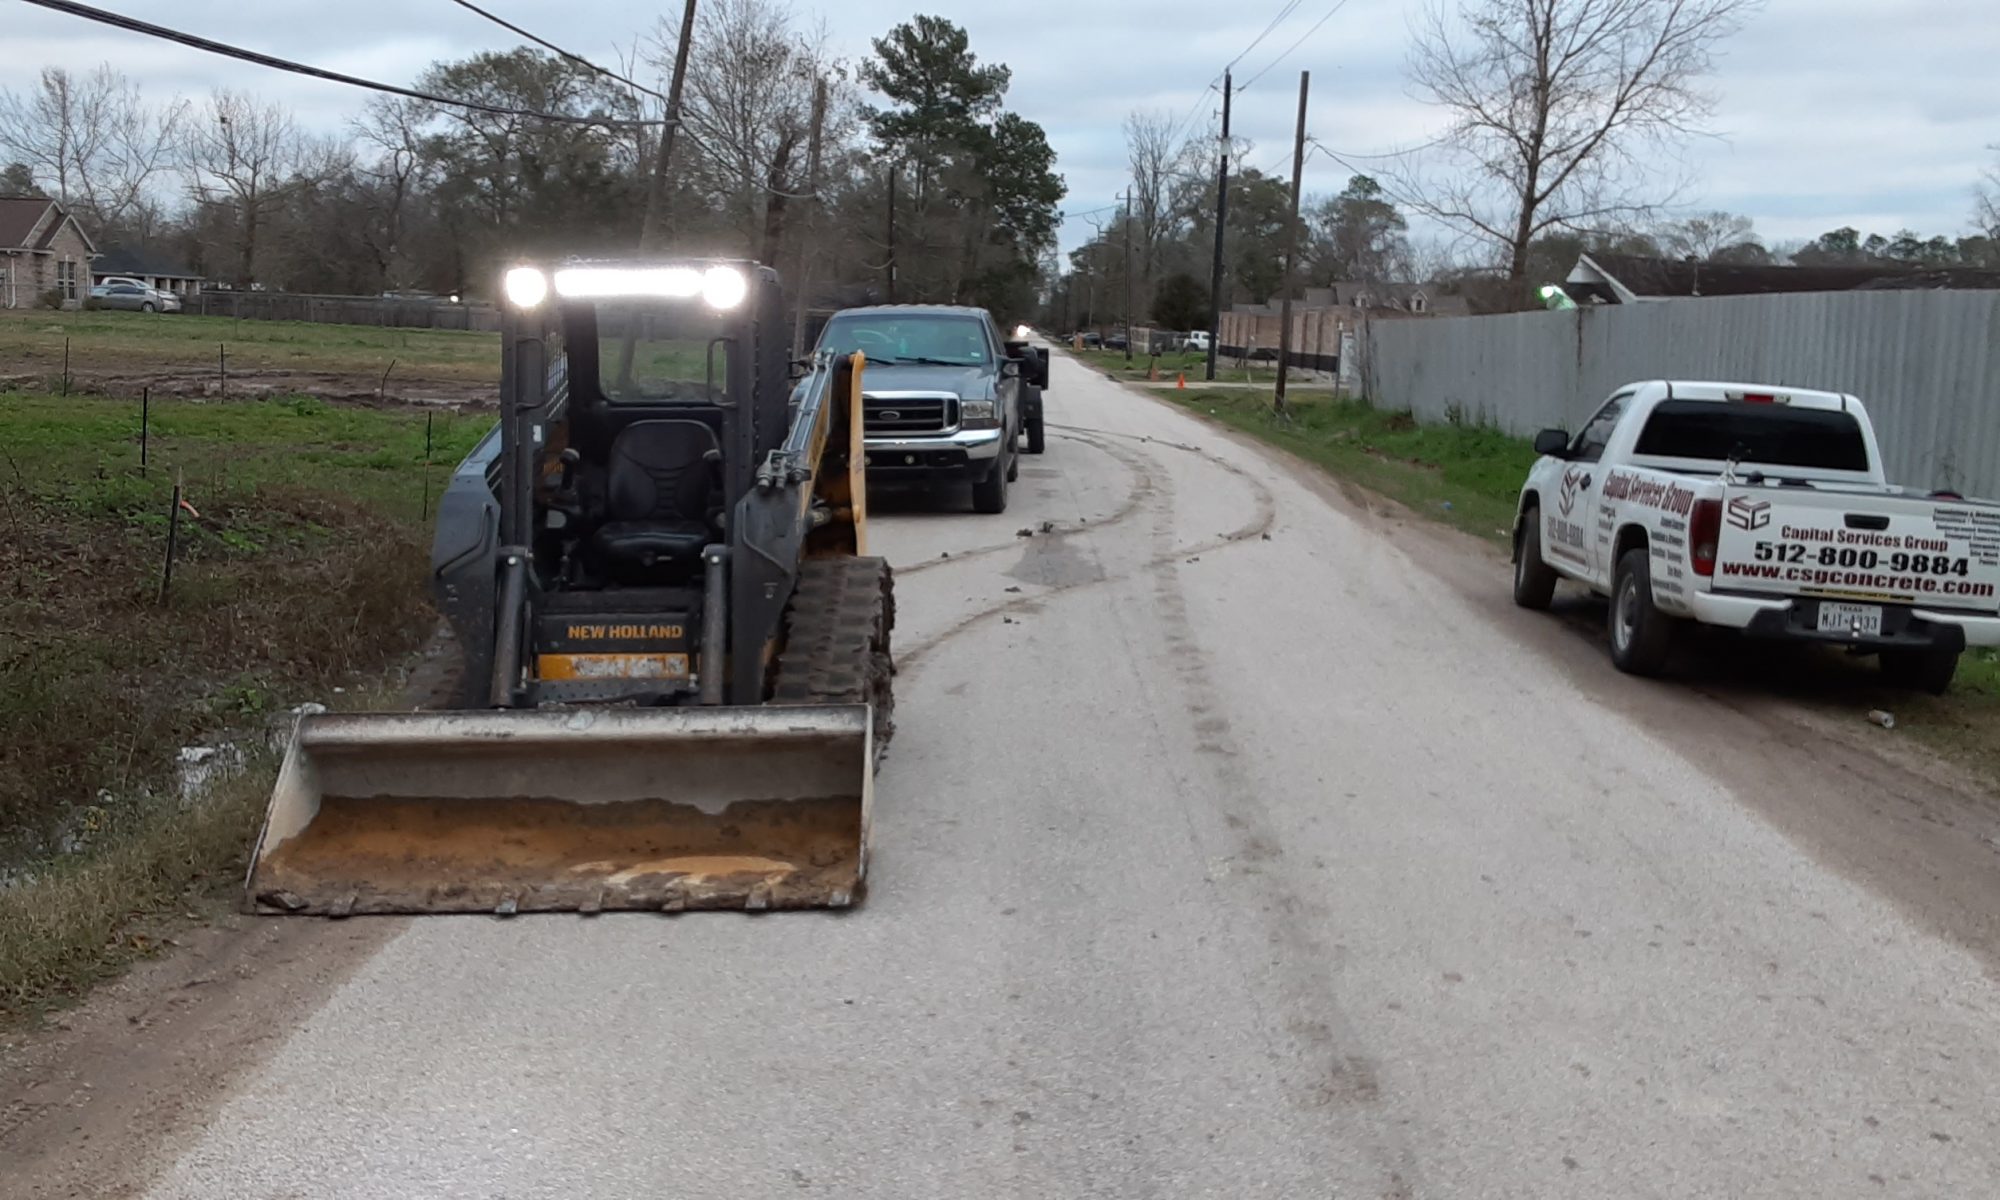
The Crew Arrives 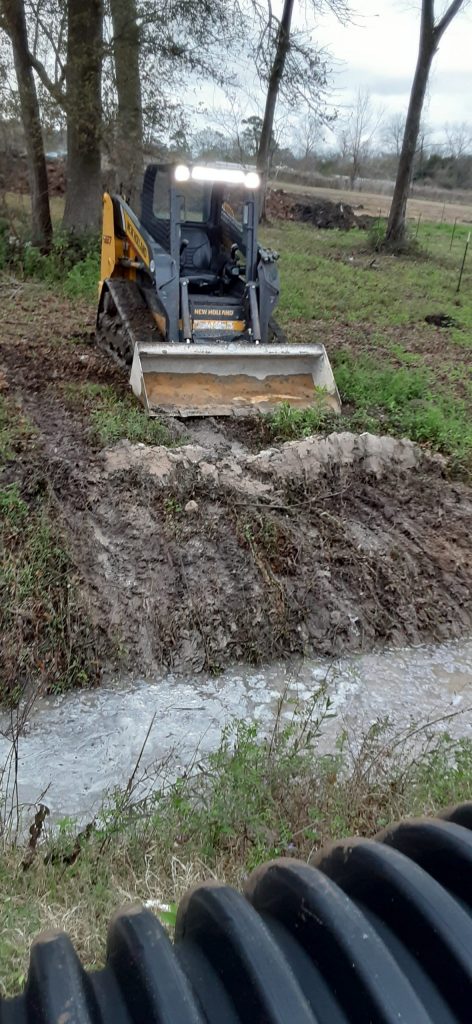

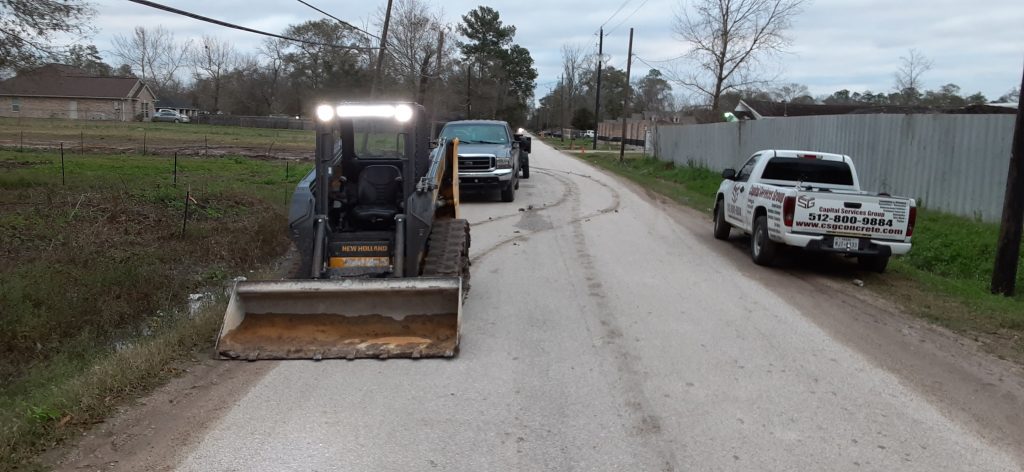
Prepping the Ditch 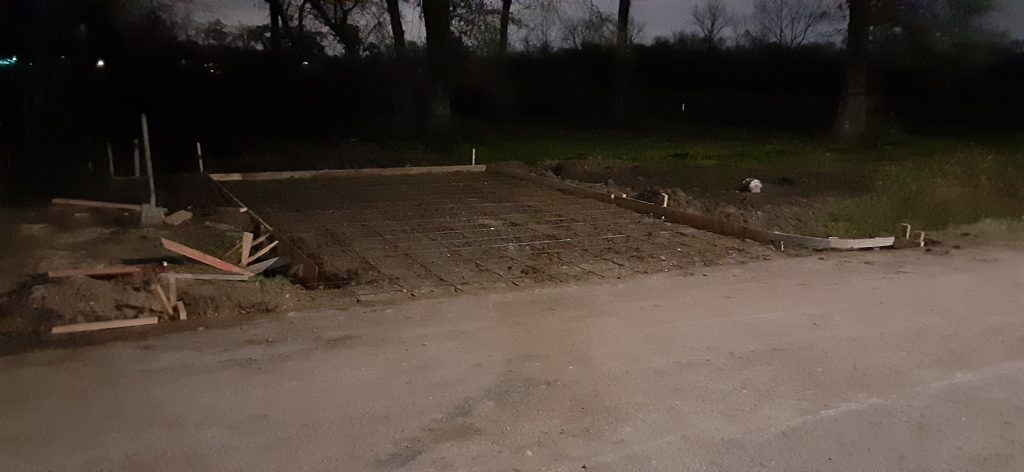
Ready to Pour