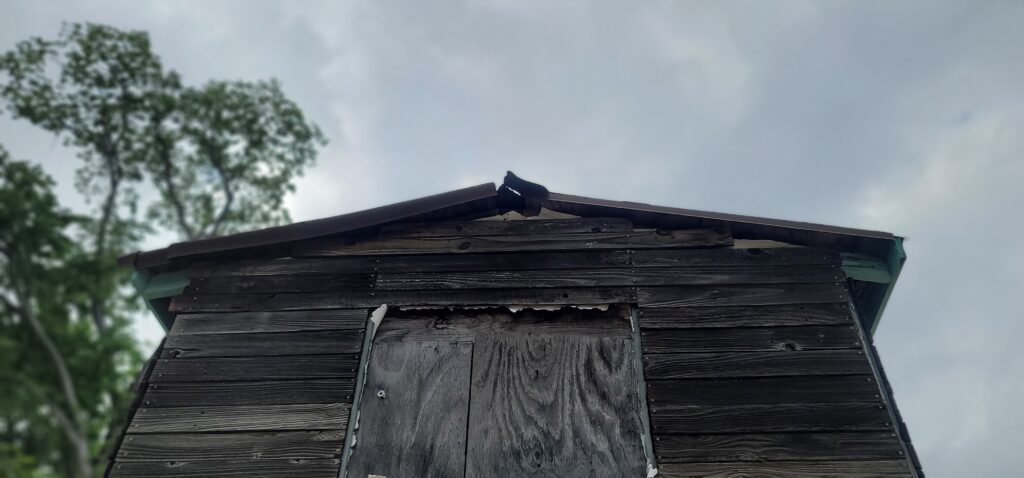
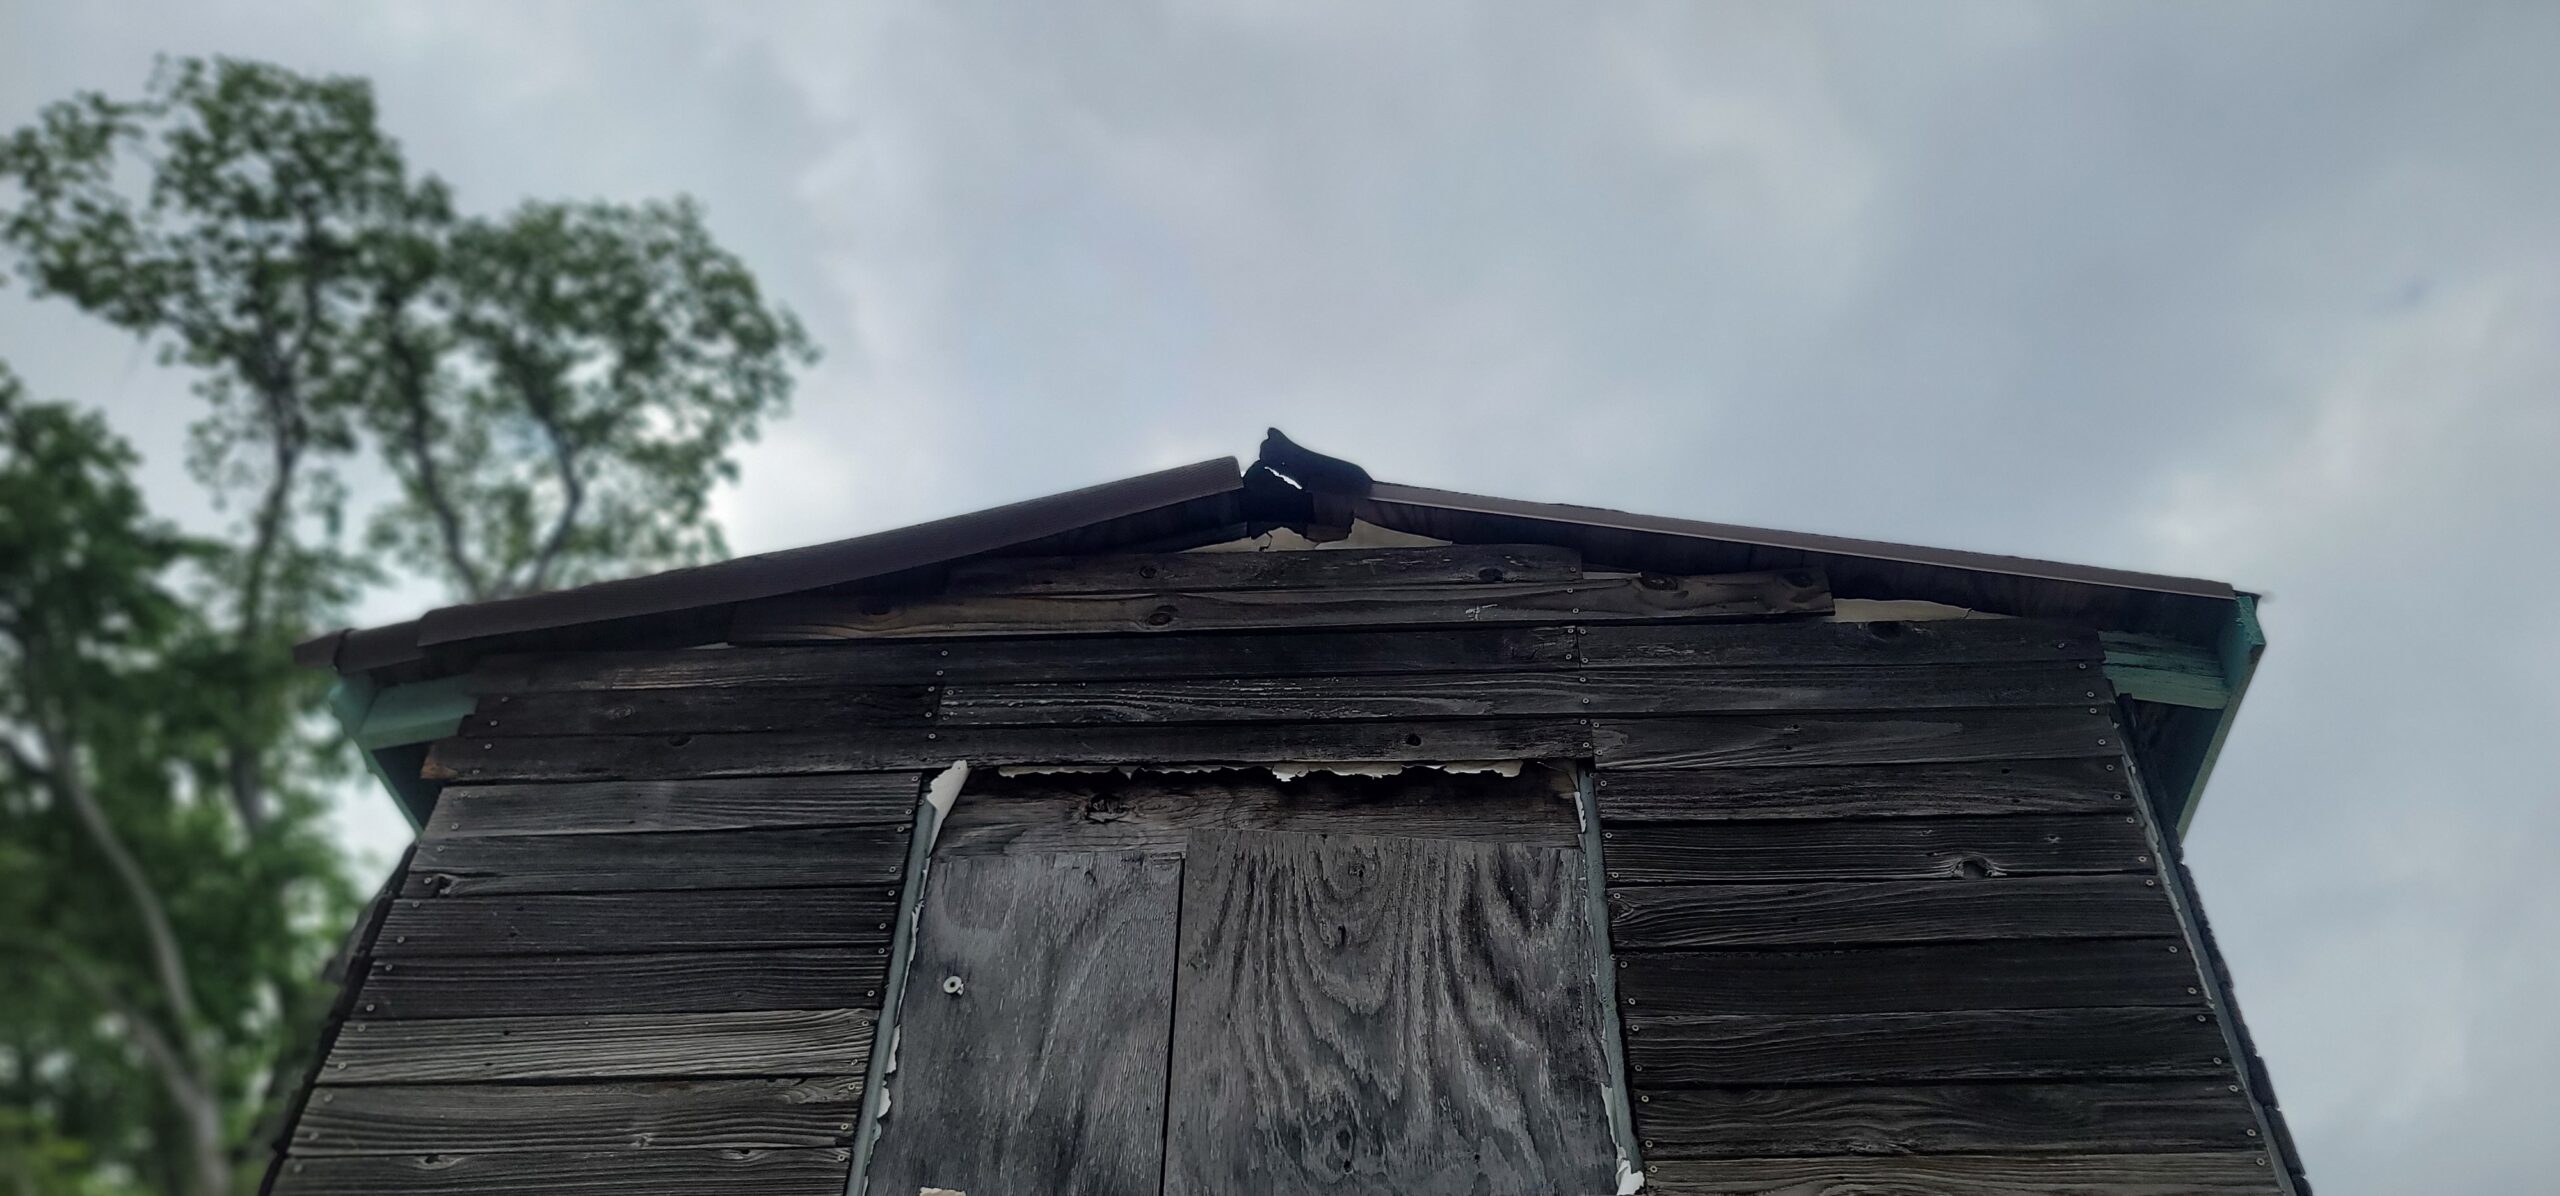
That Comcast wire did a real number on the Ondura roof cap and part of the panel(s).
Another stroke of bad luck is Ondura seems to have mostly discontinued (massively scaled back?) their roofing panels. I can get them shipped for pickup at the local Lowes (not available at Home Depot), but the minimum order for the full panels is a 5-pack; I only need about 2-3 of them.
Looks like I’ll have to order a 5-pack of the 1/2-size panels and make do. Ugh.
Thanks, Comcast!
At least I can order the ridge cap in singles. If I cut away the damaged part and cut an overlapping repair piece, I can get away with buying only one or two of them.
It will be a good time to inspect and fix any problems with the underlayment and drip edges.
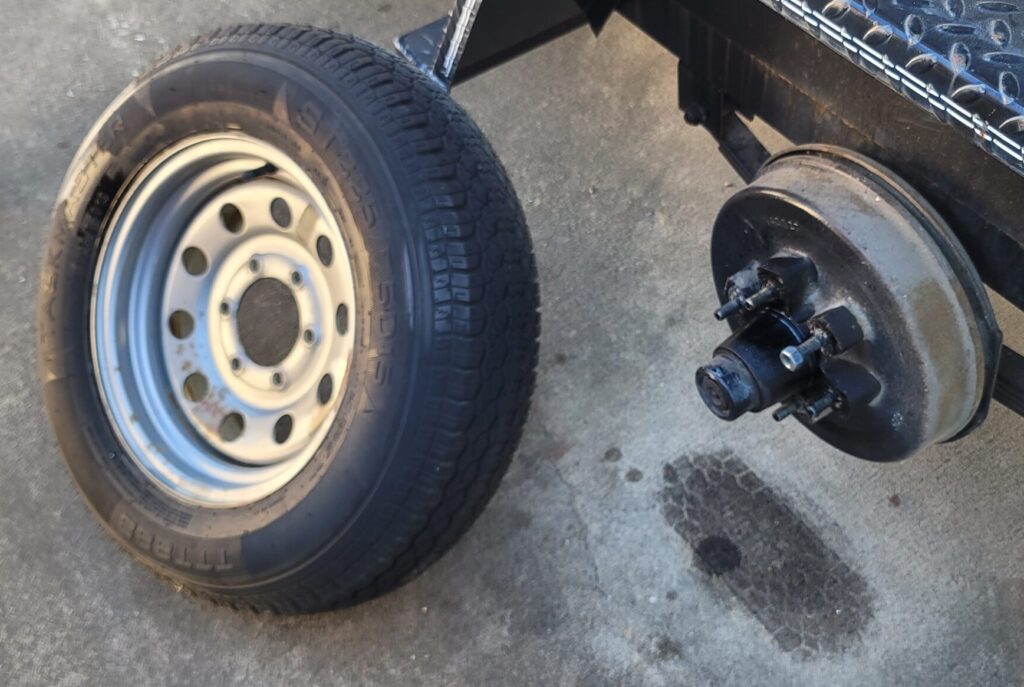
The tires are the OG set that came with the trailer, so they are LONG past overdue. Fortunately, Tiny hasn’t moved around much, but the last thing I need is to get her on the road and have one or more of the old rubber donuts blow out.
Three of the 4 came off without a hitch but that last one’s last lugnut refused to budge. I was cranking on my impact wrench and no luck. After some head-scratching, I figured I’d get some Break-Free and that would do the job.
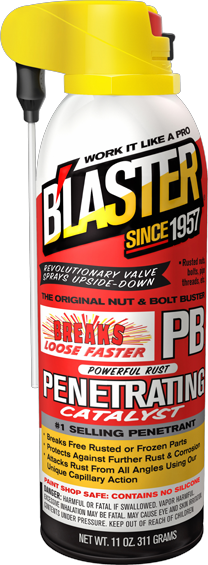
None of the local shops had any in stock, so we looked for the “second best” option, and it turned out to be a winner.
PB B’Laster
This stuff is incredible. We soaked the hell out of that nut and waited for 5 minutes, then soaked it again and waited for a minute.
As soon as I pulled the trigger on the impact wrench, the lugnutcame right off.
The only downside to PB B’Laster is you have to double-bag it in a ziploc when transporting it, otherwise the residue in the tube will fill the car with toxic fumes and give you The Cancer within, like, minutes.
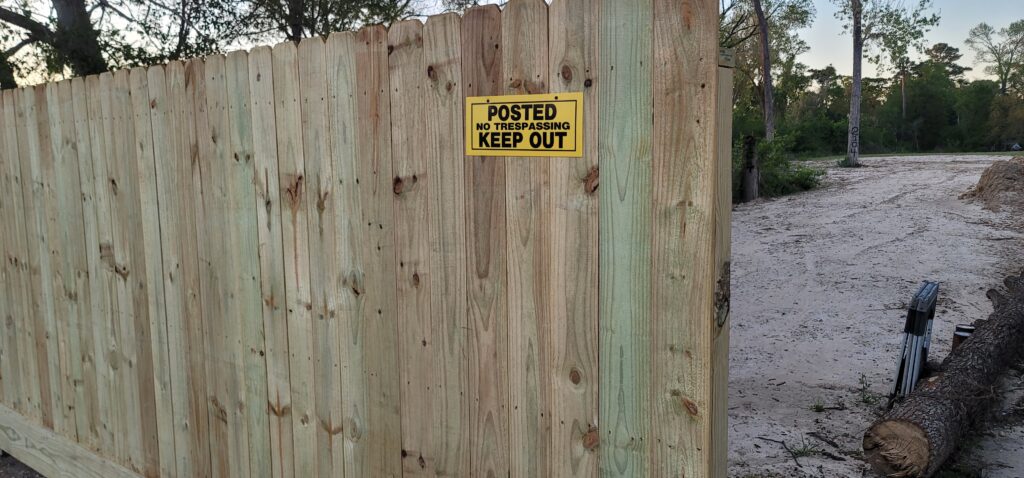
Events have conspired to move the timeline up, so I bit the bullet and got the fence installed. Originally, I wanted a fence with metal posts, but we needed this done quick ‘n’ cheap, so treated pine it is.
The most time-consuming part (for me) was getting the lumber ordered from the Big Box store. I normally would’ve gone with a more local lumberyard, but it was more of a matter of getting it done.
Once the wood was on-side, the guys got it done. Took one day for the fence, and one for the gate.
Yes, that’s a Master Lock. Yes, Master Locks are the absolute worst.
But it’ll have to do for now.
For someone to open the gate, they’ll have to intentionally B&E, and that’s at least something.
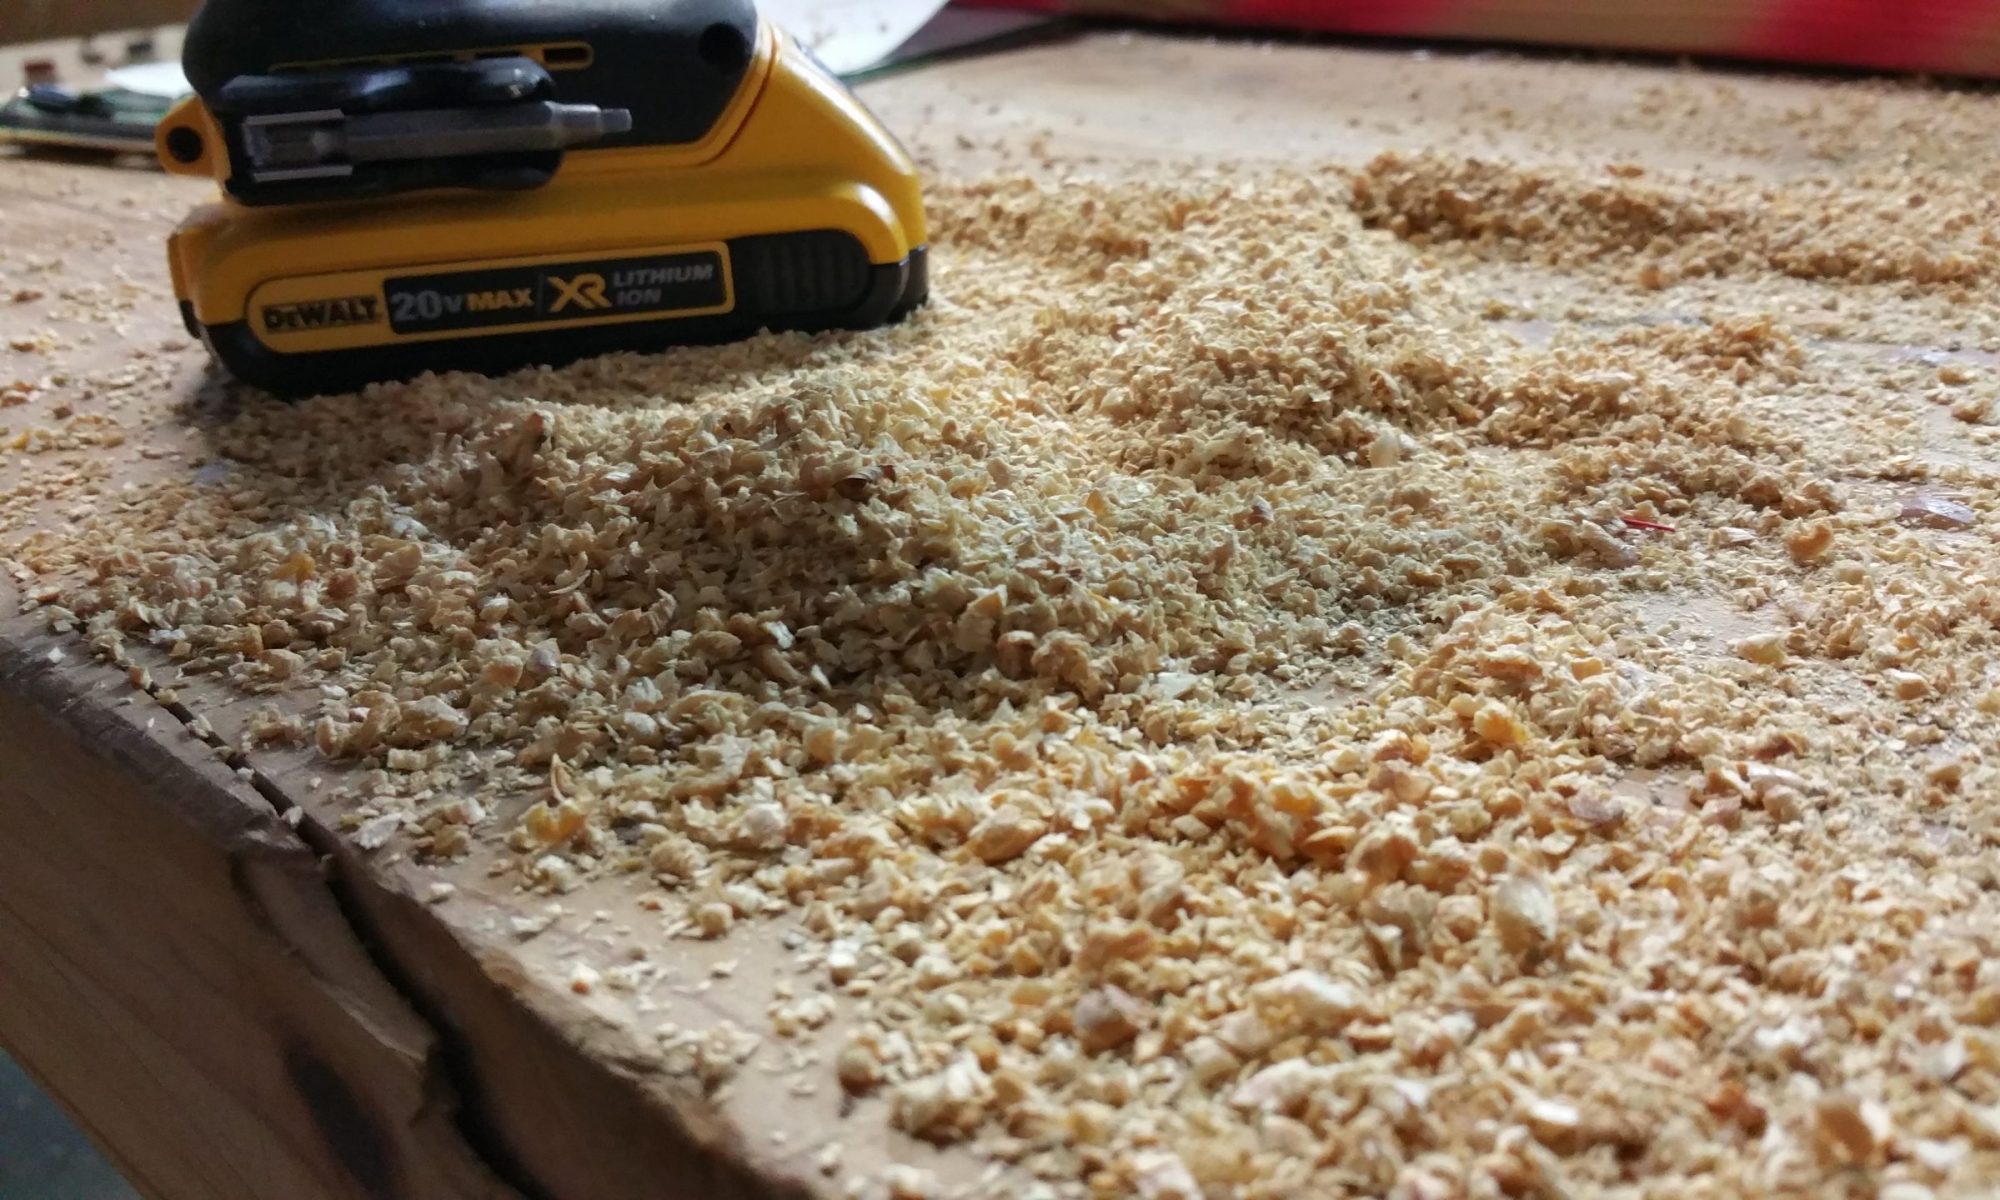
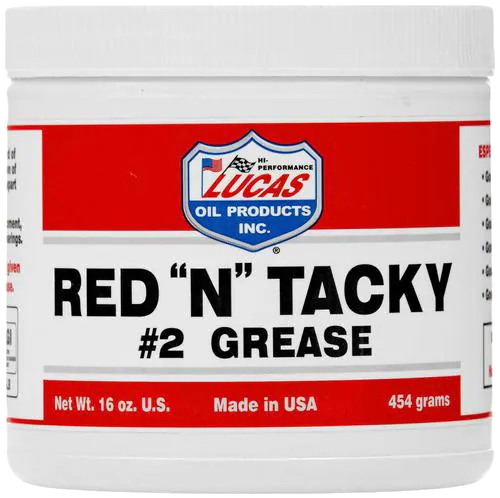
The grease on the trailers wheel bearings is old. I mean, OLD.
According to the random people on the interwebs, one should repack the bearings every year or so. Repacking in this context means removing the bearings, cleaning them, the axle and the housing, packing bearing grease into everything, and reassembling.
The grease needed is a NLGI #2 (Rated GC-LB). The one I have my eye on is Lucas “Red ‘n’ Tacky”, which has the viscosity of peanut butter. But red.
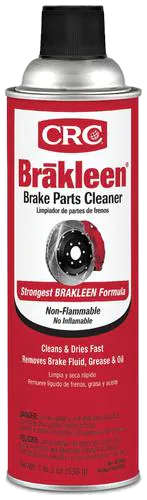
The brake cleaner is the standard stuff.
Ever shot brake cleaner in your eye? No? Trust me, you better be wearing safety goggles, even if you think you’re “careful”. I didn’t wear goggles once and thank goodness I acted quickly to irrigate my eye while getting a ride to the emergency room.
In order to get the nut off the first wheel, I had to remove the cotter pin. Despite my best effort, I couldn’t straighten it out enough to pull. Normally, I’d wrench it out and replace the pin, but I didn’t have a replacement handy.
Instead, I shoved a dollop of grease in the outer bearing and hoped for the best. We took surface streets, so we never went above 40 mph. If the wheels had started smoking, we would’ve pulled over and figured something out, but fortunately it didn’t come to that.
I’m going to move Tiny down from storage onto the lot; I’ve been spending lots of $$$ keeping it up north and it’s time to push things forward! Before I can do this, I need to prepare the land.
My plan was to put down a gravel driveway for a couple of reasons:
It is better for the watershed – gravel is permeable, allowing rain to soak directly into the ground instead of running off into drainage ditches.
It is cheaper – building a 11’x50′ driveway should cost about $3k instead of ~$14k.
I can do most (all) of the work myself.
In addition, I need to ensure some level of security for Tiny, as it will be sitting out all alone with no one to watch over her! I’ll need to prepare the land by adding a fence to keep looky-loos out and make it harder to get onto the property.
Land Preparation Steps
Prepping the location for the gravel
Driveway
Mark out location with stakes and twine ✅
Dig out area to 6″ deep 🌀
Lay down weed barrier
Purchase gravel
Purchase grid
Spread out bottom layer and compact
Assemble grid
Spread out top layer and compact
Fence
Mark out location with stakes and twine ✅
Determine approach: wood, SS40 pipe or steel post (see Resources below)
Long, long overdue update: AT&T fixed their wire and it is up to code, but now the low hanging wire belongs to XFinity/Comcast and despite numerous calls, they refuse to do anything to correct it.
Well, strike that. They are bumbling idiots, so they have no problem sending out a crew to the wrong address. Or saying they can’t help me because there’s no service at the actual address. Or getting the name of the street completely wrong.
Typical interaction with Comcast Low Hanging Wire Support
Comcast: Hello Comcast, how can I help you? Me: Yes, I’d like to report a low-hanging wire at 100 Apple Pie Way C: (tap tap tap) I see here your home address is 1545 Elaine Rd, is that where the wire is? M: No, that’s my old address. The wire is hanging across the driveway at 100 Apple Pie Way, which is a property I own. C: (tap tap tap) Are you saying you don’t have service at 100 Apple Pie Way? We don’t provide service to that address. M: Yes, I understand. Your wire is suspended over my driveway and it is sagging low. C: Okay, got it. We’ll send out a crew. M: Thank you
(A few hours later)
Comcast Tech: Hello, this is Comcast Tech Me: Hey, what’s up? CT: I got a ticket about a low wire as 1545 Elaine Road, and none of the wires around here are low hanging. M: Yeah, that’s because the wire is at 100 Apple Pie Way. CT: Ah. okay. That’s outside my area, so I’ll cancel this ticket and you’ll need to call and have them open a ticket for the other address.
(Sounds of head banging into the wall)
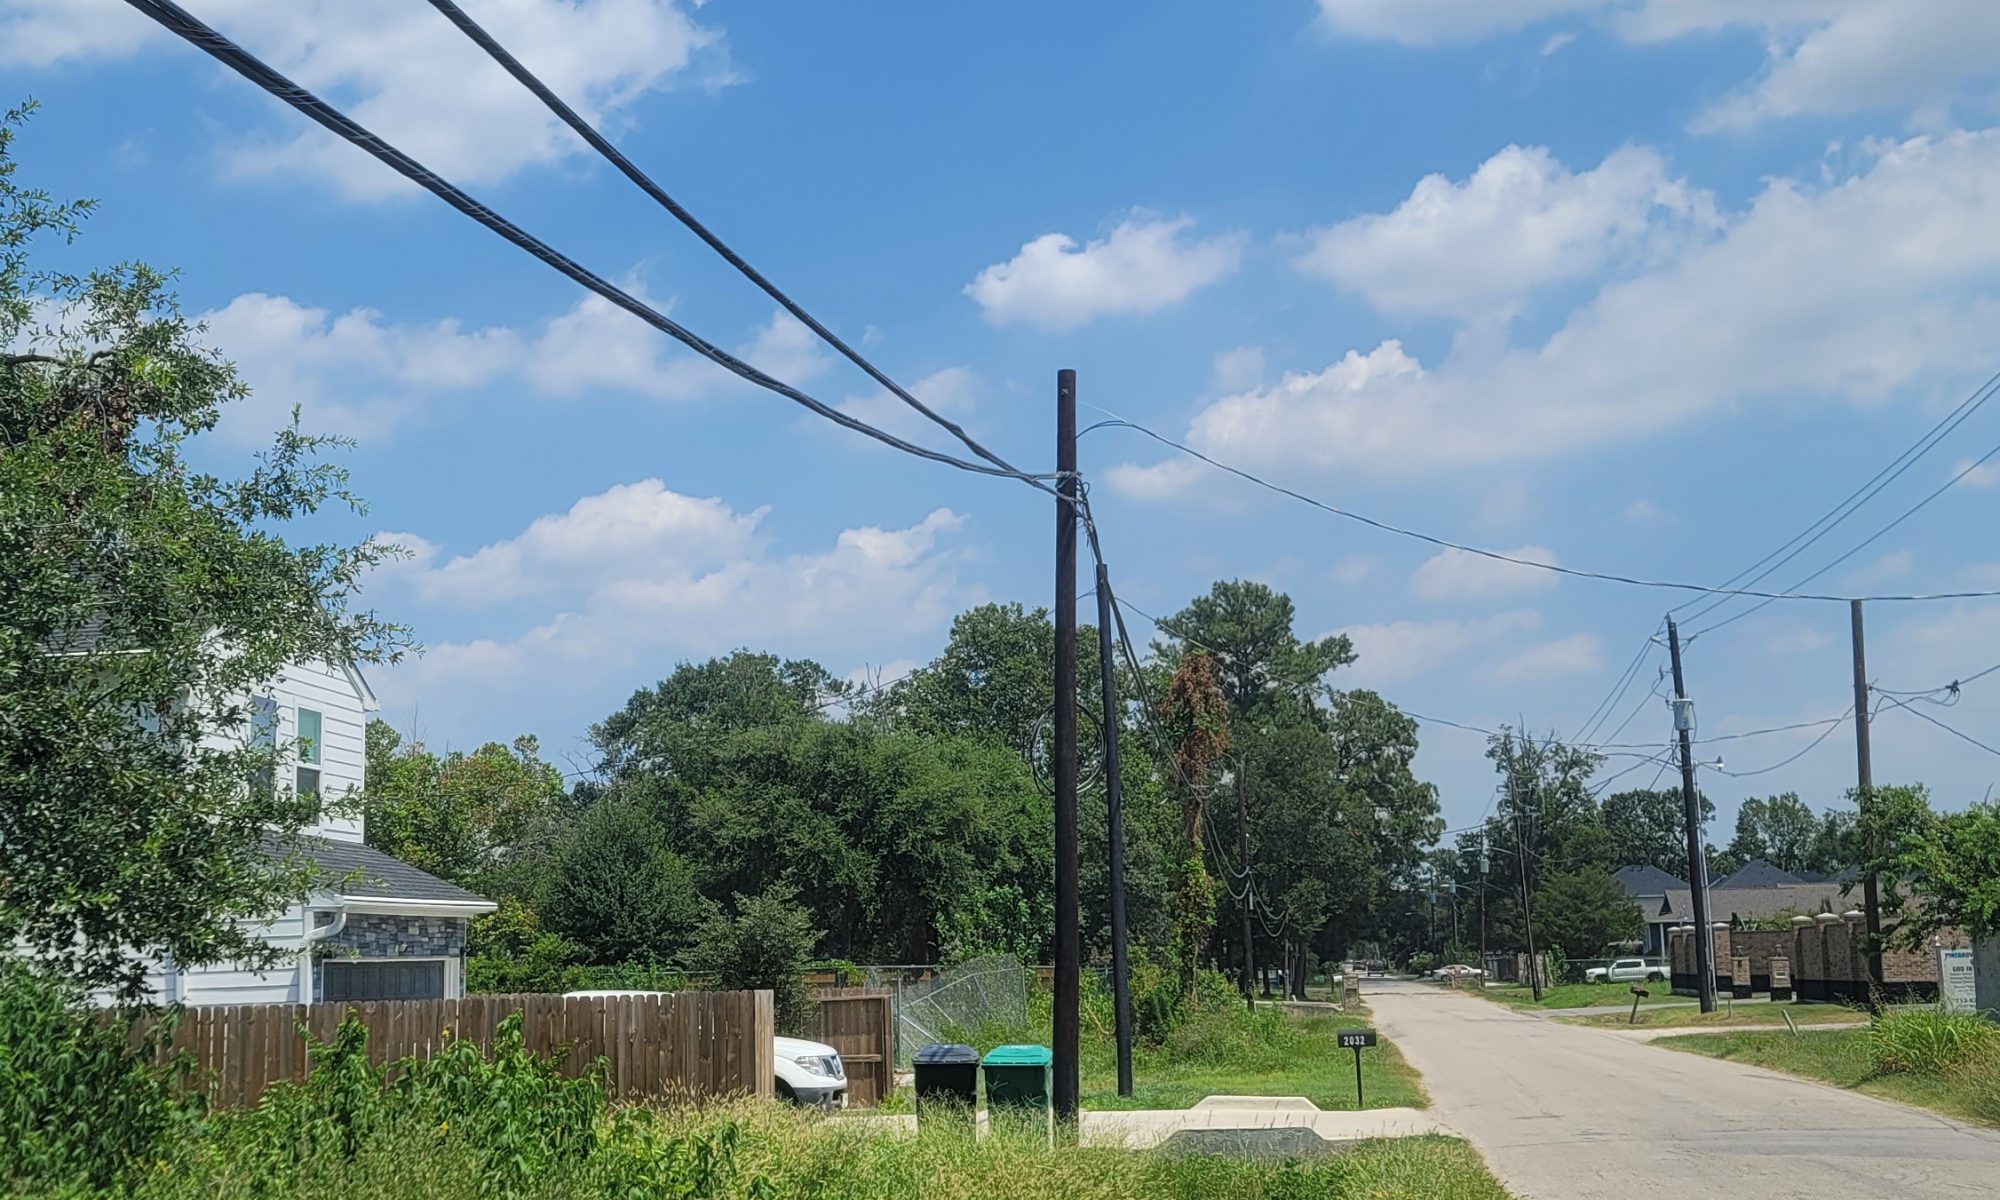
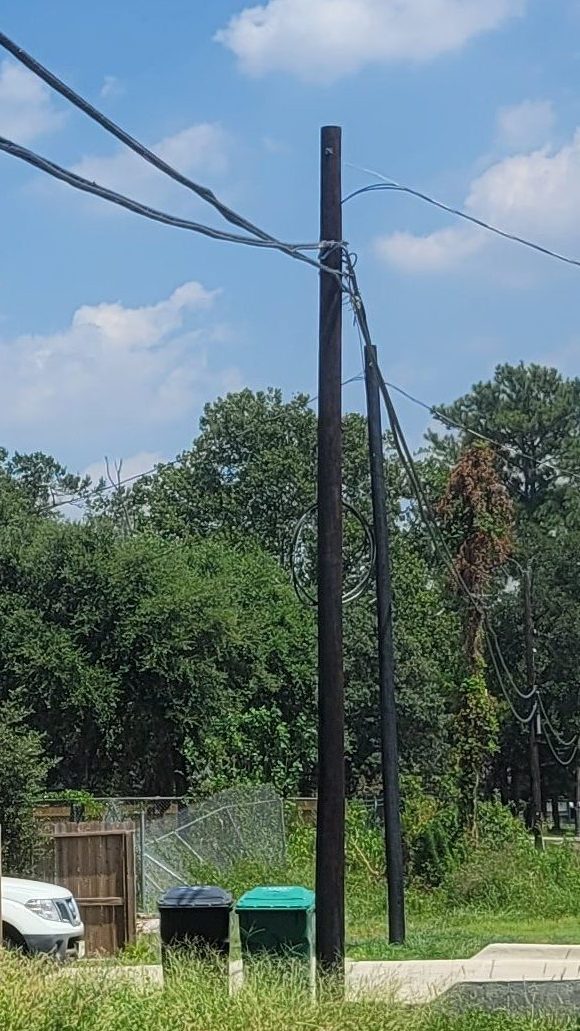
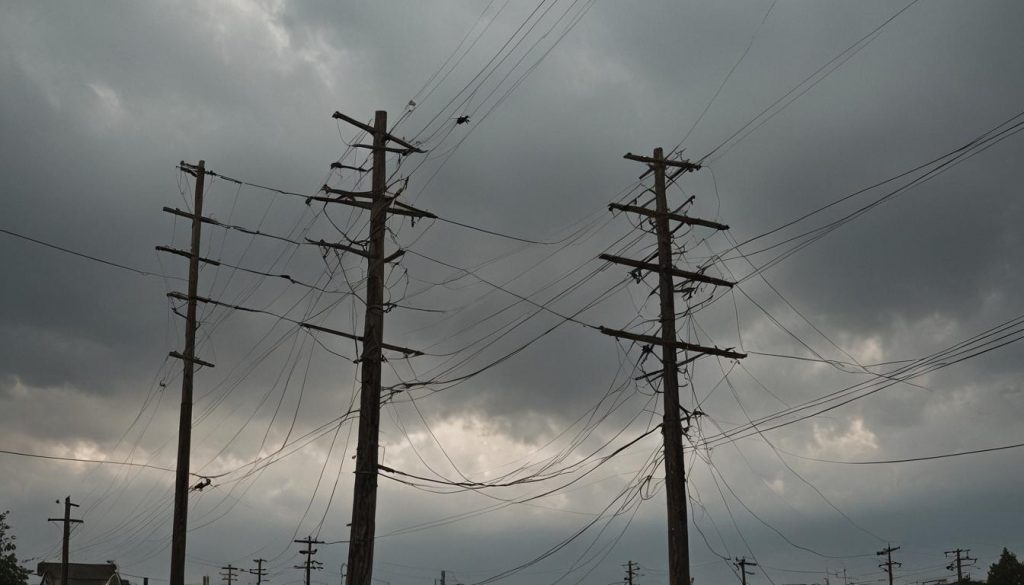
The low hanging Comcast wire is attached above the other wire on the pole, but because it has way too much slack, it is draping below the AT&T wire.
Comcast wire hanging low
There are a few things I can try doing, but in the meantime I’ve let this thing go on far too long, so I need to get going, as it were. The concern is once I get the tiny house on the property, if I need to leave for any reason (an impending hurricane is a pretty good reason), the low-hanging wire will be an impediment to GTFO quickly.
Complaining to the PUC is still an option and I should probably follow up on it, but in the meantime, I need to get Tiny down here and parked.
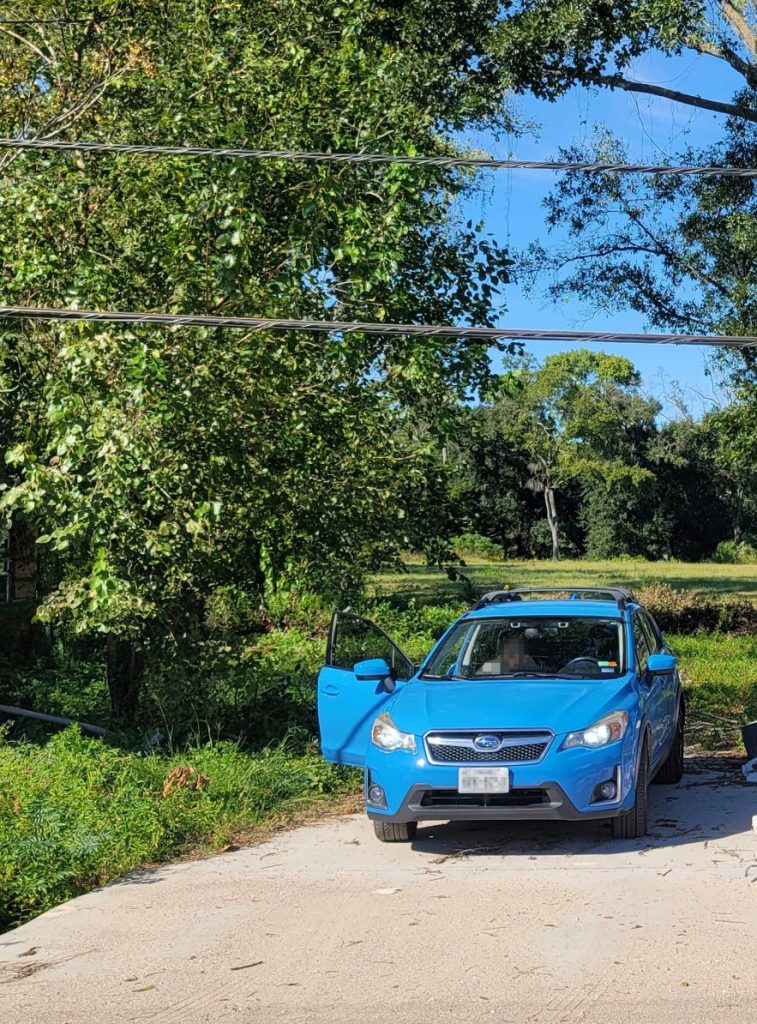
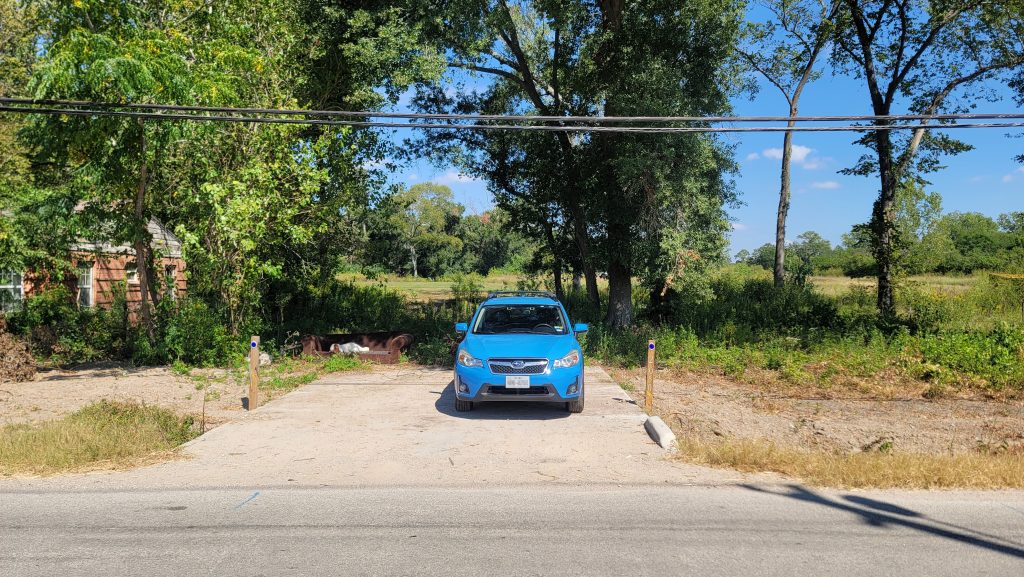
The dirt guy can’t get his trucks onto my property in order to deliver the dirt because the trucks won’t fit under the wires.
It turns out the telephone wire hangs too low over the driveway. I estimated it is about 10′ above the driveway, and code is 15′. Even the tiny house wouldn’t fit (it is 13’6″).
Before I purchased the property, there was no driveway so it is understandable why it was never noticed or corrected.
I called 311 (city services). They inform me the city doesn’t own telephone poles, thus thanks to the magic of privatization, they cannot help me. They suggest contacting either Centerpoint (who own the poles) or AT&T (owners of the data wires), or both.
Centerpoint: get lost, pal
Centerpoint tells me the wires on top of the pole are power and they maintain them. The lower wires don’t belong to them (that part of the pole is leased to other companies), so they aren’t responsible. So sad, too bad.
Telephone poles are divided into zones, with the higher the zone, the more dangerous the wire. Wires on the very top carry the most voltage, and wires on the bottom carry the least.
Nevertheless, it isn’t advisable to go around playing with any wires: the wrong voltage can kill you.
AT&T – Cower Before Us
The lower wires are the ones blocking my access, which means telecom. Upon calling AT&T (motto: “We make it hard so you’ll stop bothering us!”) the automated phone system helpfully suggests using their website “for faster service”.
Going to the page, I’m unable to do anything as the problem reporting tool assumes you are a customer, and keeps asking for my account number.
Back to the phones!
After being on hold for a while, it takes three transfers to get me to the right person. Each time I have to explain that I’m not a customer, my property is not a building, and this is about not about downed lines.
Finally, I get to the right person, explain the situation and they tell me they’ll send out a repair tech.
A month later and the work is still not done so I call again. The tech calls me the next morning saying he’s at the site, can verify the lines are sagging. He can’t raise them high enough because the telephone pole is leaning. You know, the pole they don’t own and have no control over. He says he’ll tighten the line and try to get Centerpoint to come fix their pole. I’m not going to hold by breath.
Try the PUC?
In desperation, I search for a solution online and discover there is actually a state Public Utilities Commission! The point me to the City’s Administration and Public Affairs department. There isn’t a formal complaint procedure (‘contact the utility and then contact APA if you aren’t satisfied’), so I follow the state PUC’s procedure:
Try to resolve the problem with the utility
Document when, with whom, discussion notes and outcome of the call.
After a sufficient time passes days (undefined, but I assume 20), contact the PUC
If the complaint is legit and documentation indicates a good-faith effort to resolve, the PUC will contact the company.
The company has 15 days to respond to the PUC.
The PUC will investigate and determine if there was any legal malfeasance.
If the company is at fault, fines will be assessed.
Step 1 – contact AT&T (again)
The last time I contacted AT&T was over a month before, so I contacted them again, documented who I spoke with, the date and time, and took notes about what was said.
Step 2 – wait
The clock starts and I make note of when I need to verify the work still isn’t done. A week before the deadline, I check the site and discover they finally fixed the wire!
Lessons Learned
Privatization has not resulted in lower prices and/or better service. It has resulted in higher prices and 💩 service. But freedom, I guess, whatever.
Next time, I’ll follow the PUC procedures, stay on top of it and hopefully that will result in a faster fix. All told, it took about 18 months to get this resolved.
Things have been pretty quiet what with all the world-wide pandemic and all. In the meantime, I started planning a fence, but two things stopped me cold:
I had to get an elevation survey in order to know how much dirt I would to grade and fill the property. Turns out most places I called never heard of them, but two did, one that cost way more and one that cost way less. The cheaper one was fishy, so I paid for the expensive one.
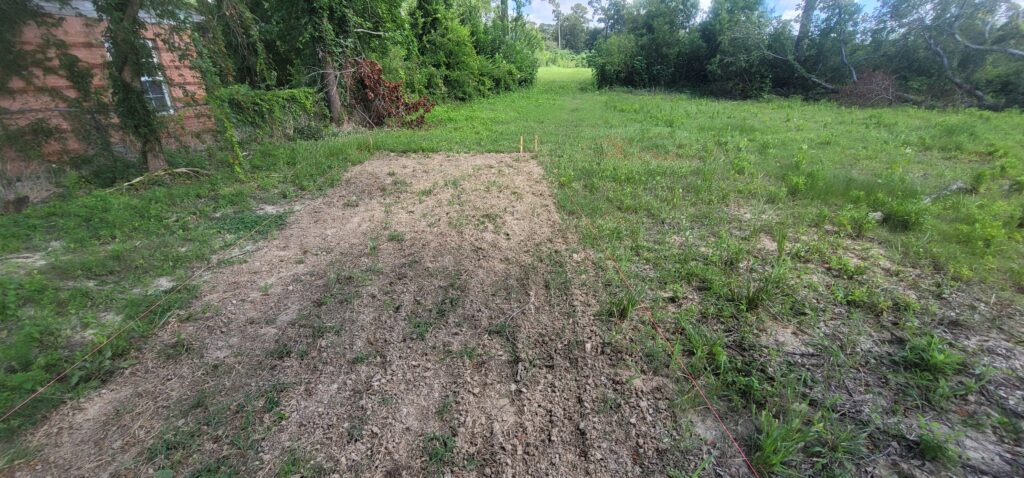
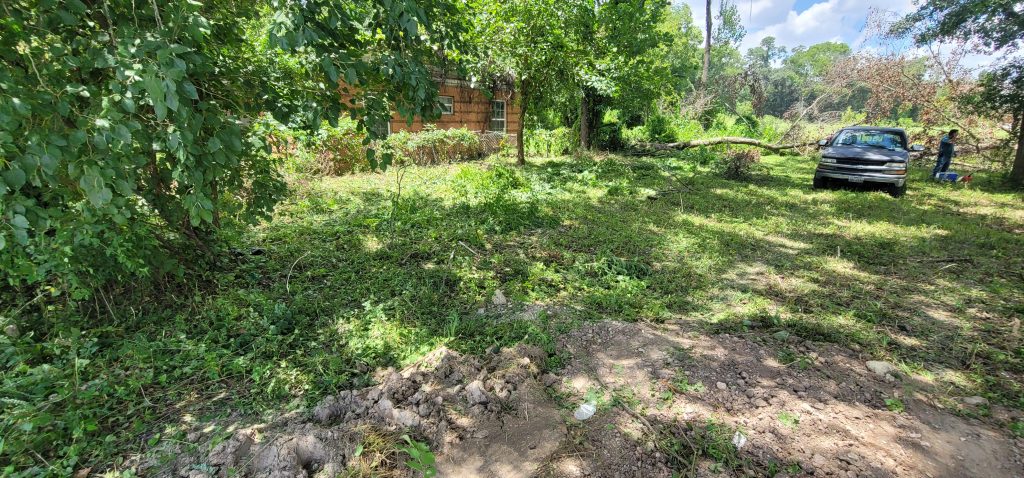
Before the surveyor came, I had to clear the jungle out and pile up all the trash donations people had provided me.
No more jungle!
Now I have some calculations to do. If the amount of dirt to grade and fill is lower than 1000 sq ft, I don’t need a permit. Stay tuned!
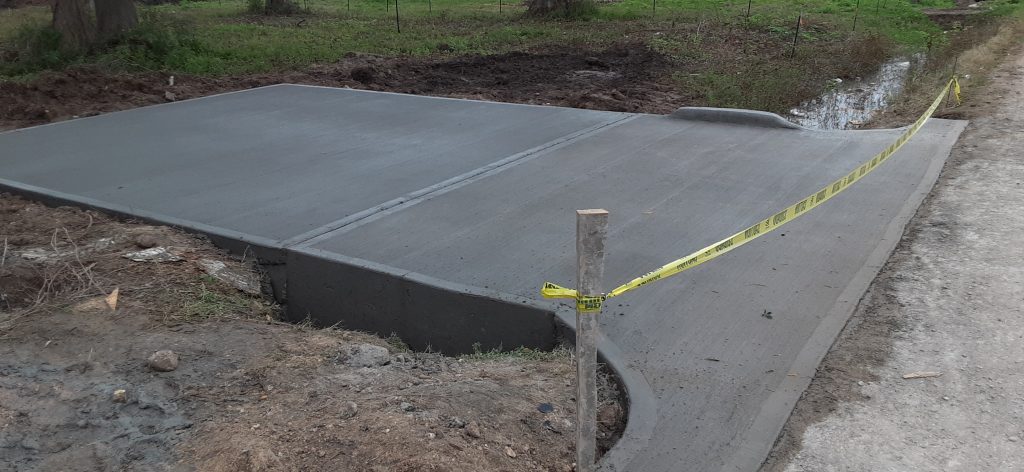
That was quick! Just a day or two delay due to rain, and the guys finished quickly. I had to call them to come tidy up the site a bit: the culvert pipe was clogged with mud from the construction, and they took care of it promptly.
The Driveway
Notice about cookies
This site, like most other sites on the web, uses cookies. For more information, see our privacy policy.
This website uses cookies to improve your experience while you navigate through the website. Out of these, the cookies that are categorized as necessary are stored on your browser as they are essential for the working of basic functionalities of the website. We also use third-party cookies that help us analyze and understand how you use this website. These cookies will be stored in your browser only with your consent. You also have the option to opt-out of these cookies. But opting out of some of these cookies may affect your browsing experience.
Necessary cookies are absolutely essential for the website to function properly. These cookies ensure basic functionalities and security features of the website, anonymously.
Cookie
Duration
Description
cookielawinfo-checkbox-analytics
11 months
This cookie is set by GDPR Cookie Consent plugin. The cookie is used to store the user consent for the cookies in the category "Analytics".
cookielawinfo-checkbox-functional
11 months
The cookie is set by GDPR cookie consent to record the user consent for the cookies in the category "Functional".
cookielawinfo-checkbox-necessary
11 months
This cookie is set by GDPR Cookie Consent plugin. The cookies is used to store the user consent for the cookies in the category "Necessary".
cookielawinfo-checkbox-others
11 months
This cookie is set by GDPR Cookie Consent plugin. The cookie is used to store the user consent for the cookies in the category "Other.
cookielawinfo-checkbox-performance
11 months
This cookie is set by GDPR Cookie Consent plugin. The cookie is used to store the user consent for the cookies in the category "Performance".
viewed_cookie_policy
11 months
The cookie is set by the GDPR Cookie Consent plugin and is used to store whether or not user has consented to the use of cookies. It does not store any personal data.
Functional cookies help to perform certain functionalities like sharing the content of the website on social media platforms, collect feedbacks, and other third-party features.
Performance cookies are used to understand and analyze the key performance indexes of the website which helps in delivering a better user experience for the visitors.
Analytical cookies are used to understand how visitors interact with the website. These cookies help provide information on metrics the number of visitors, bounce rate, traffic source, etc.
Advertisement cookies are used to provide visitors with relevant ads and marketing campaigns. These cookies track visitors across websites and collect information to provide customized ads.


