Bam!
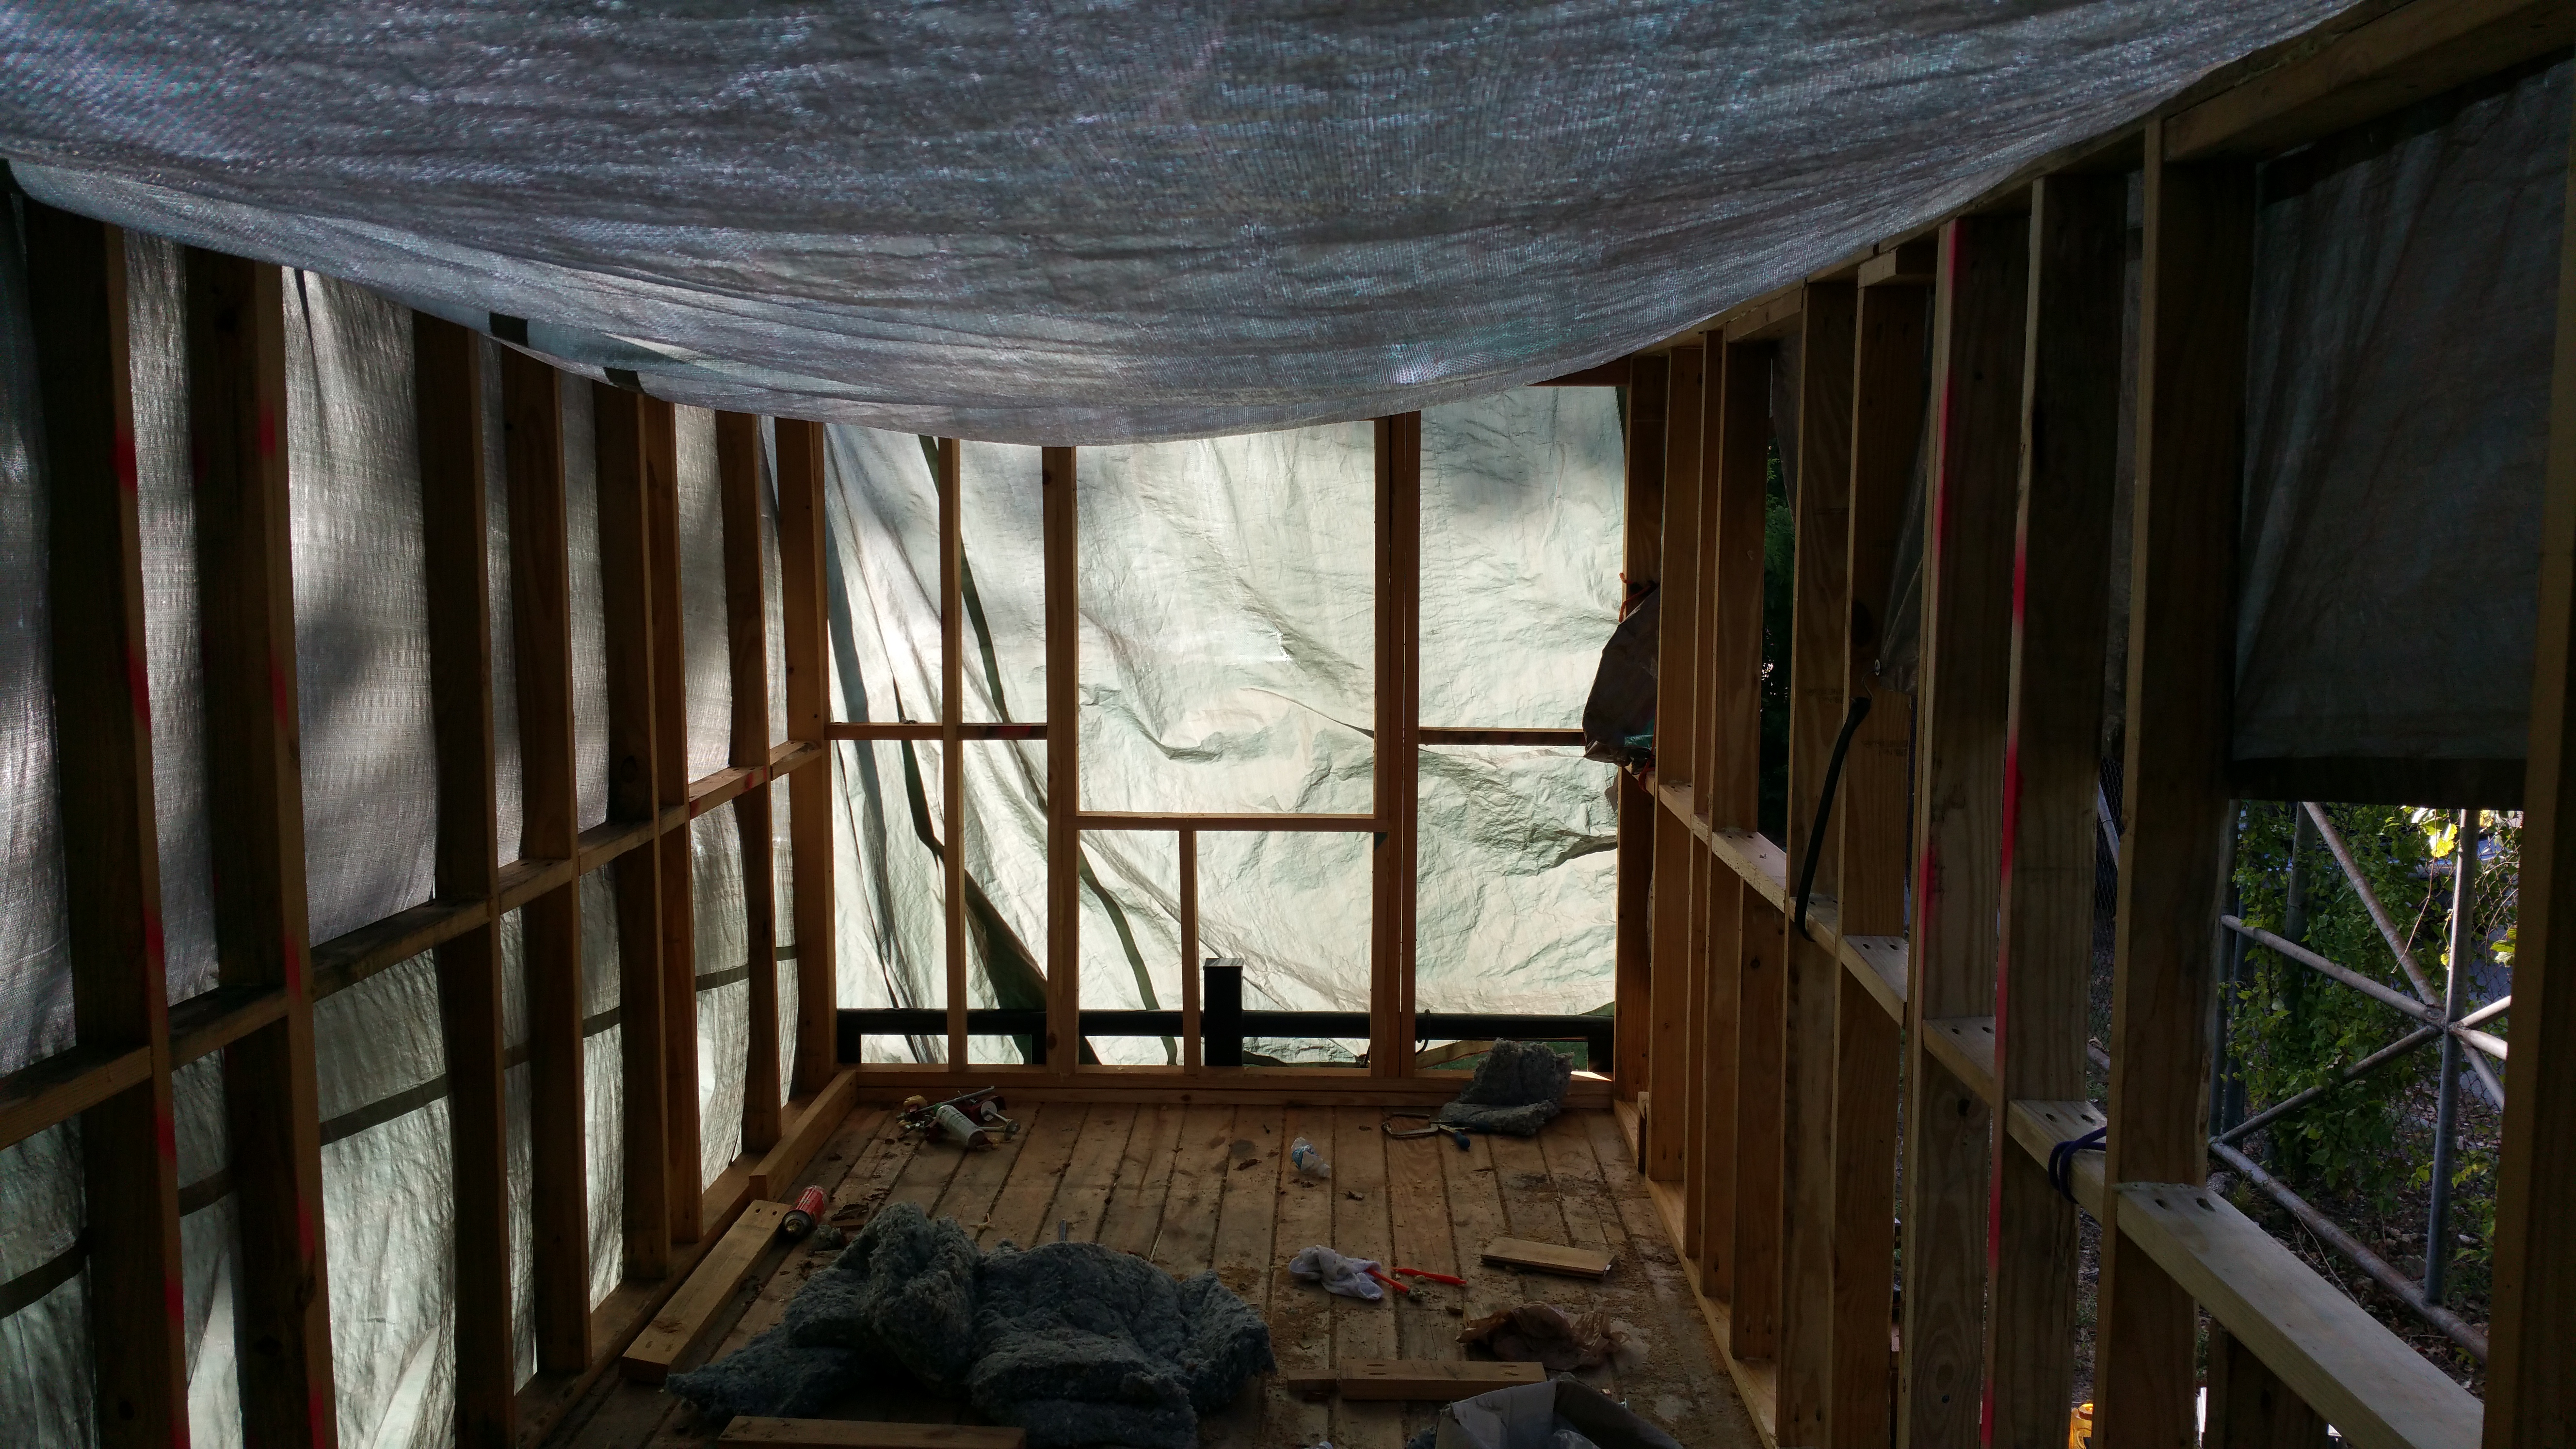
This is what it looks like “inside” – wow, a real room!
I threw the tarp over the whole thing and now it is a nice little space.
Moving toward sustainability
Bam!
This is what it looks like “inside” – wow, a real room!
I threw the tarp over the whole thing and now it is a nice little space.
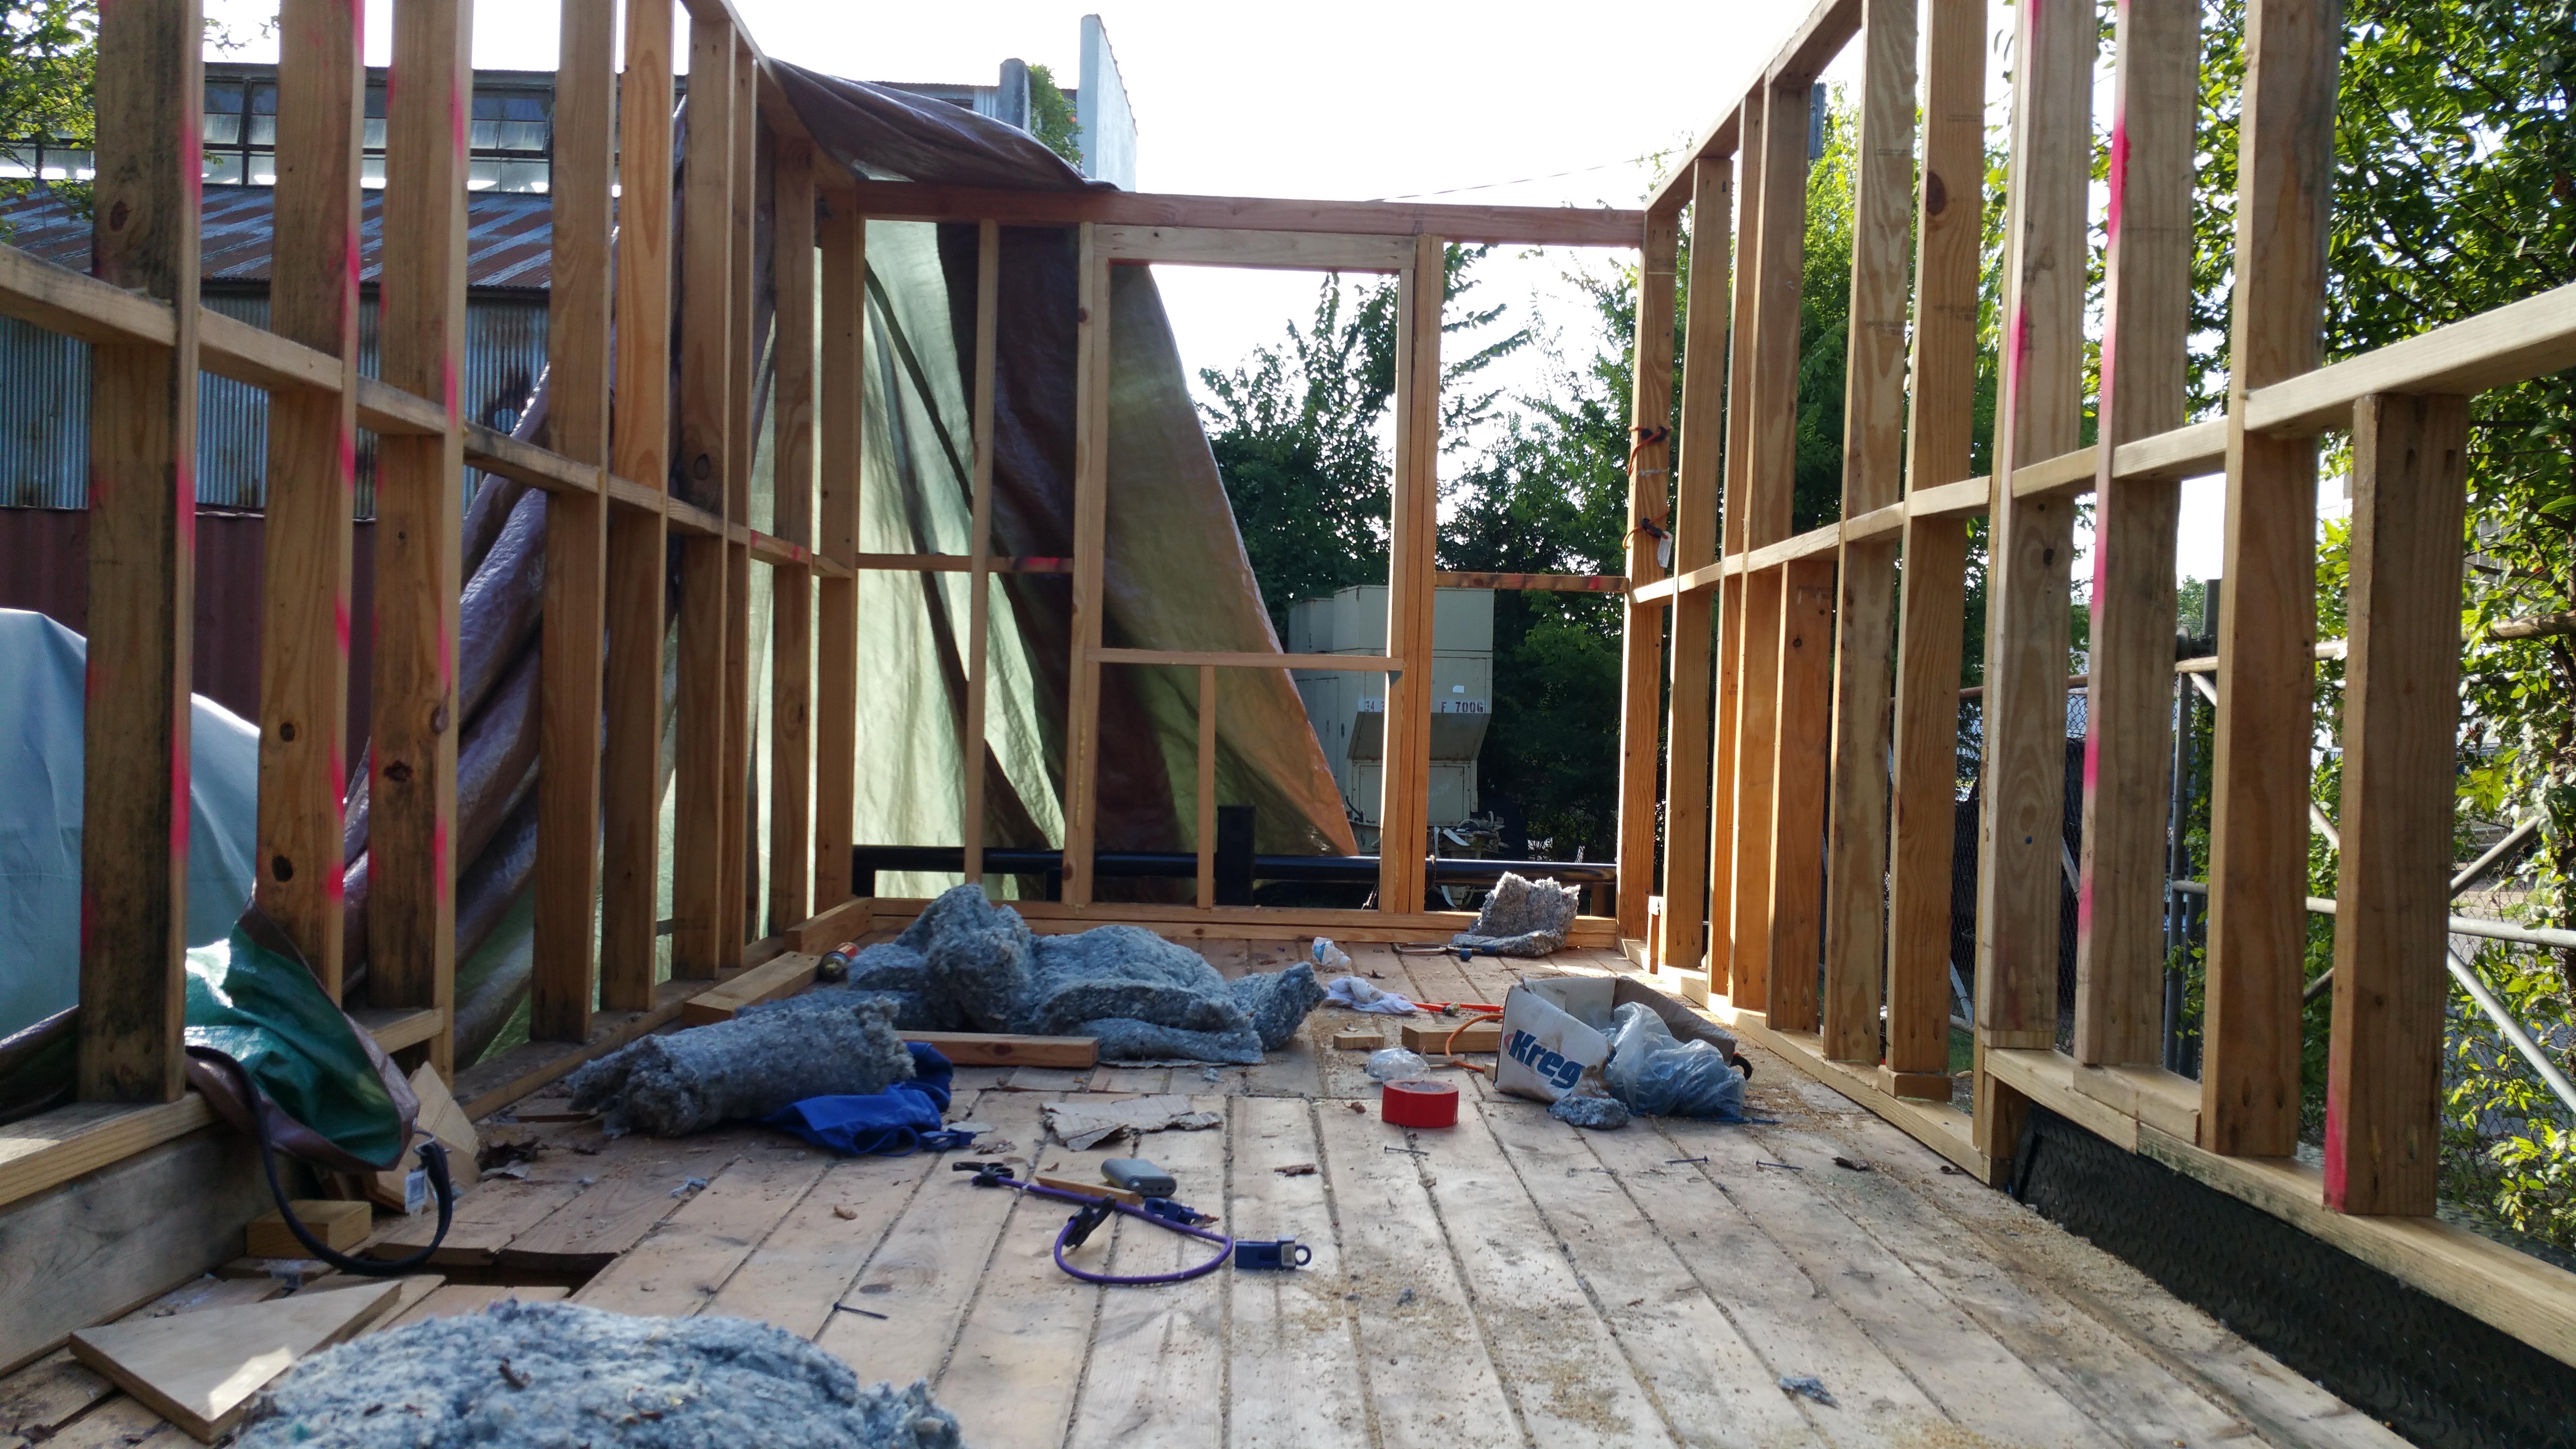
The third wall is complete – all the studs are in and the three windows (yes, three!) are framed out.
This weekend I got about a third of the wall framing completed, including a window!
The square in the upper-left corner is the tiny (24-inch) window. The actual glass won’t go in for a while, until after the wall is raised, the plywood attached, and the water barrier installed. Still it is nice to have a tangible feature completed.
Notice in a ‘typical’ home, there are studs above the window, called King (or Cripple) Studs:

Their function is to help transfer the load around the window. Tiny Home doesn’t have these because a) it is too short, and b) there isn’t as much load on top.
You can see here how little space I have to work with:
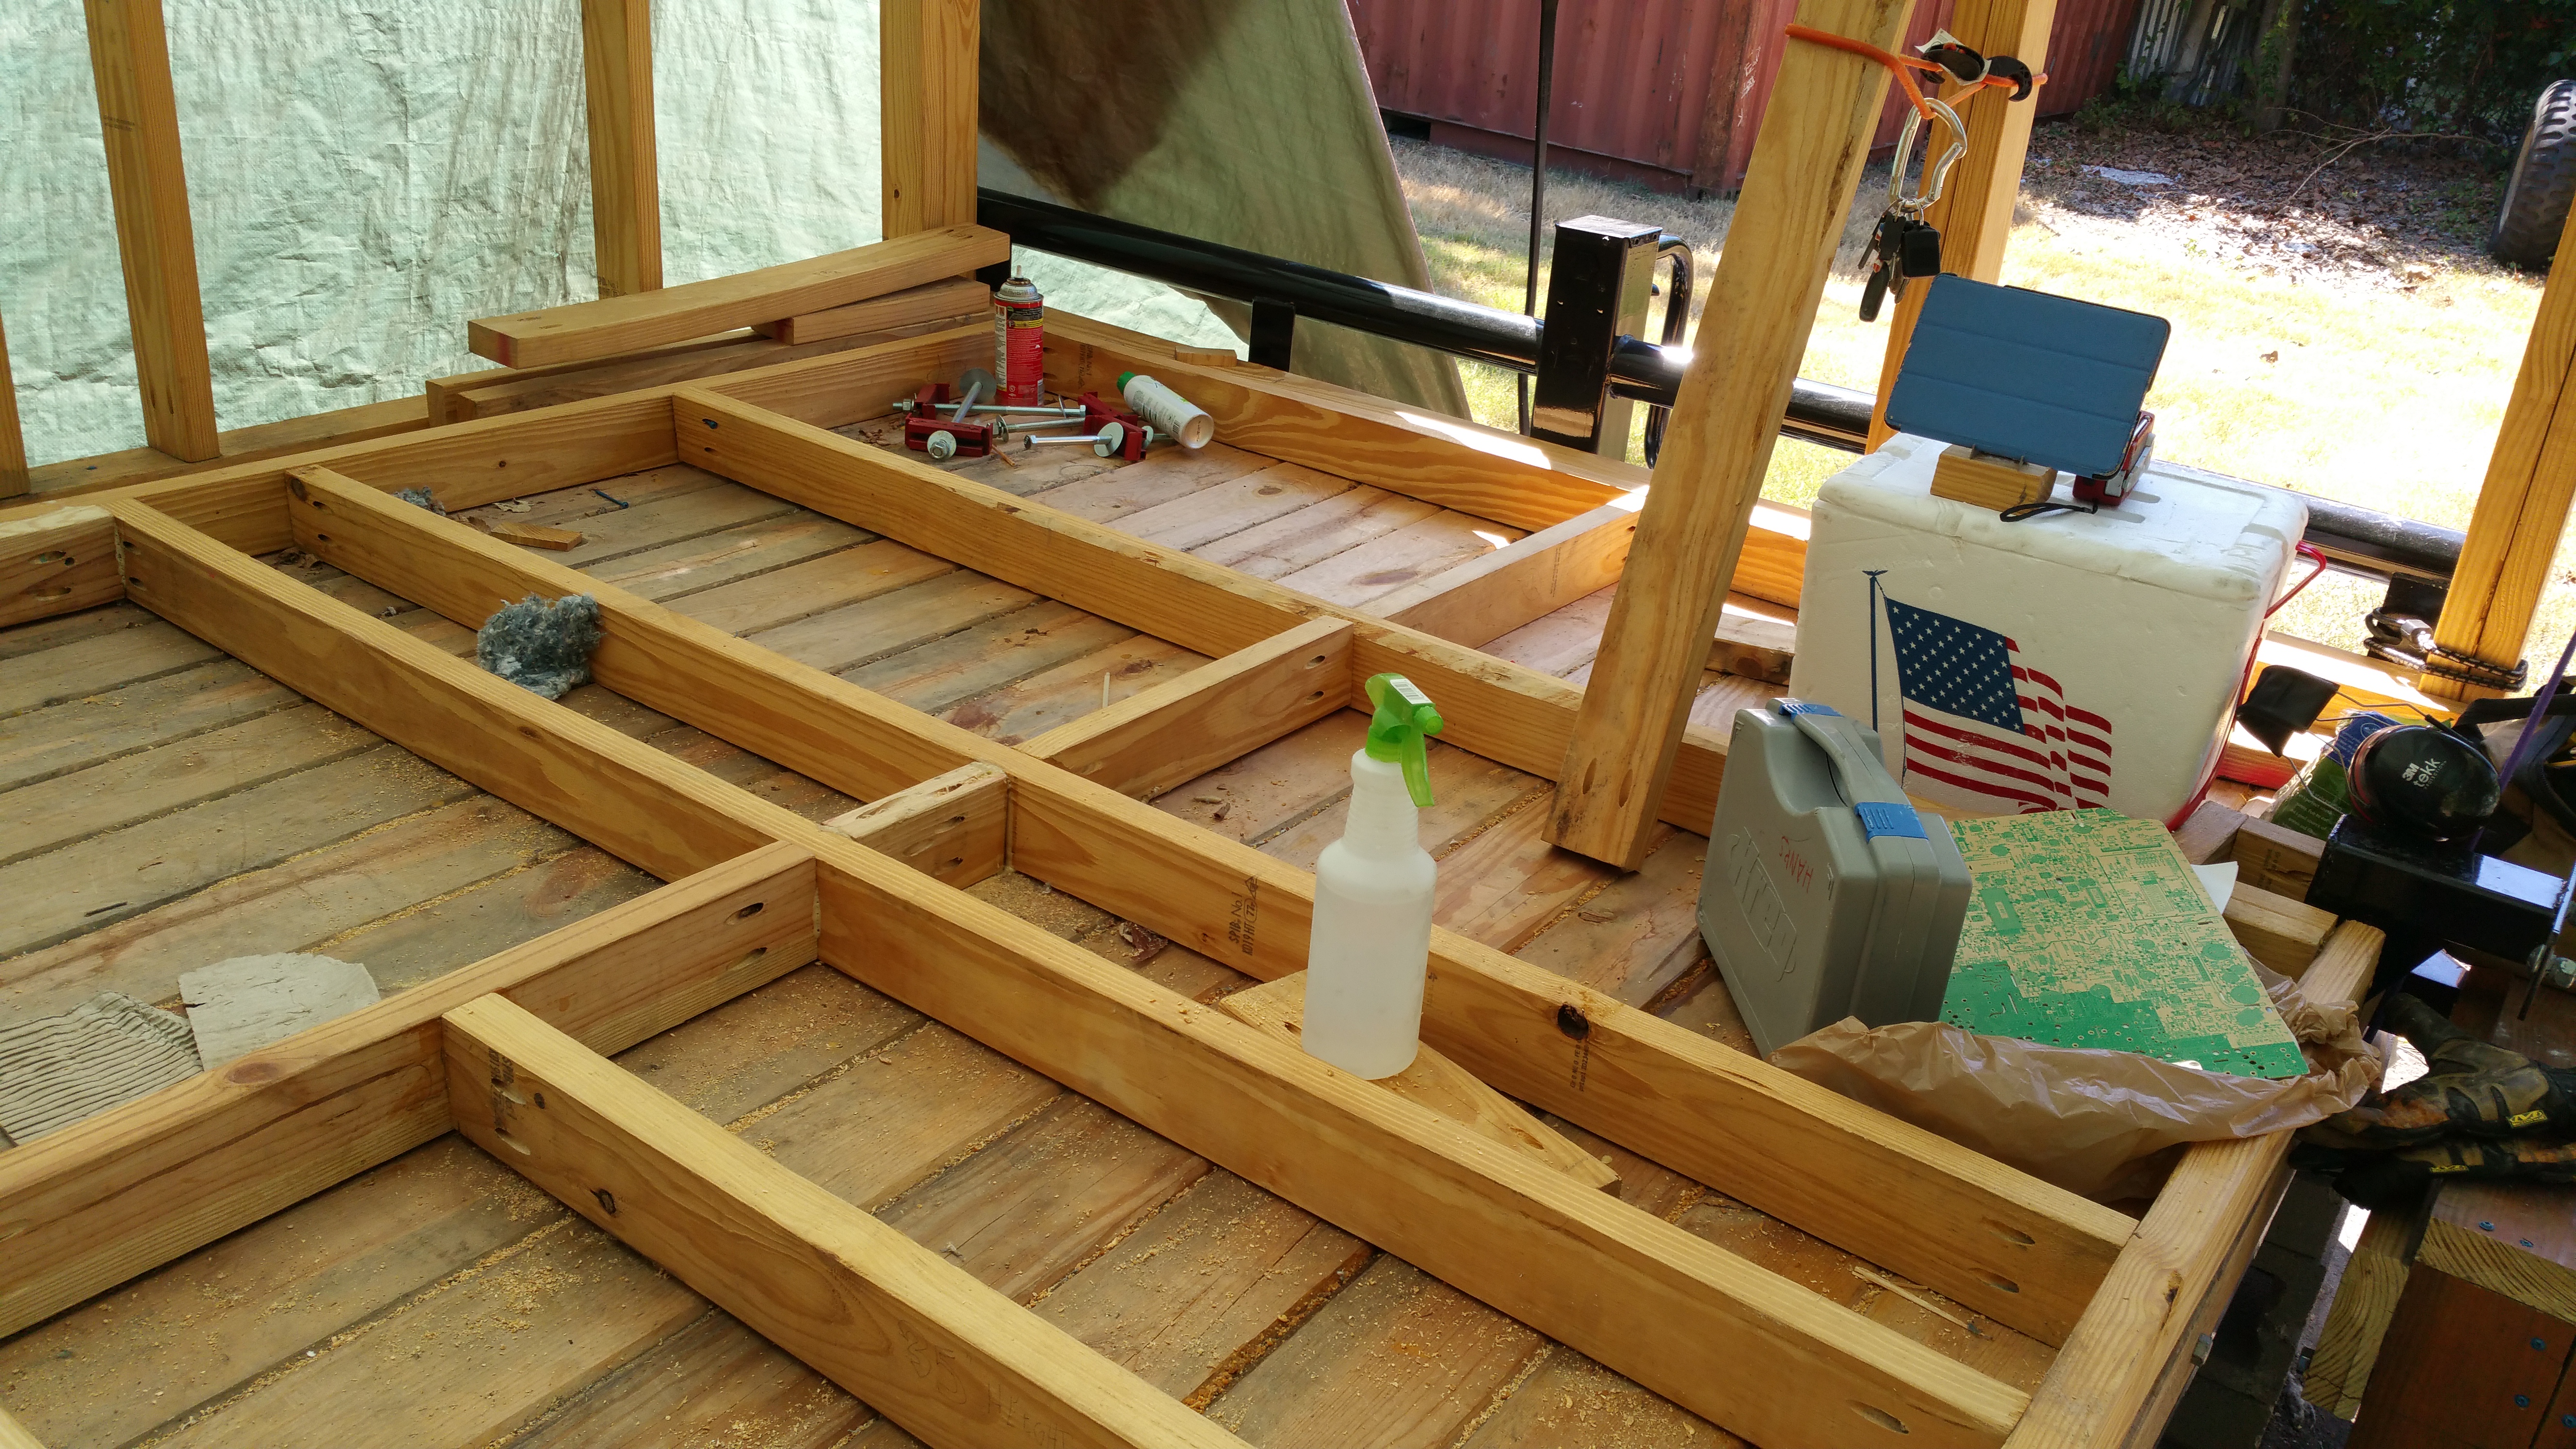
The base of the wall is on the right and the wall itself fills the entire floor. The American Flag box contains lots of drinking water, most of which I drank and later evaporated.
I’ll try to drop in a few studs a day and we’ll see if we can’t get this puppy knocked out by the end of the week.
A tiny home’s air quality is affected by pollutants more than a larger home, simply because there is much less air inside a tiny home.
My goal is to build the tiny home as air-tight as I can, to minimize the amount of air that leaks in or out. This also means that planning for a means to bring fresh outside air inside the house is very important.
The trade-off is every hole cut in the wall reduces energy efficiency.
On one hand, we have the exhaust fan with louvers that close when the fan is turned off.
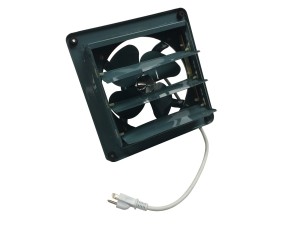
This fan’s only insulation is the louver, which doesn’t form an airtight seal. In hot or cold climates, this is not sufficient insulation.
According to the Department of Energy’s “Whole House Fact Sheet” (pdf), one option is to manually cover the opening(s):
Since standard fan louvers do not insulate or seal tightly, a cover should be constructed to airseal and insulate this hole …. The cover may be installed from the attic side (if attic access is easily available) or from the house side. Covers for both sides could be included in excessively hot or cold climates. Homeowners must remember to remove cover(s) before operating the fan and to replace cover(s) during seasons when the fan is not in use.
I can see that getting real old, real quick.
No solution, yet. Just something to think about.
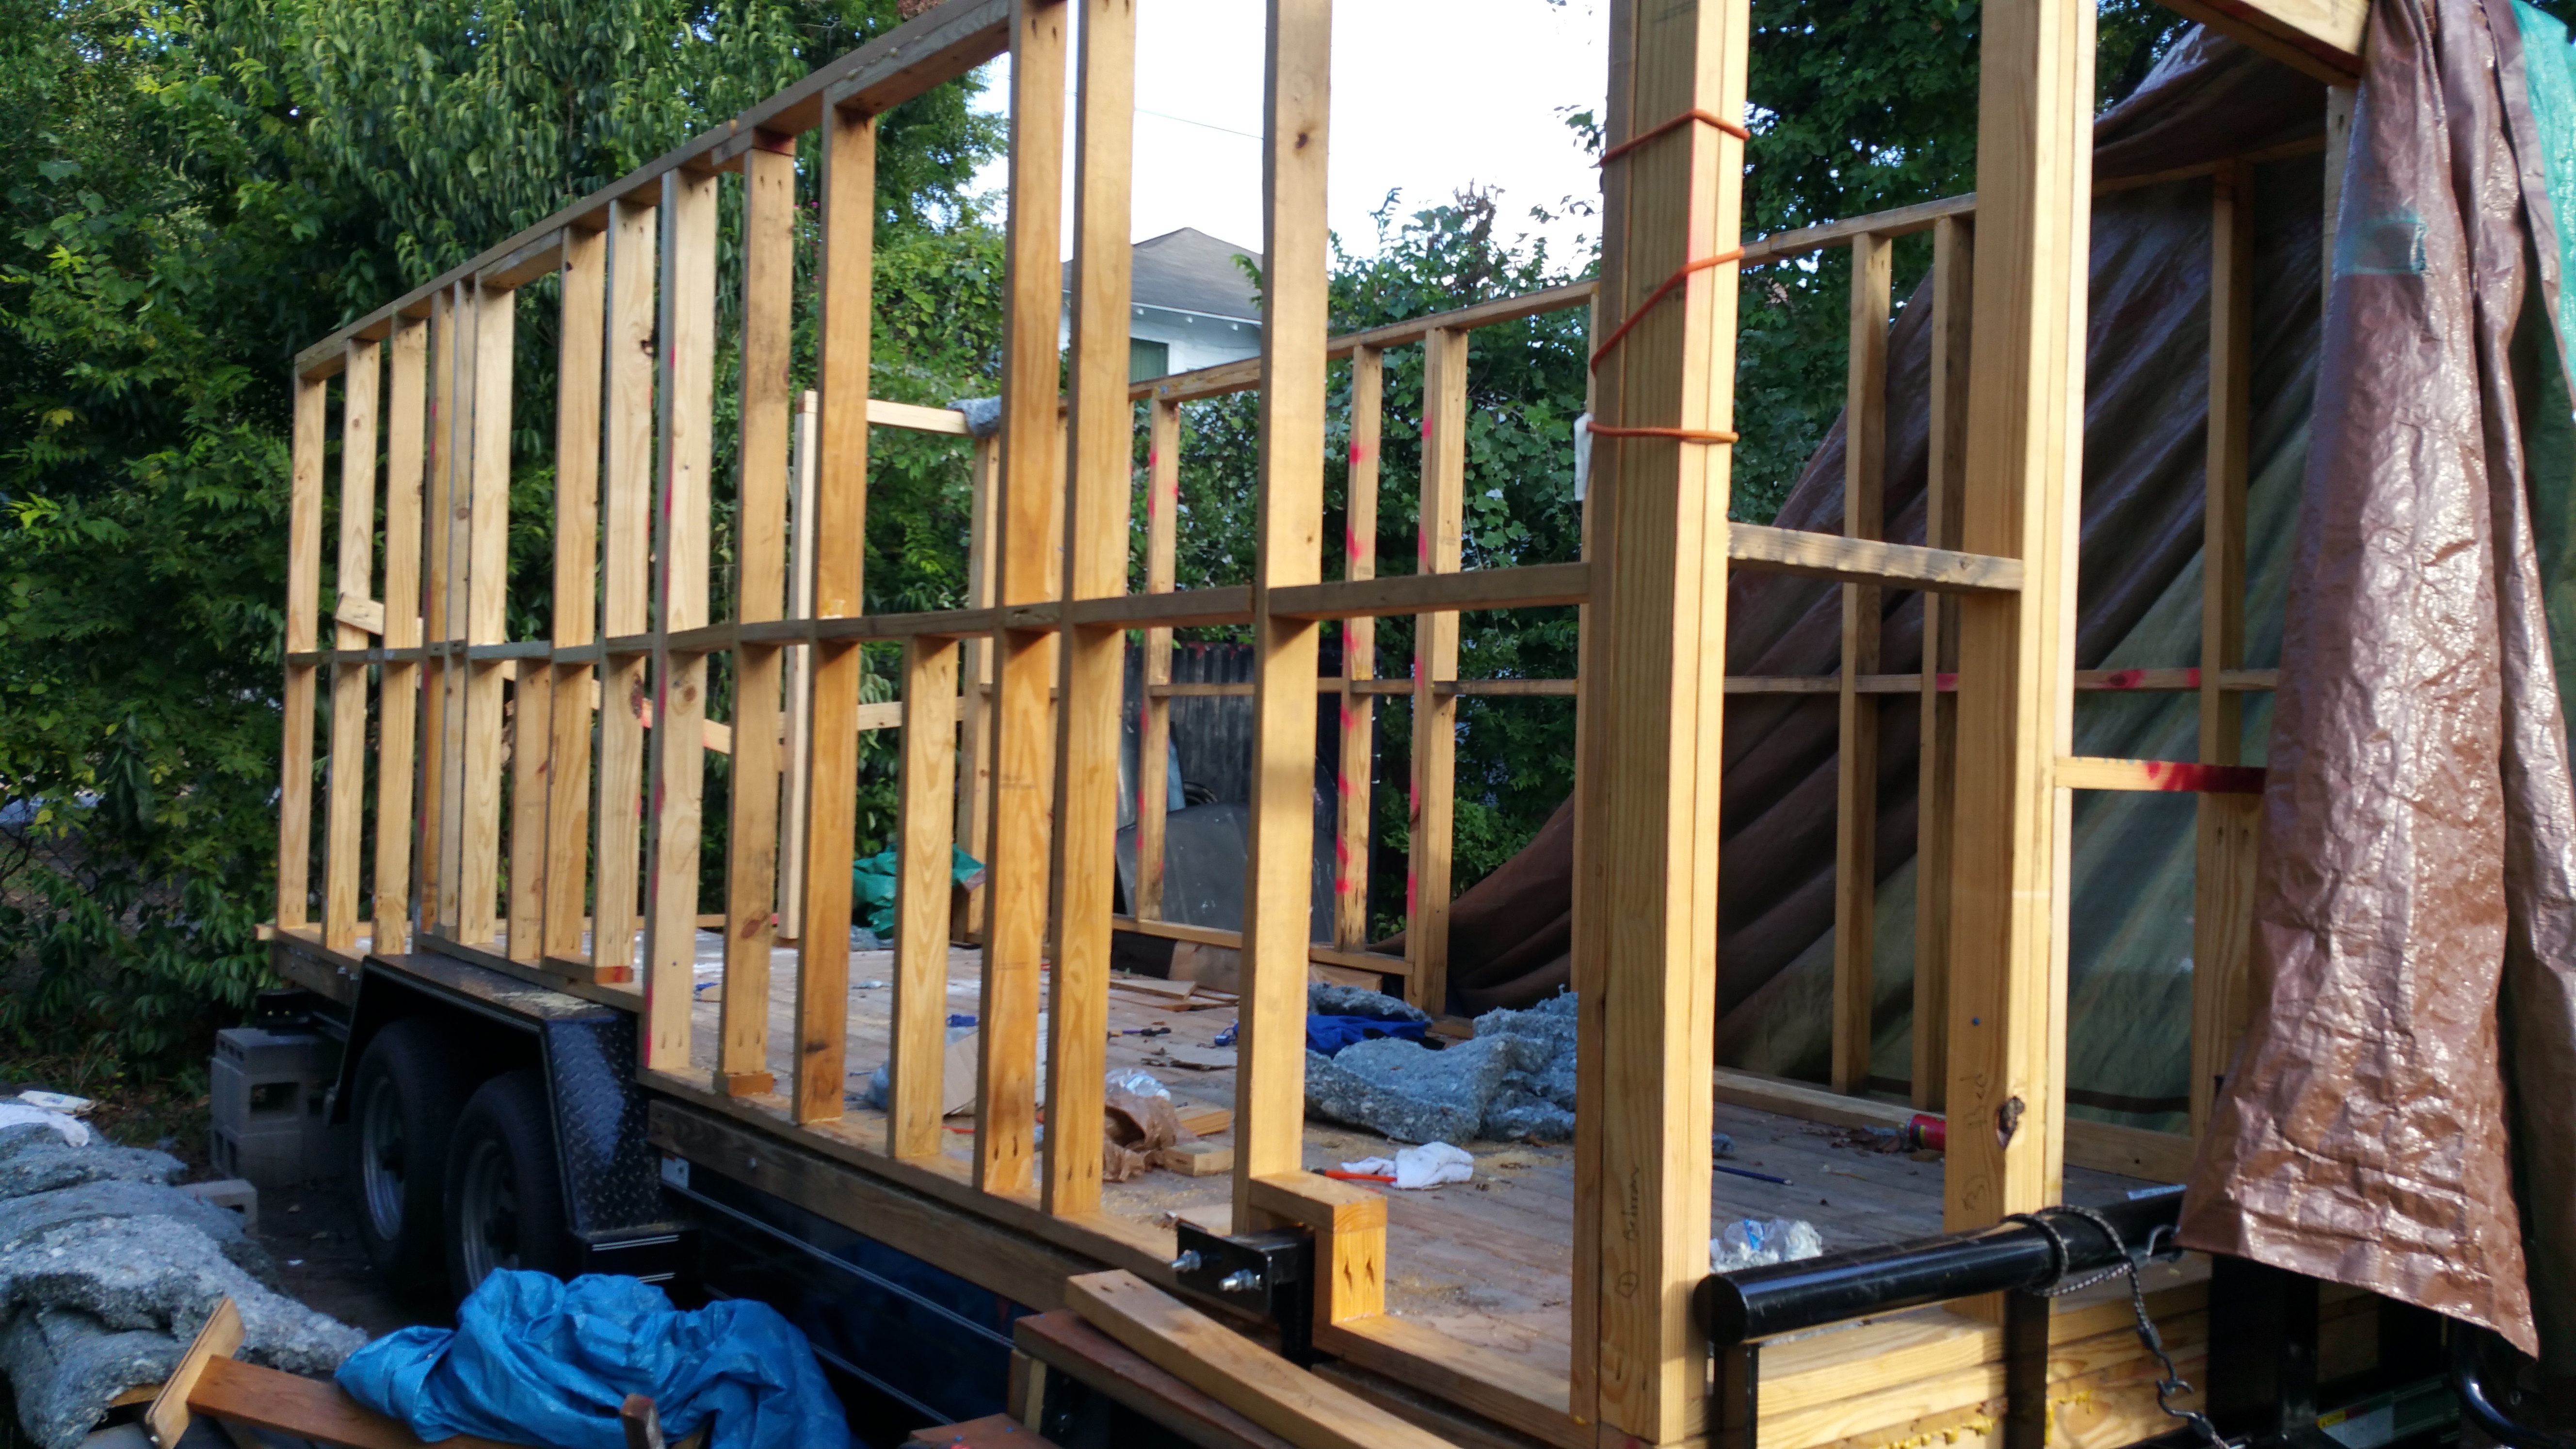
The deck-height is starting to become a nuisance.
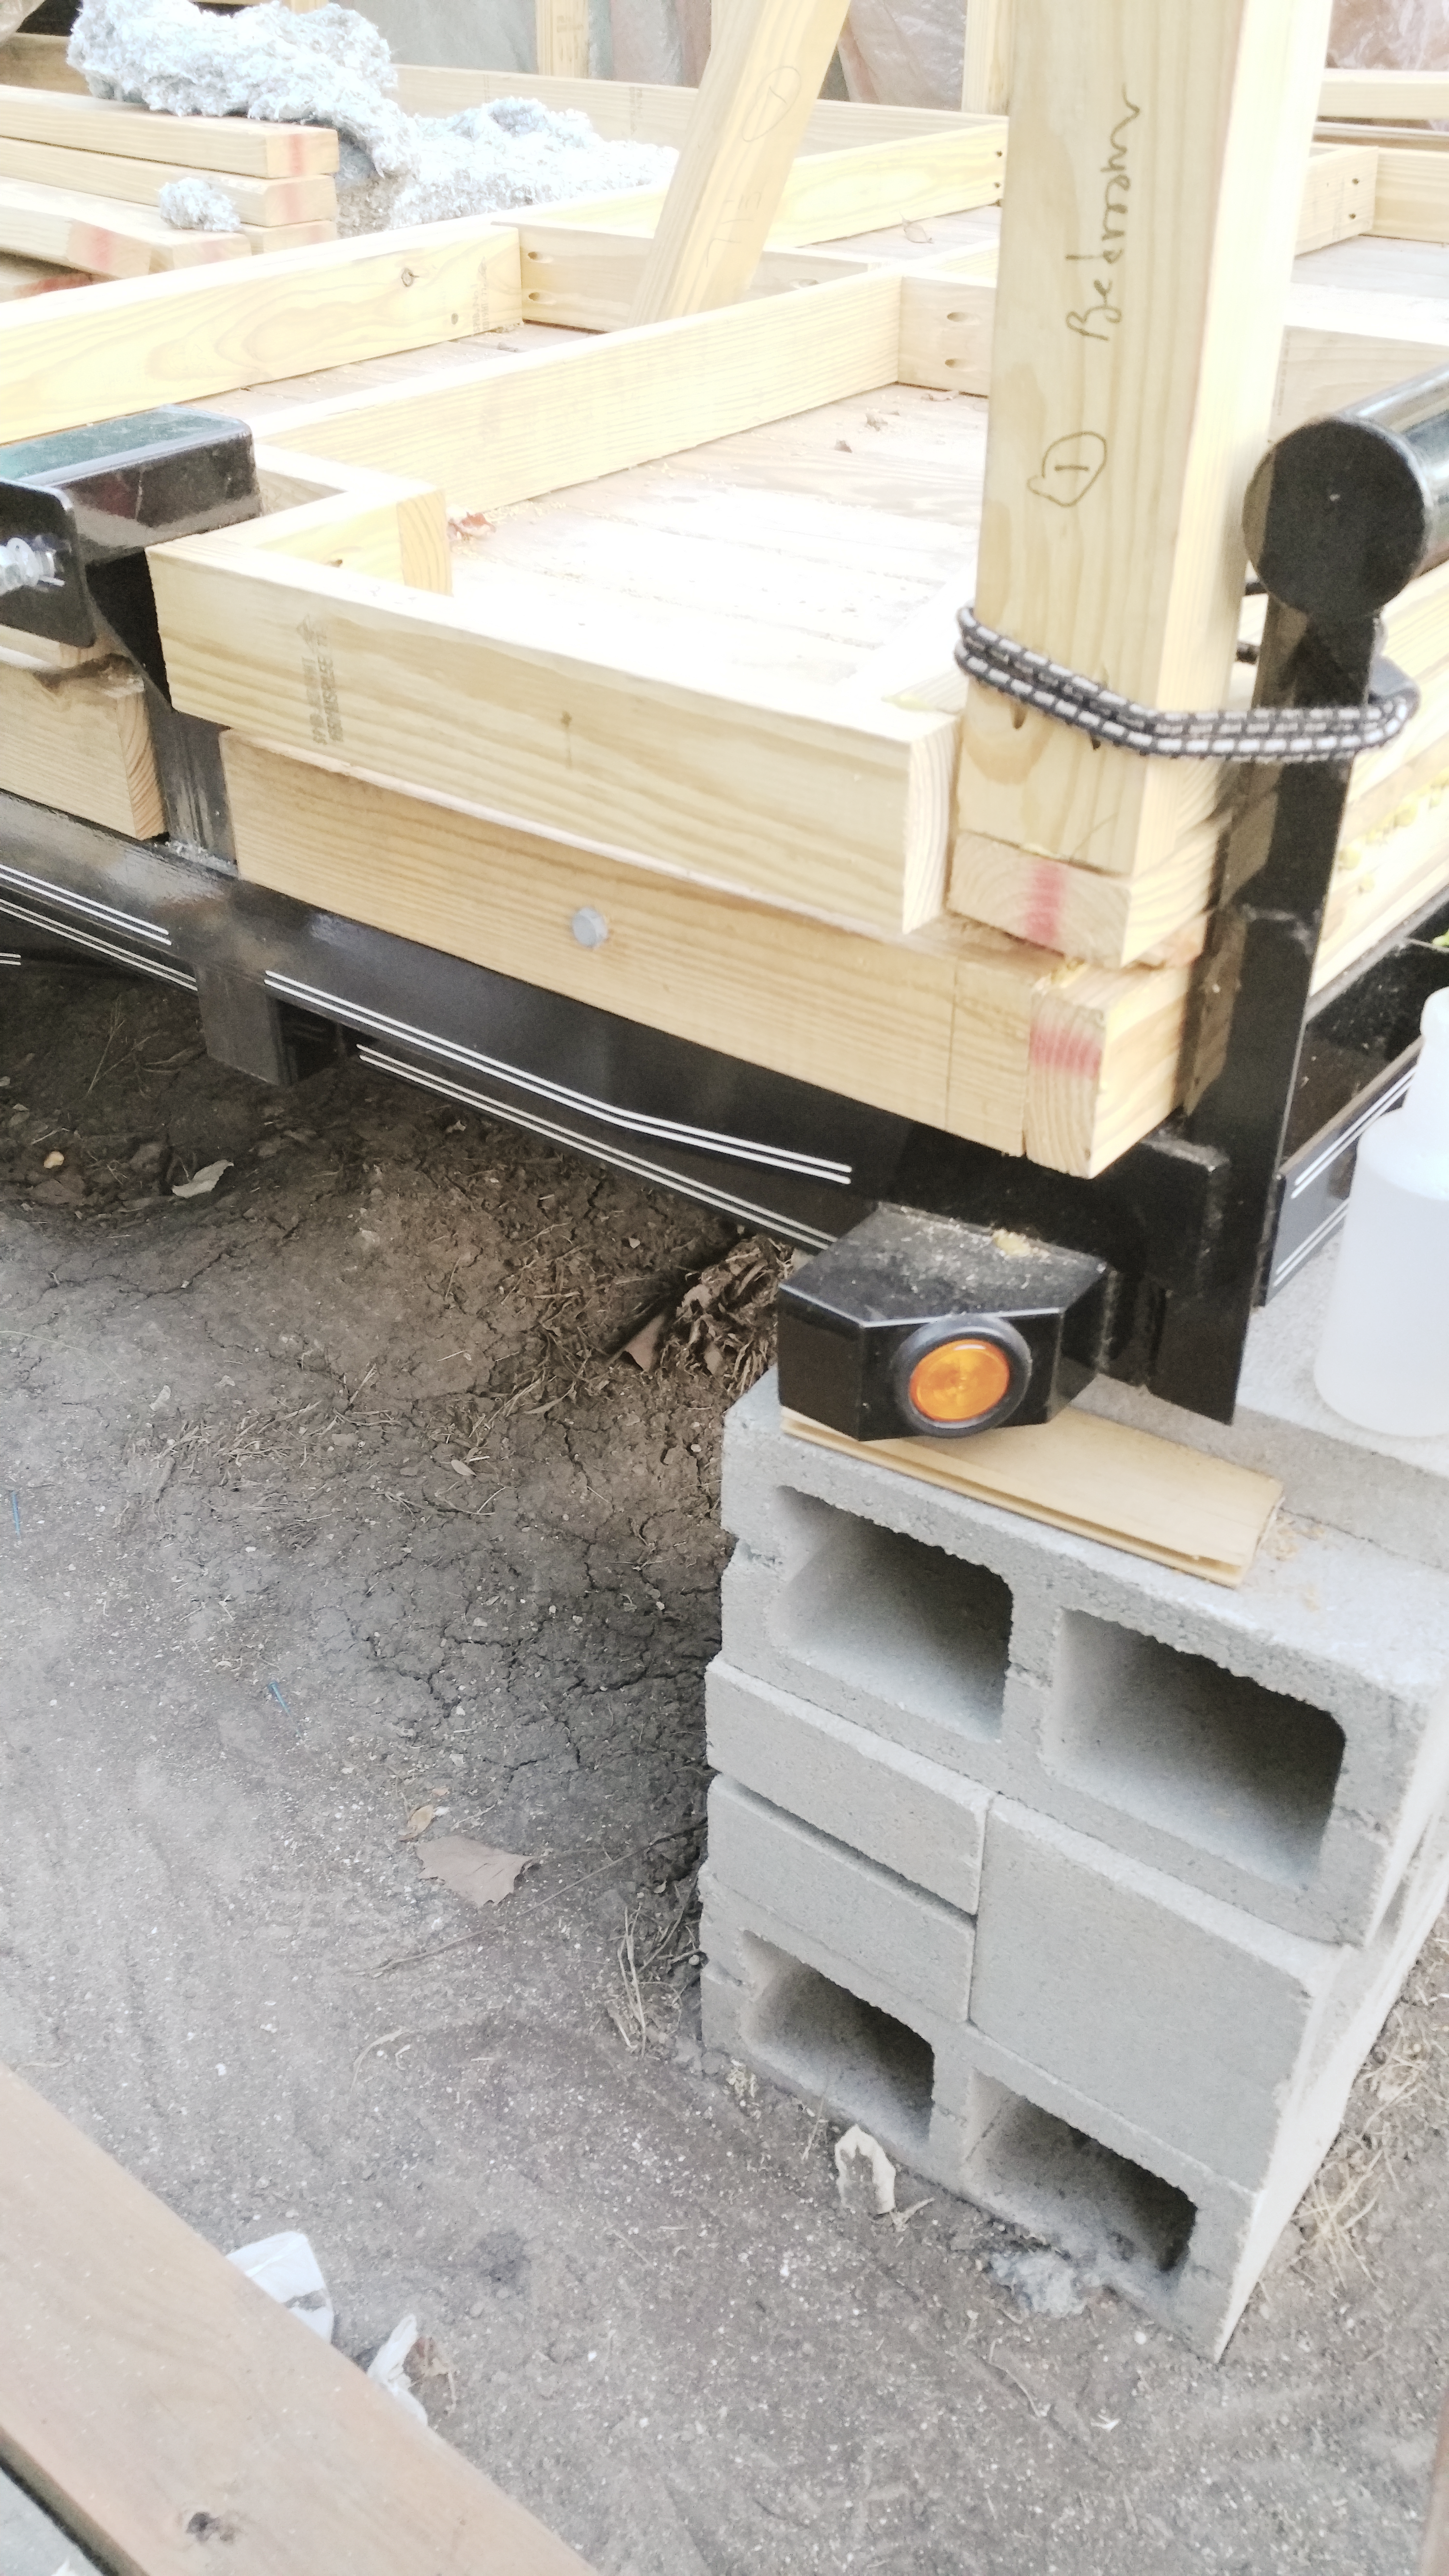
As you can see, the trailer is jacked up and levelled on cinderblock. On top of the trailer is the subfloor, then the floor. Now that I’m working on the third wall, I have to scramble over it to get onto the deck. This rapidly became annoying as I had to climb up to measure the distance between studs, jump down (carefully!), go cut the blocker, climb back up and then glue and screw it in.
Rinse, repeat.
So, what do I do when I have an itch? Scratch it!
Remember that wood from the trailer?
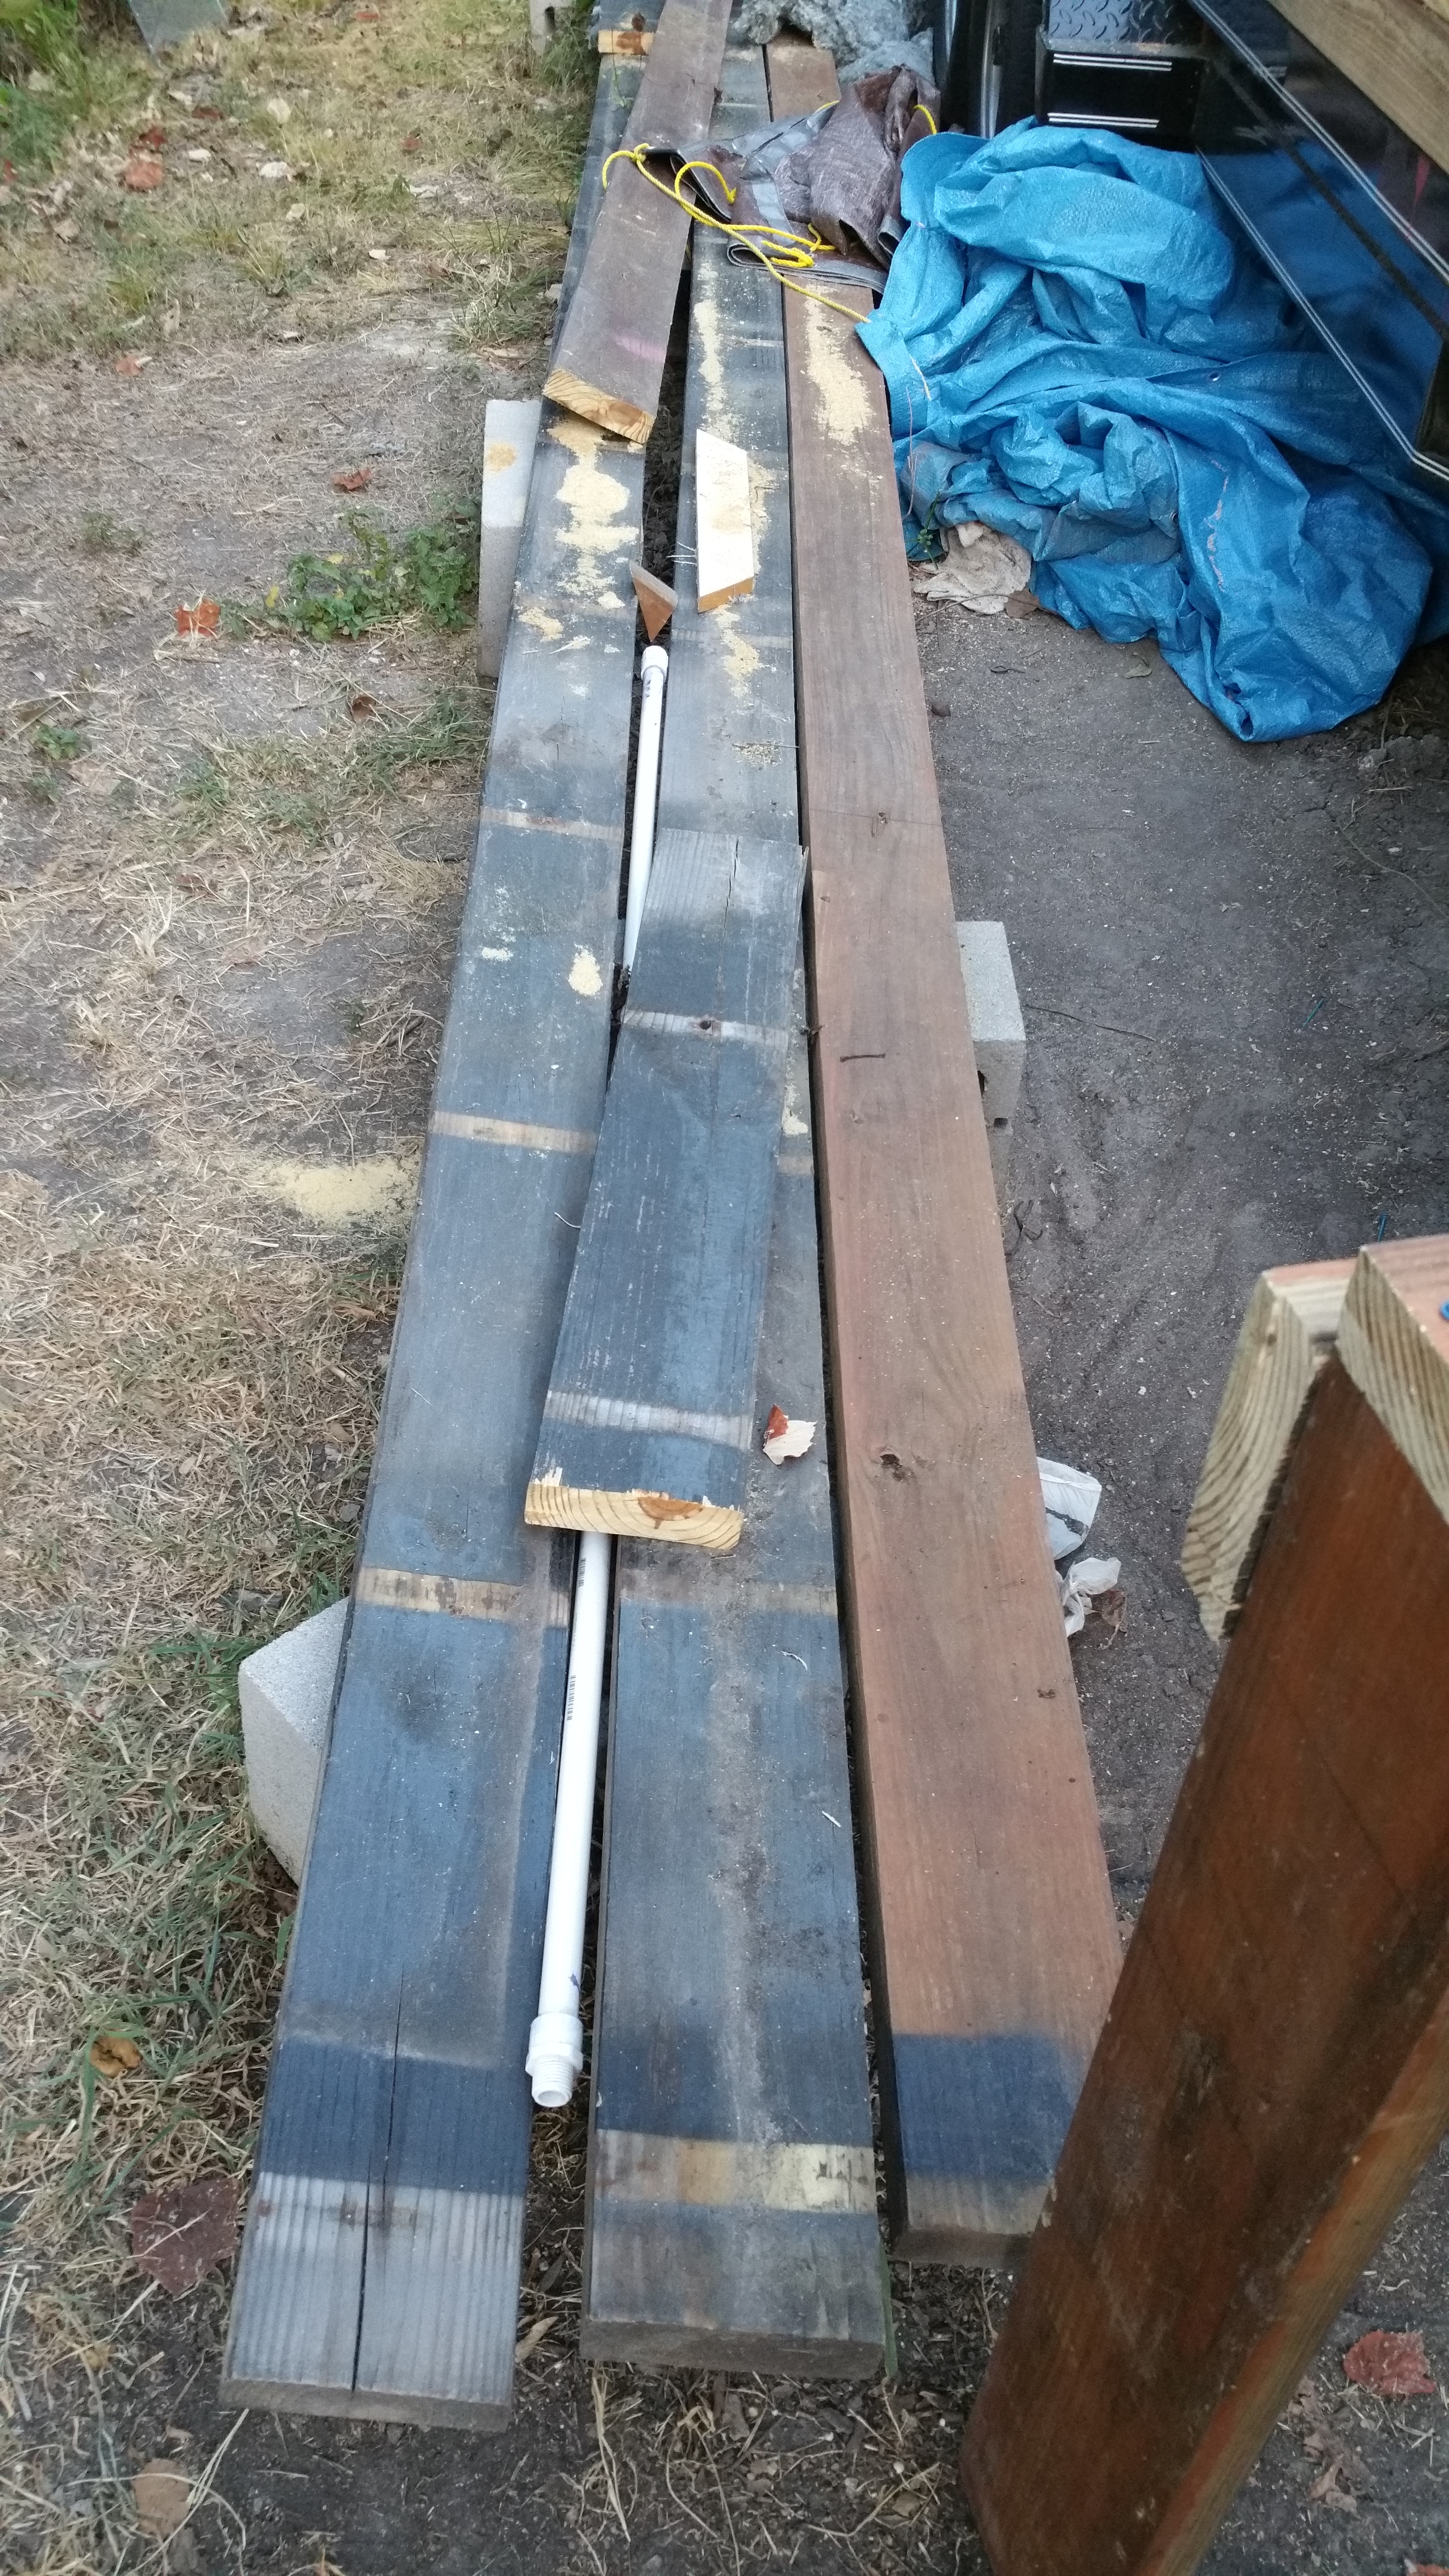
Say hello to my little friend!
Got cracking on the big wall that runs the entire length of the house–20 feet long.
It turned out I was no match for my most fearsome nemesis:

I started adding in studs, spacing them out with blockers as required, however after a few hours I started getting dizzy and nauseous, so I called it a day.

Now before you ask, yes, I was drinking water: I downed a 32 litre bottle in no time. The issue was I wasn’t drinking enough water, and I probably should’ve taken some salt.
Sorry for the lack of updates!
I’ve been working on the third wall — the 20′ long one that runs the entire length of the house.
As of now, I have the studs all cut (will have to go back later and cut the headers and cripples for the windows).
Last weekend, I assembled the “outline” of the wall: the first and last stud, the top and sole plates.
The biggest challenge was getting the sole plate around the wheel well and spare tire hitch. I messed up and mis-cut the wood for the wheel well, but the spare tire hitch went well.
The next step is to cut the wood for the cross-beams between studs, then install them and the remaining studs.
Lots of rain, lately.

I discovered that the floor had been getting a bit of rain, so there’s a possibility that the insulation is wet. I’ll have to cut open the aluminum under-barrier later and take a look, but it will make sense to get the roof up first so I only have to do this one time.
Tropical Storm Bill rolled into town the other day.

The ground was already saturated, raising fears of flooding. I went to the build site to verify the tarps were in place and secure.
One of the tarps was ripped; hanging over the corner of the walls caused extra stress that caused the tarp to rip. I repositioned the tarp and retied the ropes so water would not enter via the tear.
Frogs have taken up residence in and around the underside of the trailer and wherever the tarp is on the ground. I suppose because it is wet and there is lots to food for the (mosquitos!), this makes a good habitat.

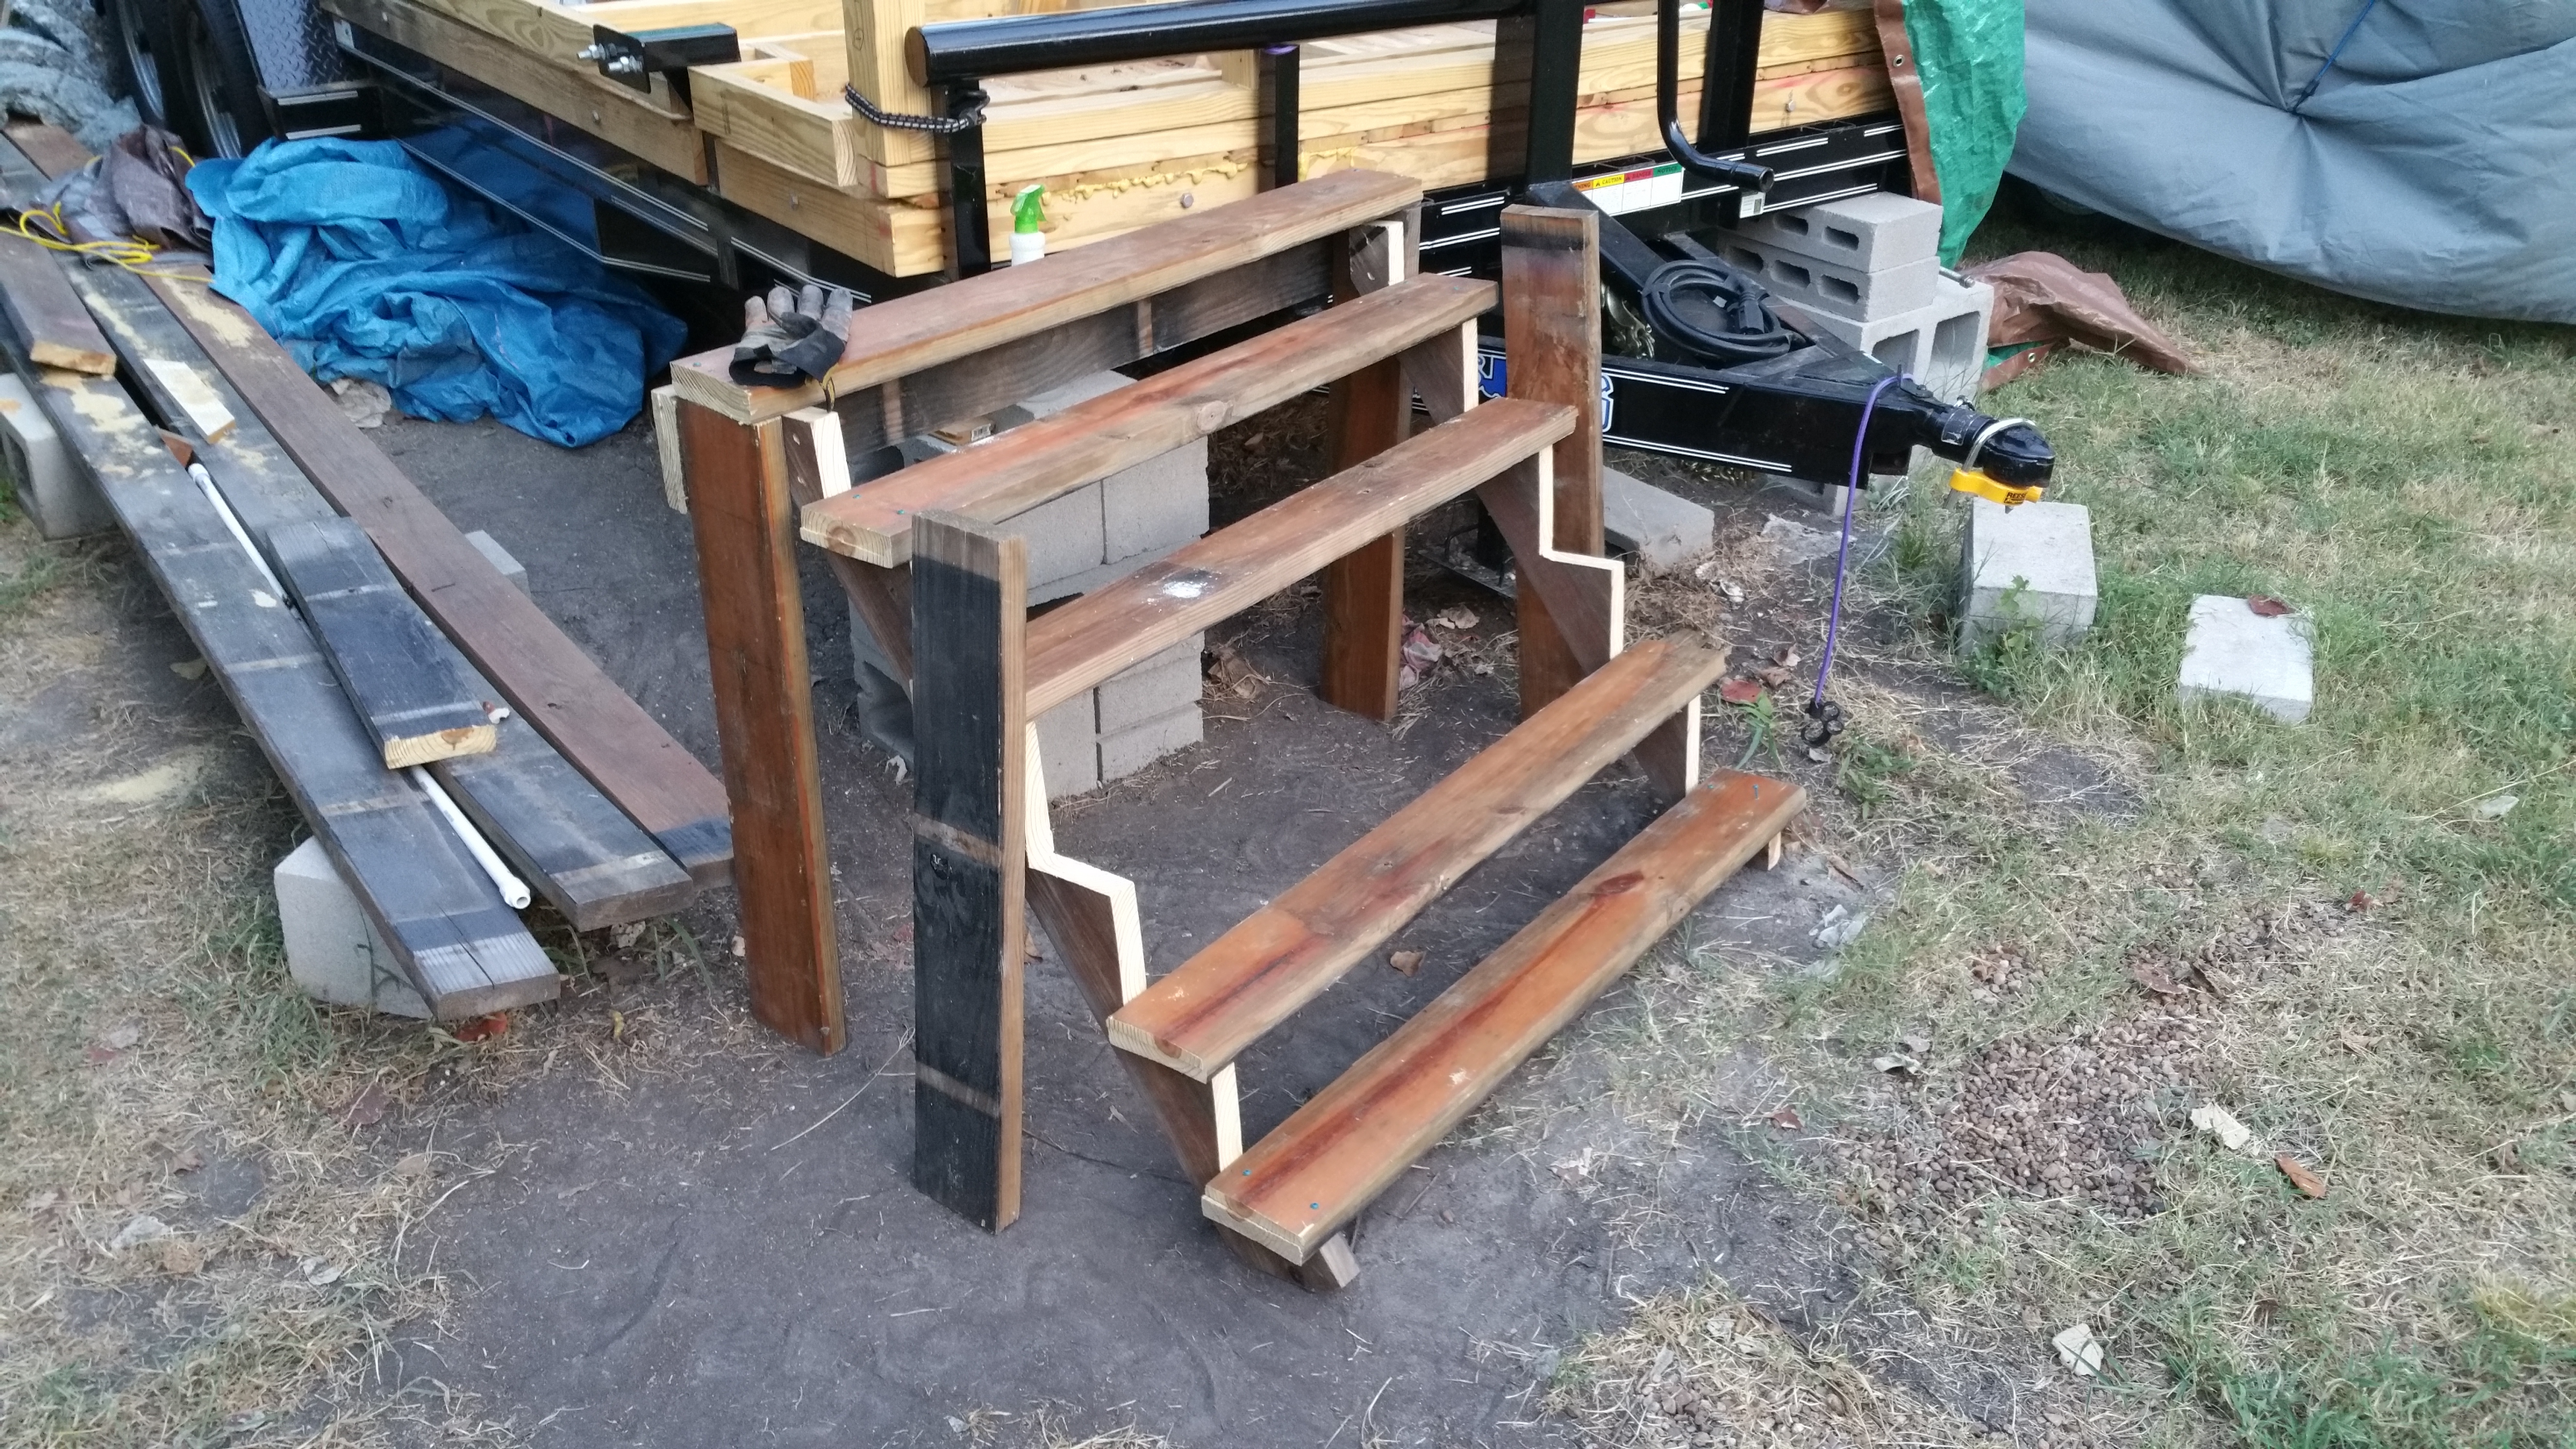
The Tiny Home has a little 4’x4′ porch which is little more than a square hole right now.
I’ve been kicking around ideas for what to do. Here are some ideas:
I saw a nice wall hanging at Target that would look really cool as a porch.
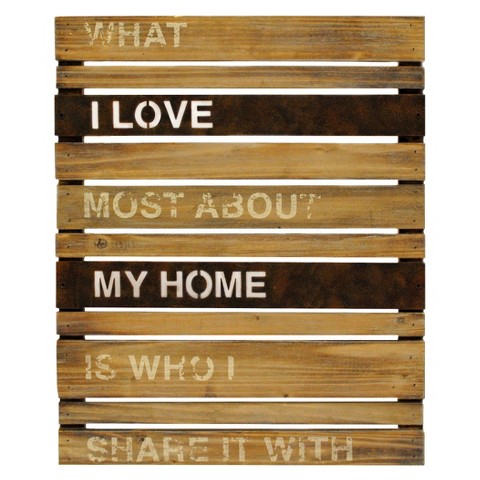
The hanging’s slats are too thin to support a person’s weight, so I’d have to either reinforce it or build my own.
If I go with tile, I would need something to support it. I could make some supports out of steel and then powder-coat them to prevent rust.
Speaking of seel, I could make supports out of steel and weld expanded metal to the top as the deck/porch. I’d leave it to rust because that would look cool.

What do you think?