I powered through and got the first two walls raised! There’s no going back now.
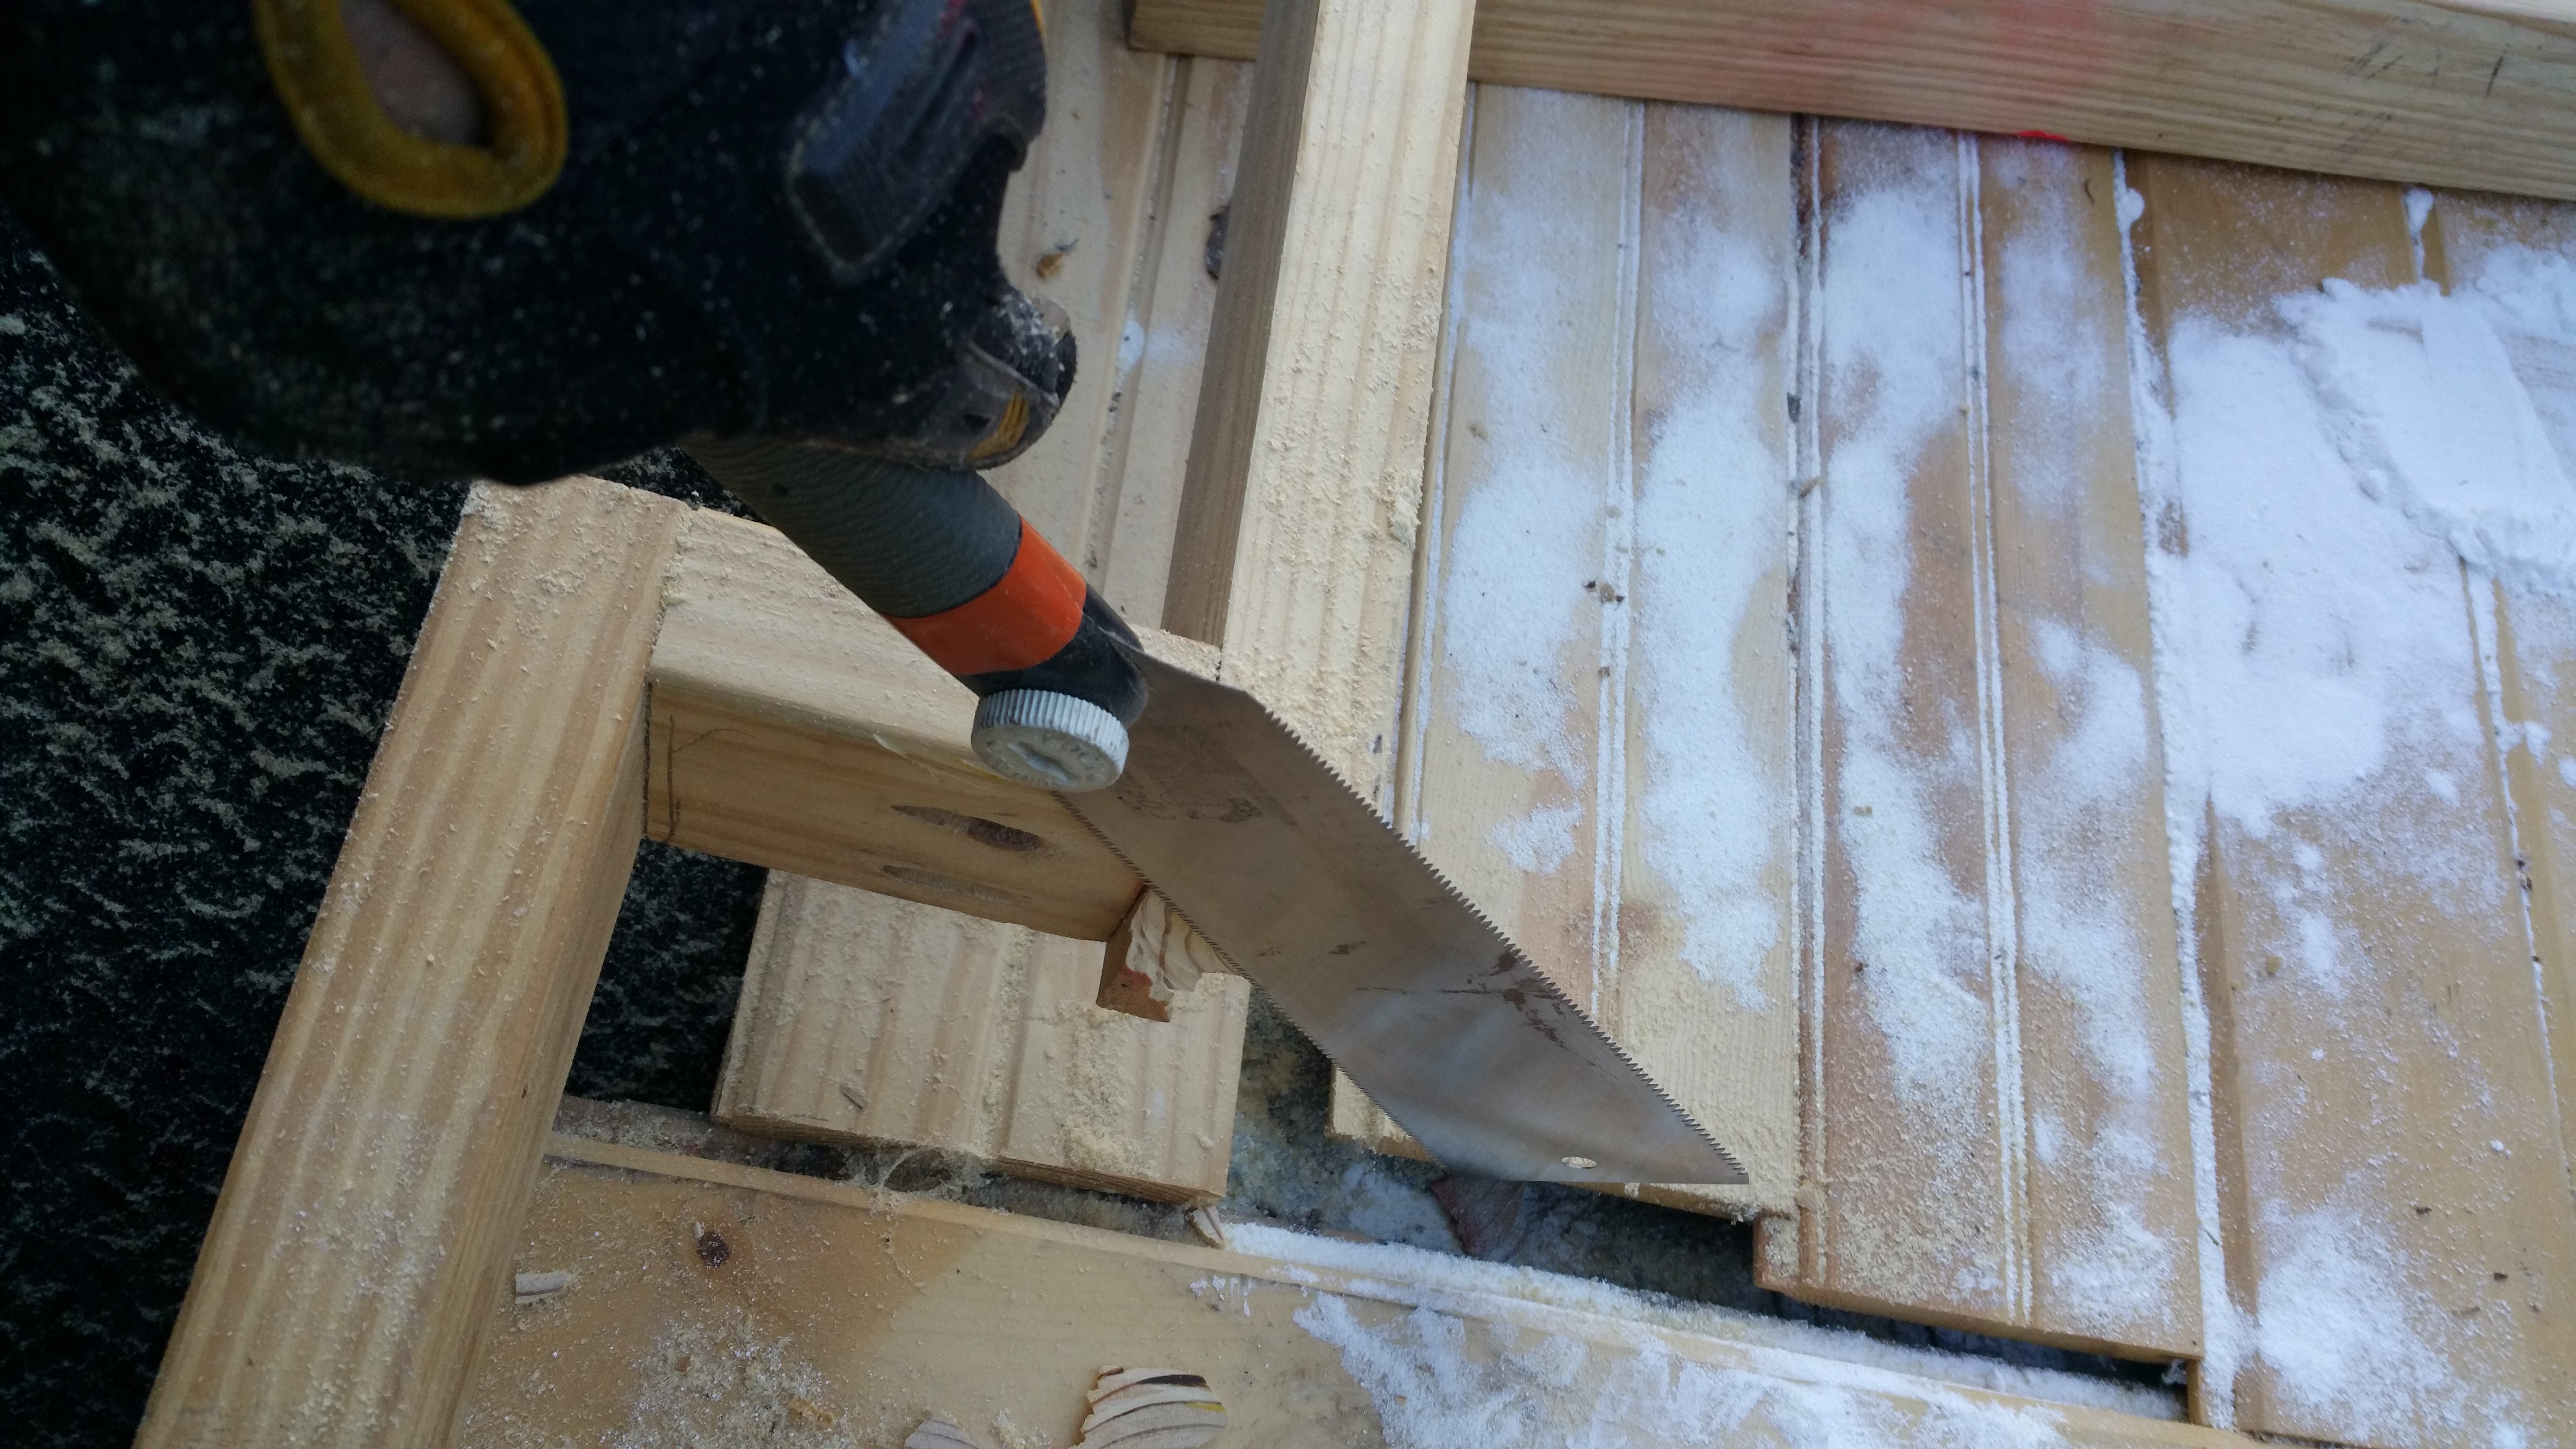
To start, I needed to trim part of the wall that hung over the wheel well. I’d measured it a little long and it needed to be flush. The Japanese saw worked nicely here.
For the first (long) wall, I attached a couple of 2x4s, one at each end, with a single screw so it would hinge and prop up the wall when I raised it. This allowed me to raise the wall by myself.
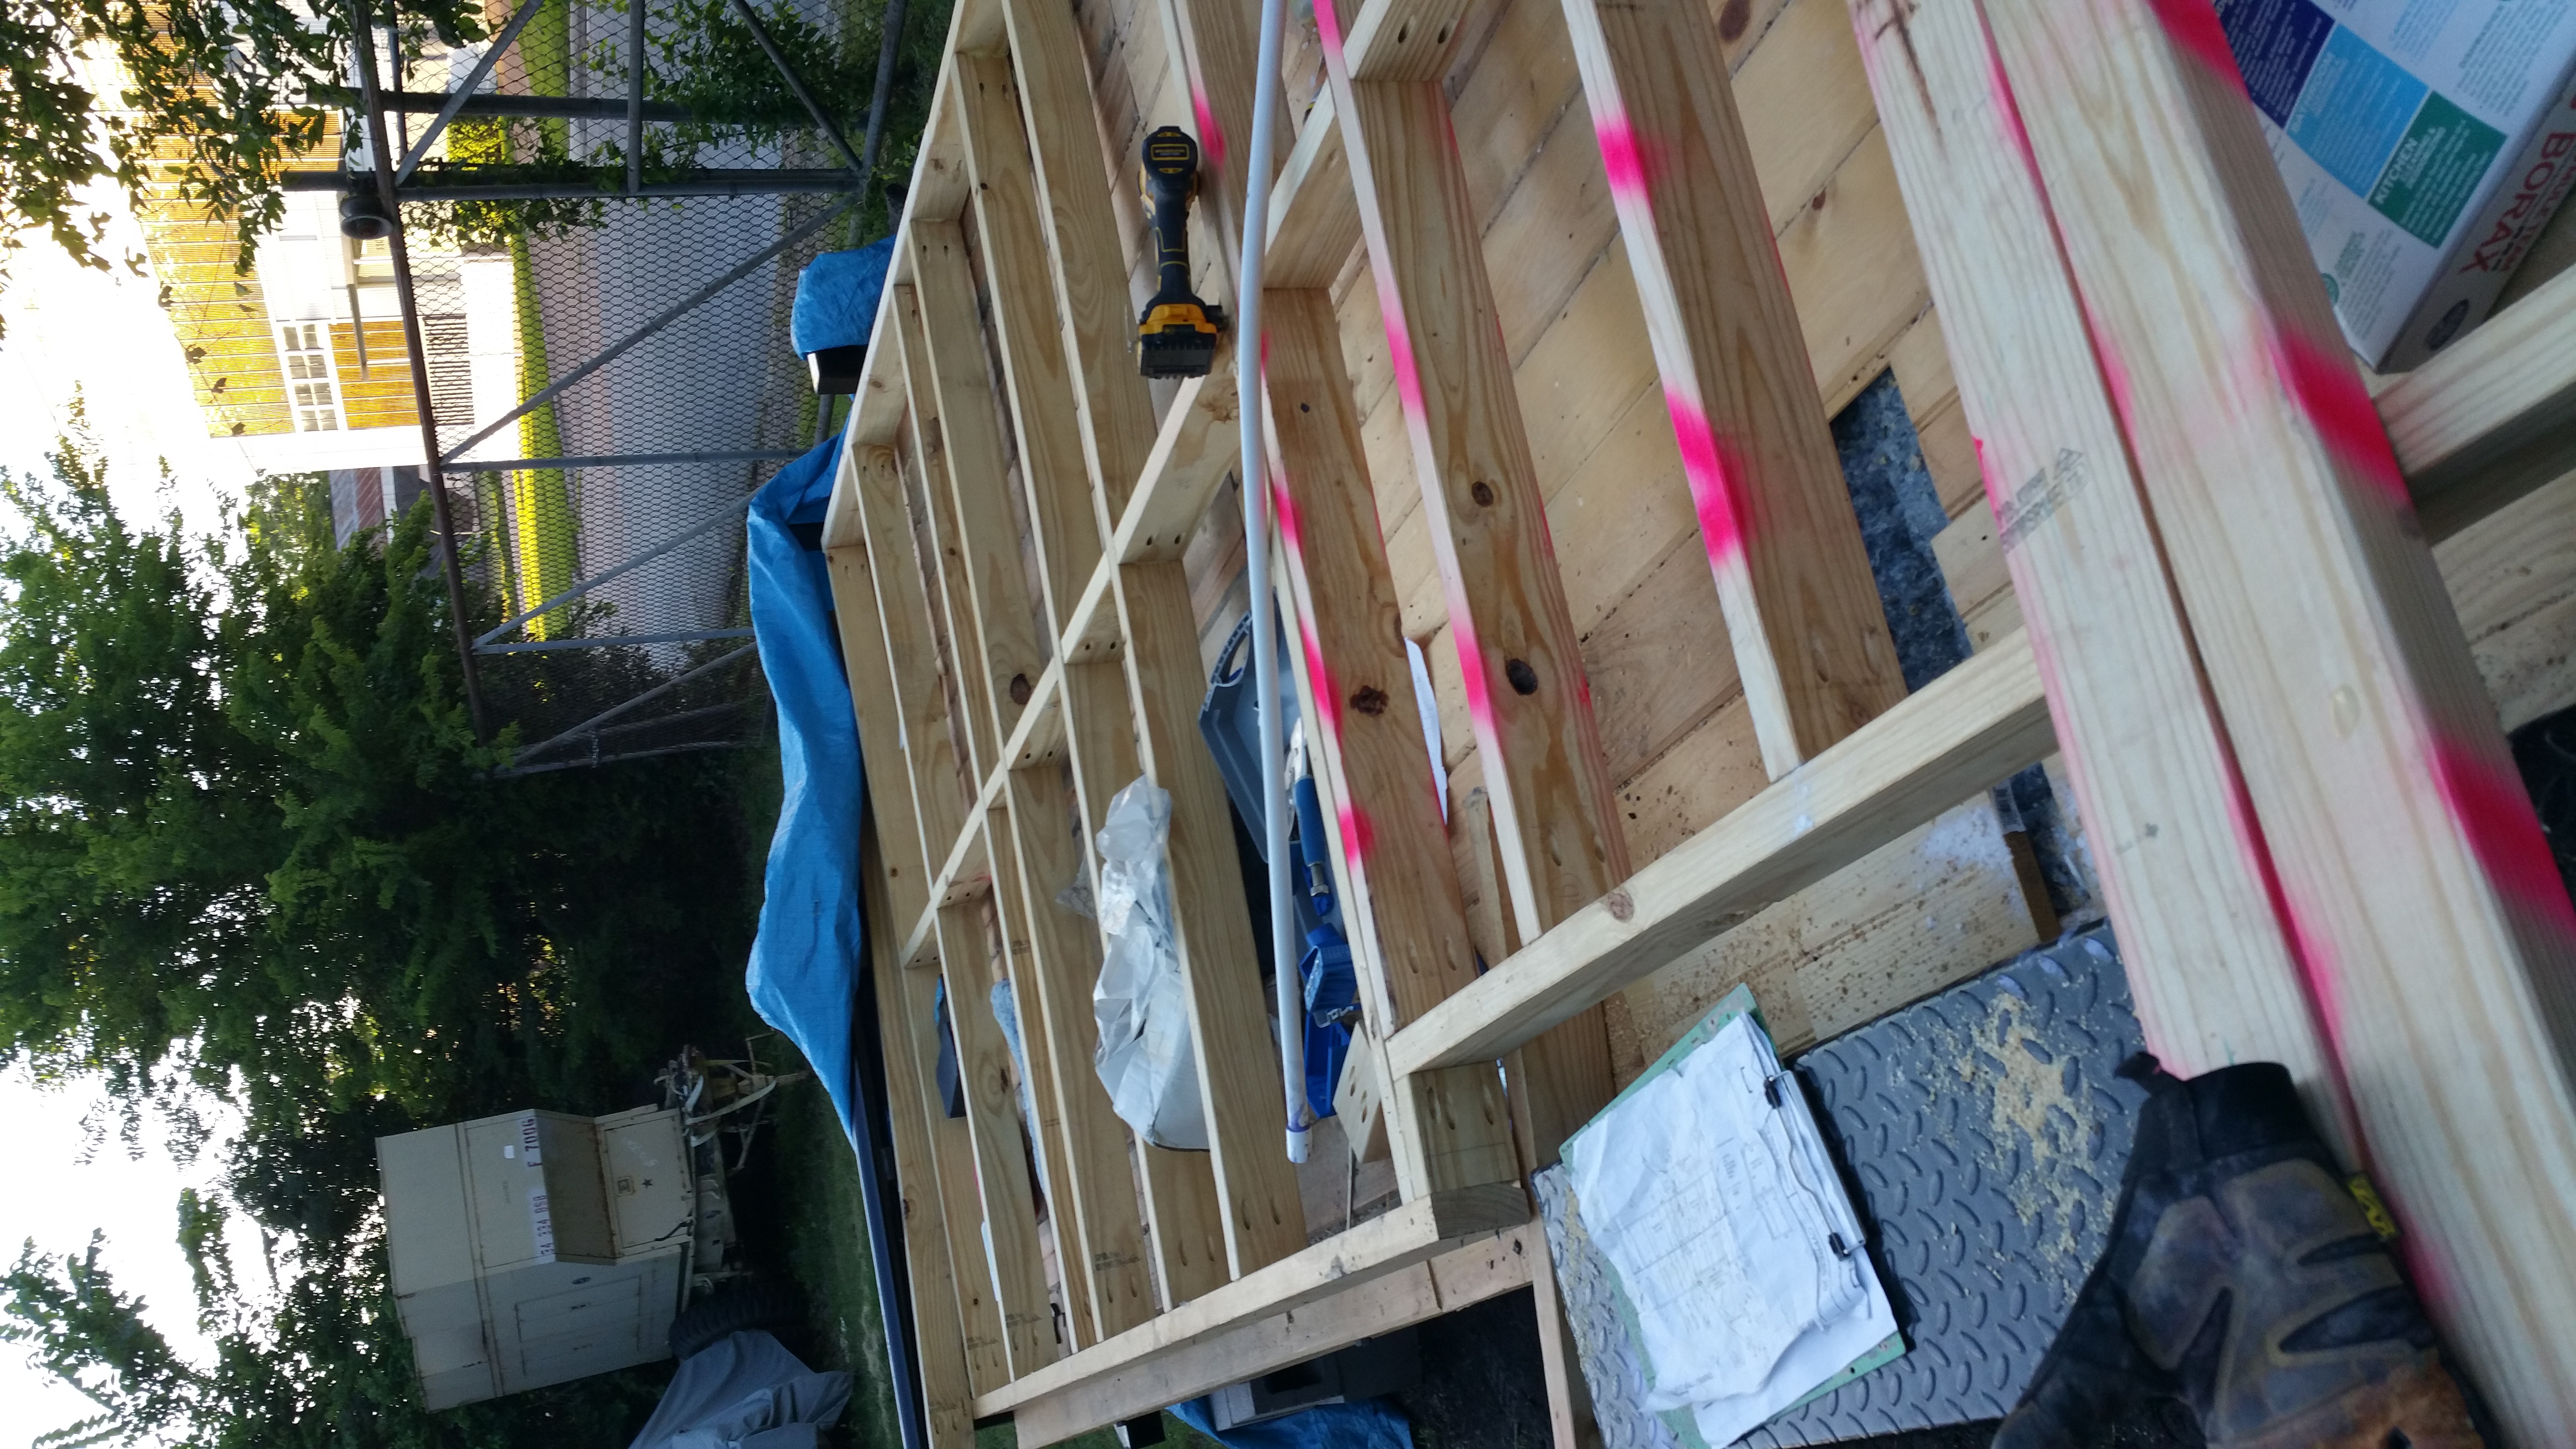
After I got the wall up and reasonably plumb, I clamped the bottom.
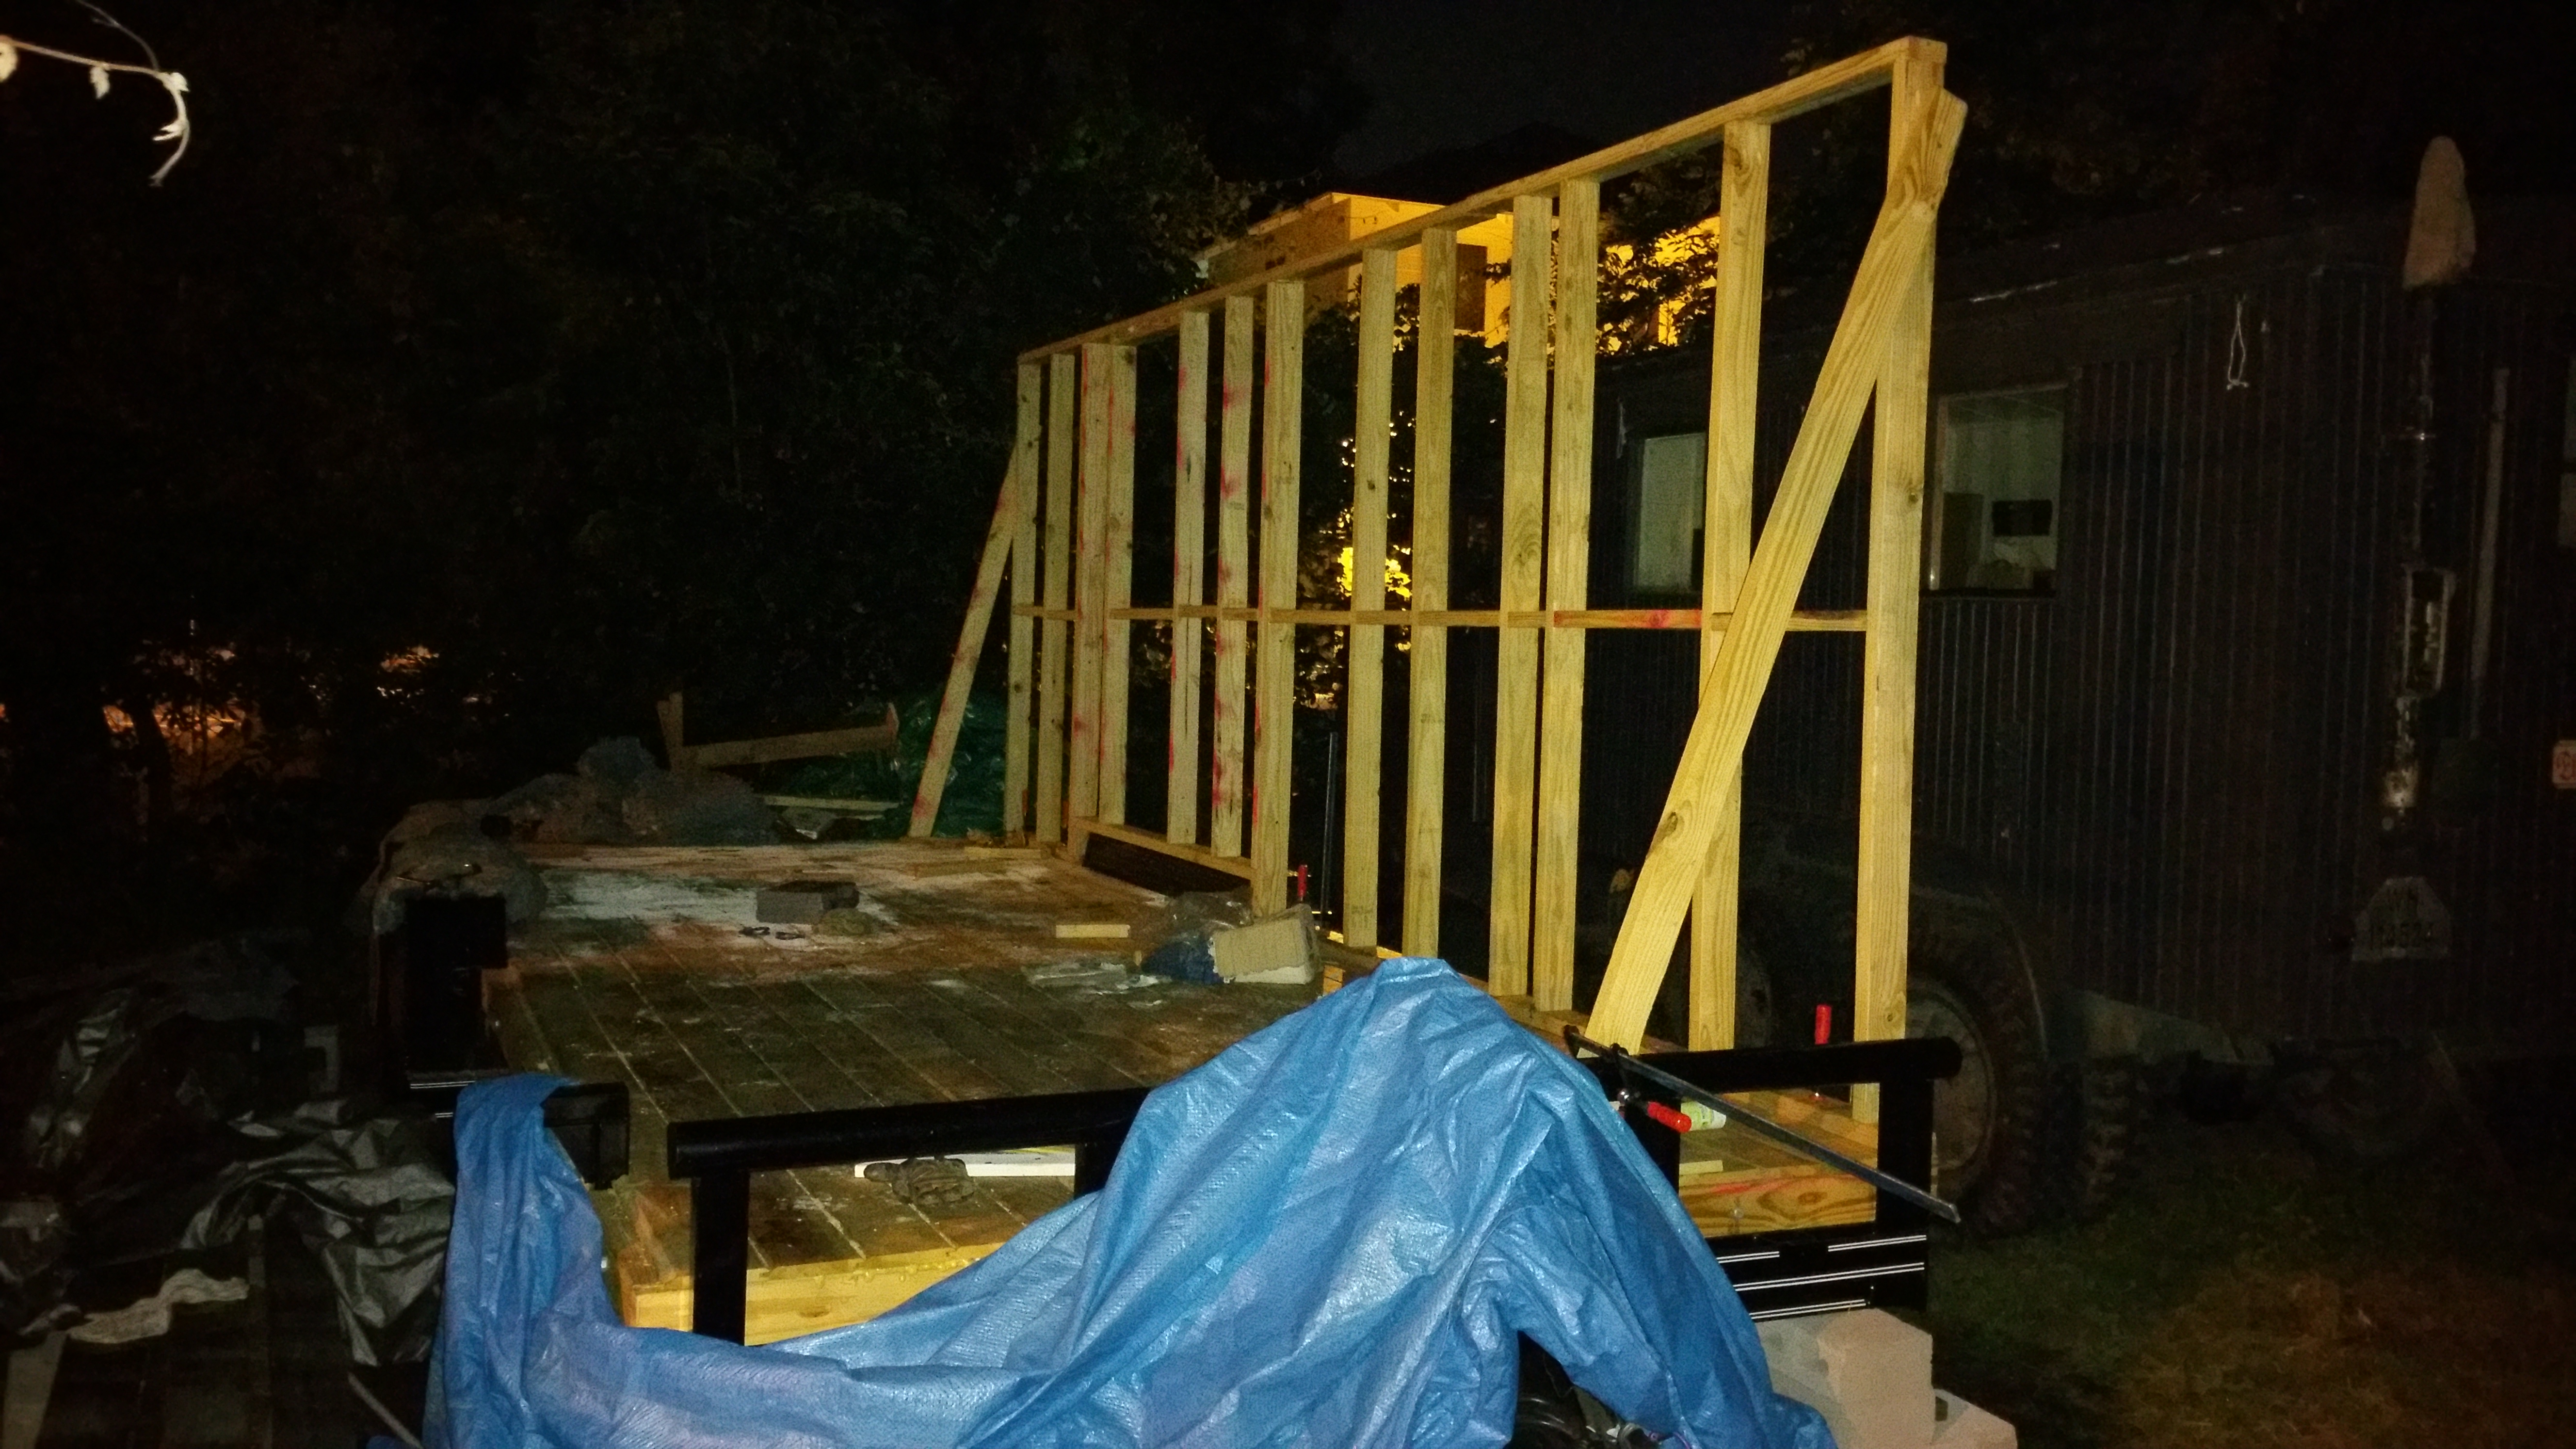
Next I worked on the adjacent wall, so as to provide stability. I needed to cover everything with a tarp (the next week is predicted rain every day), and I was concerned that a single wall would be easily knocked down by wind or the weight of the water on the tarp.
I quickly assembled the second wall, starting with the footplate. I went to look for a 4x4x8 in my wood pile for the header and realized I hadn’t bought any in that size. GRR!!! No problem. I used a 2×4 temporarily to anchor the top of the studs. I screwed in just 1 or 2 screws in each stud and didn’t use glue.
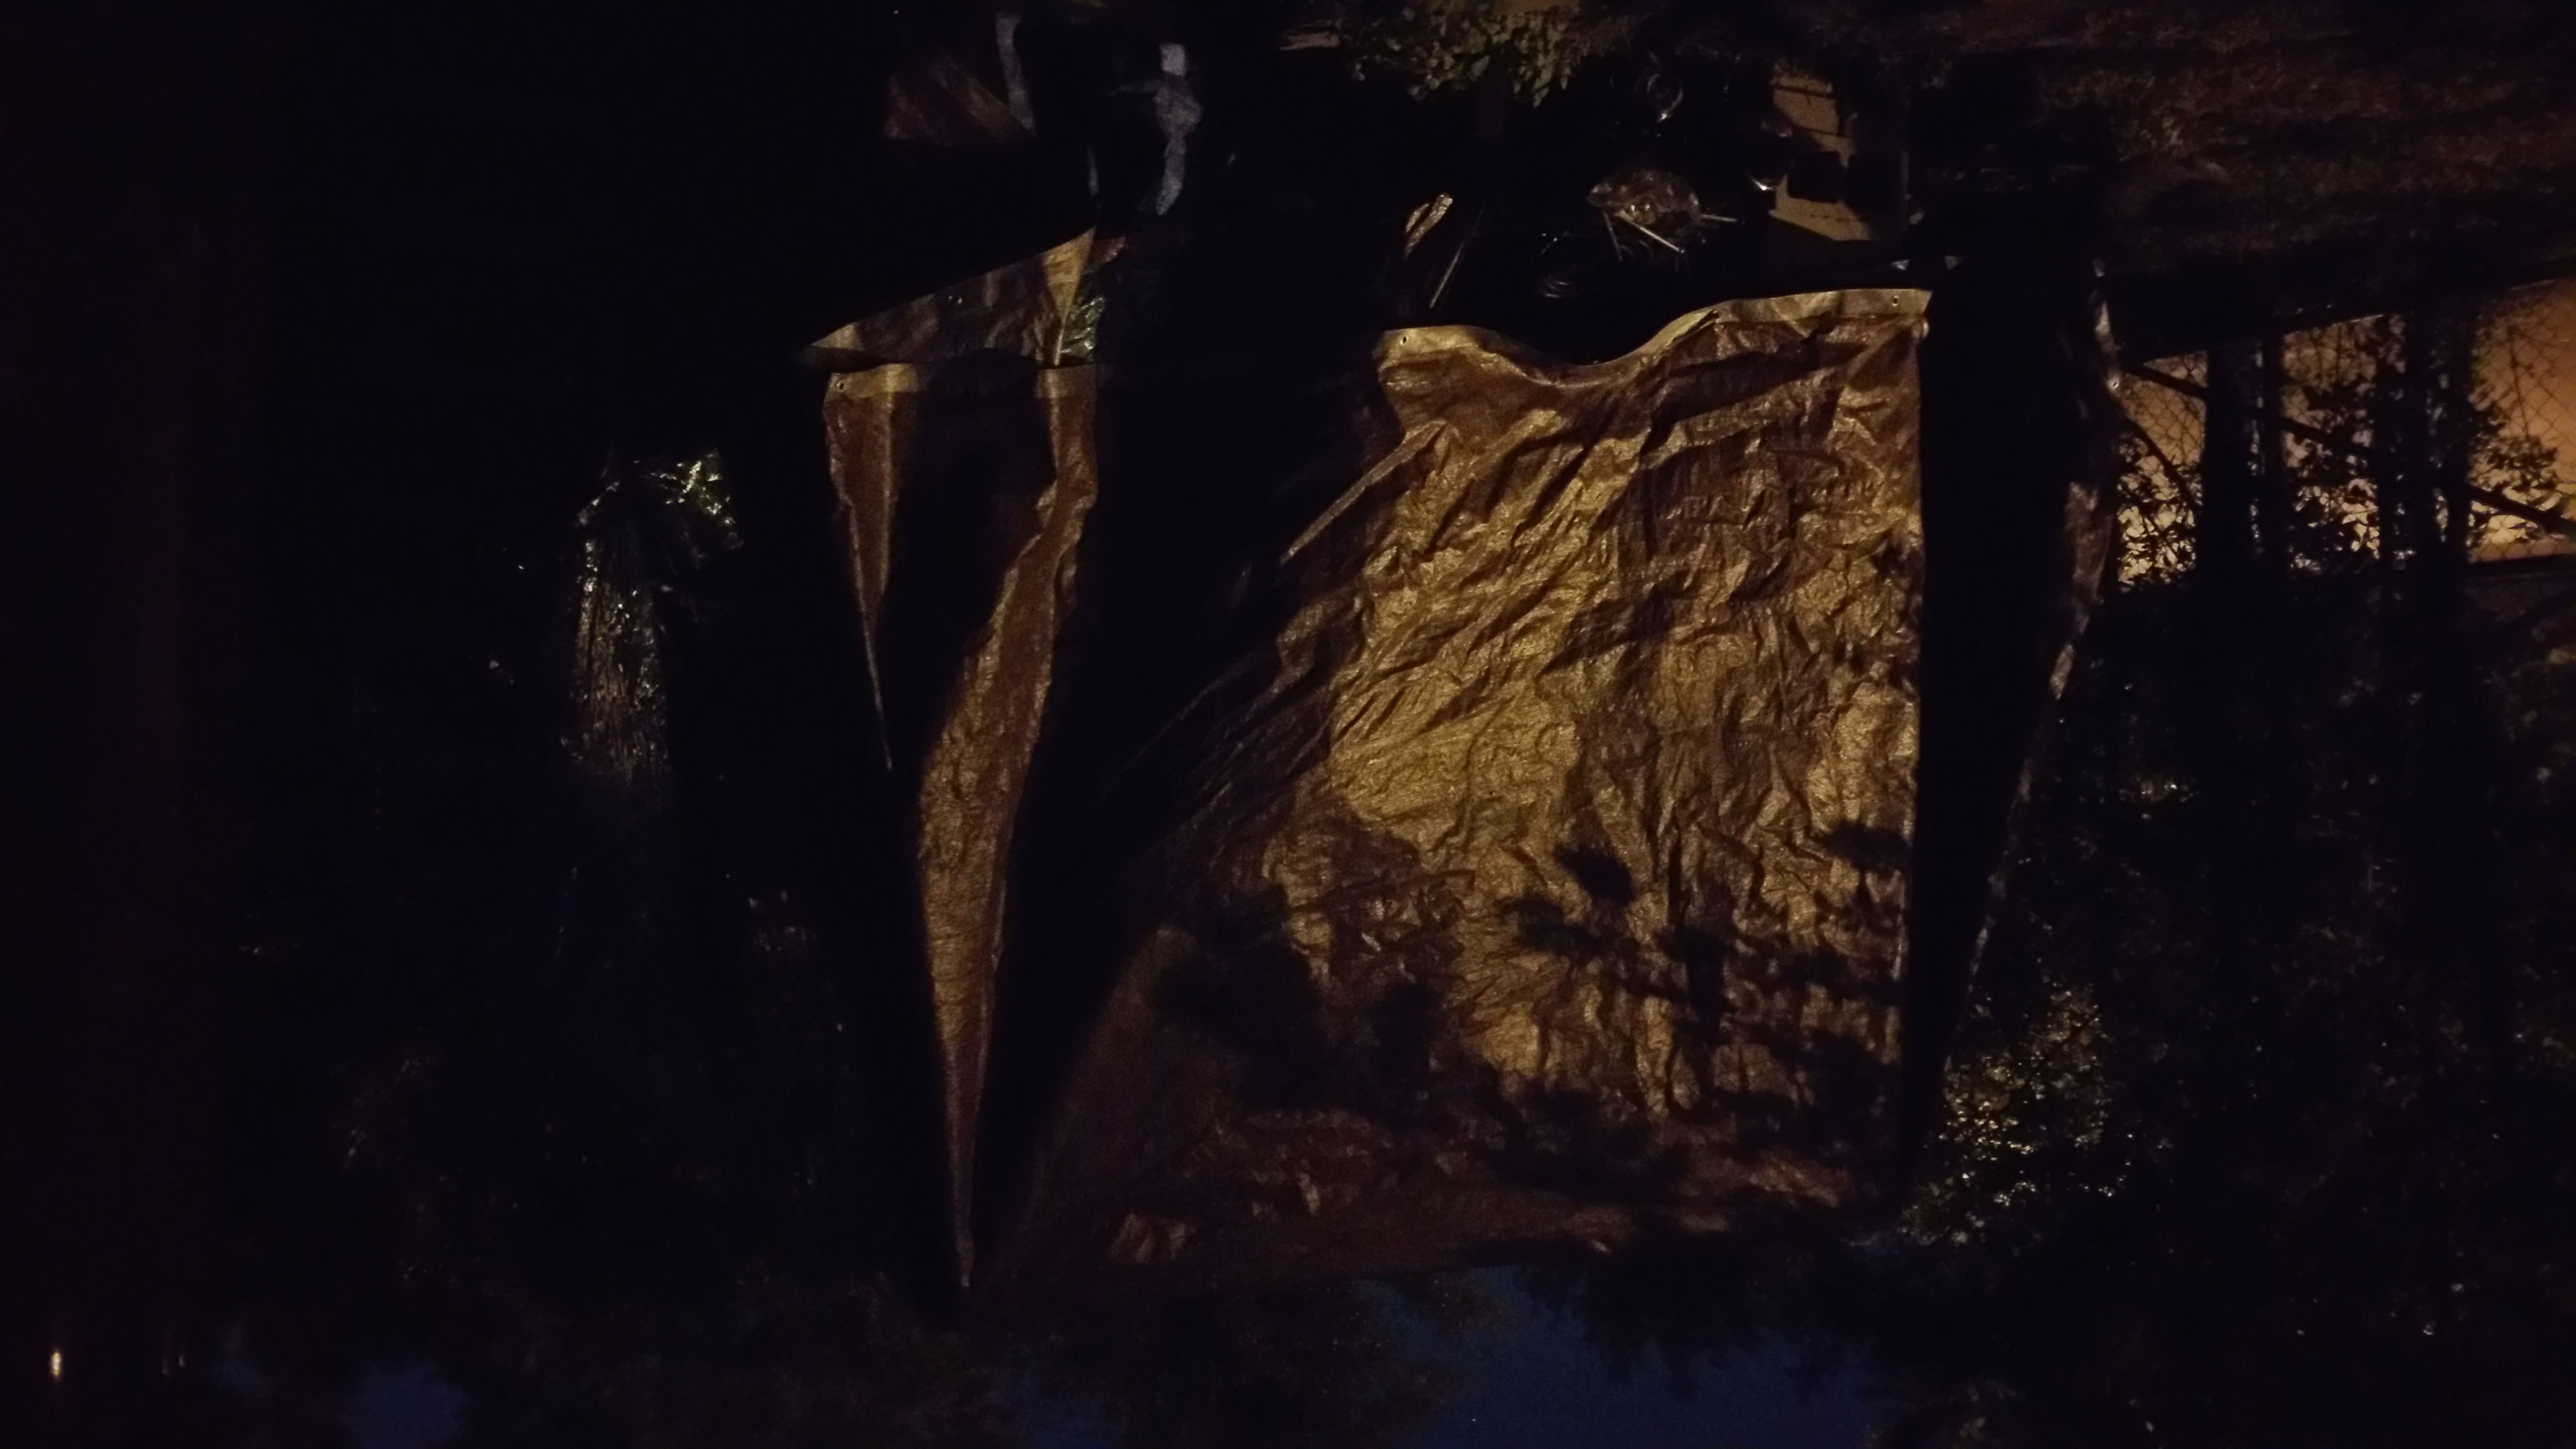
With that, I threw the tarp over everything and tied it down as best I could. By this time it was 1:30 am; I went late because I didn’t feel like I could leave it with only one wall.
Whew! The next wall is the longest one in the build. It should go faster because I’m more confident and know what to expect.