Getting the roofing

In my original plan, I was going to get a metal roof. After doing a lot of thinking and research, I scratched that idea because, well, metal scratches. Because the house can move, if it goes under a low-hanging tree, a metal roof will get scratched up. This can cause it to rust, which is bad.

Regular shingles are out also, because they tend to fly off during high winds (or, in this case, when driving on the freeway).

I was turned on to Ondura by another Tiny Houser, and couldn’t be happier. It is lightweight, strong and very easy to work with. You can cut it with a box-cutting knife, jig saw or table saw.

Picking up Ondura from the store

Additional reinforcement

One area that requires additional reinforcement is the short wall — the one adjacent to the door. It is framed with 6×6 cedar posts, for strength.

As per the plans, in order to keep them from bowing, I threaded a 1/2 rod and anchored it with washers and nuts.

Threaded rod between 6×6 beams

After the rod is installed and tightened, it is time to cut off any excess:

Threaded rod excess

Installing the roof

We start with the bare rafters, and install 3/4″ plywood for the roof decking. The plywood has to be thicker because it must withstand the weight of the other roof elements (waterproofing, shingles), but also any ice or snow that may accumulate.

In a normal house, the rafters would be closer together, but we can get away with them spaced a little farther apart (~ 23 inches) because the house is so small compared to the plywood.

Interior looking up at a tarp covering the rafters
Installing the roof decking
Exterior with roof decking
Exterior view of the loft

Sheathing the walls

The whole structure is wobbly (but not just-about-to-fall-down wobbly) because the only thing holding it up is 2x4s and the metal CS14 wrapped around it. Wood flexes, of course, so standing in the loft can be nerve wracking.

The fix is to add plywood sheathing.

Once the sheathing is added, I cover it with Tyvek. This is a permeable plastic that allows water vapor to escape from the wood, but doesn’t let water in.


Racing the rain: Main Beam & Rafters

One of the largest headaches was dealing with inclement weather without a roof. There is no way to really keep the water out with a tarp, without a beam and rafters!

So here I’m getting the beam put up. This is a nice large 18′ (5.5m) 2×6 beam. It was heavy, but I was able to lift it up into the loft.

Main beam ready to be hoisted into position

I then had to build a support post to hold it level. A few scrap 2x4s worked nicely.

View of main beam support post

Nailed everything down on the front.

View of main beam attached to wall

Finally added the rafters and the beam was secure! To test it, I hung from the beam and it didn’t move a bit.

Main Room’s rafters

Lofts

[I did this work the weekend before Thanksgiving]

I did the lofts over a weekend. This was scary because I had to work around any bad weather. Until I get the rafters up, a tarp will not protect the lofts. The reason is the same as to why the bottom floor got ruined. The middle will fill up with water. With nowhere to go, it will get heavier and heavier until it shreds the tarp and soaks everything.

Things went VERY quickly. I was amazed at how much progress I made in just a few days. No rain yet.

A disagreement, threats and why written contracts are important

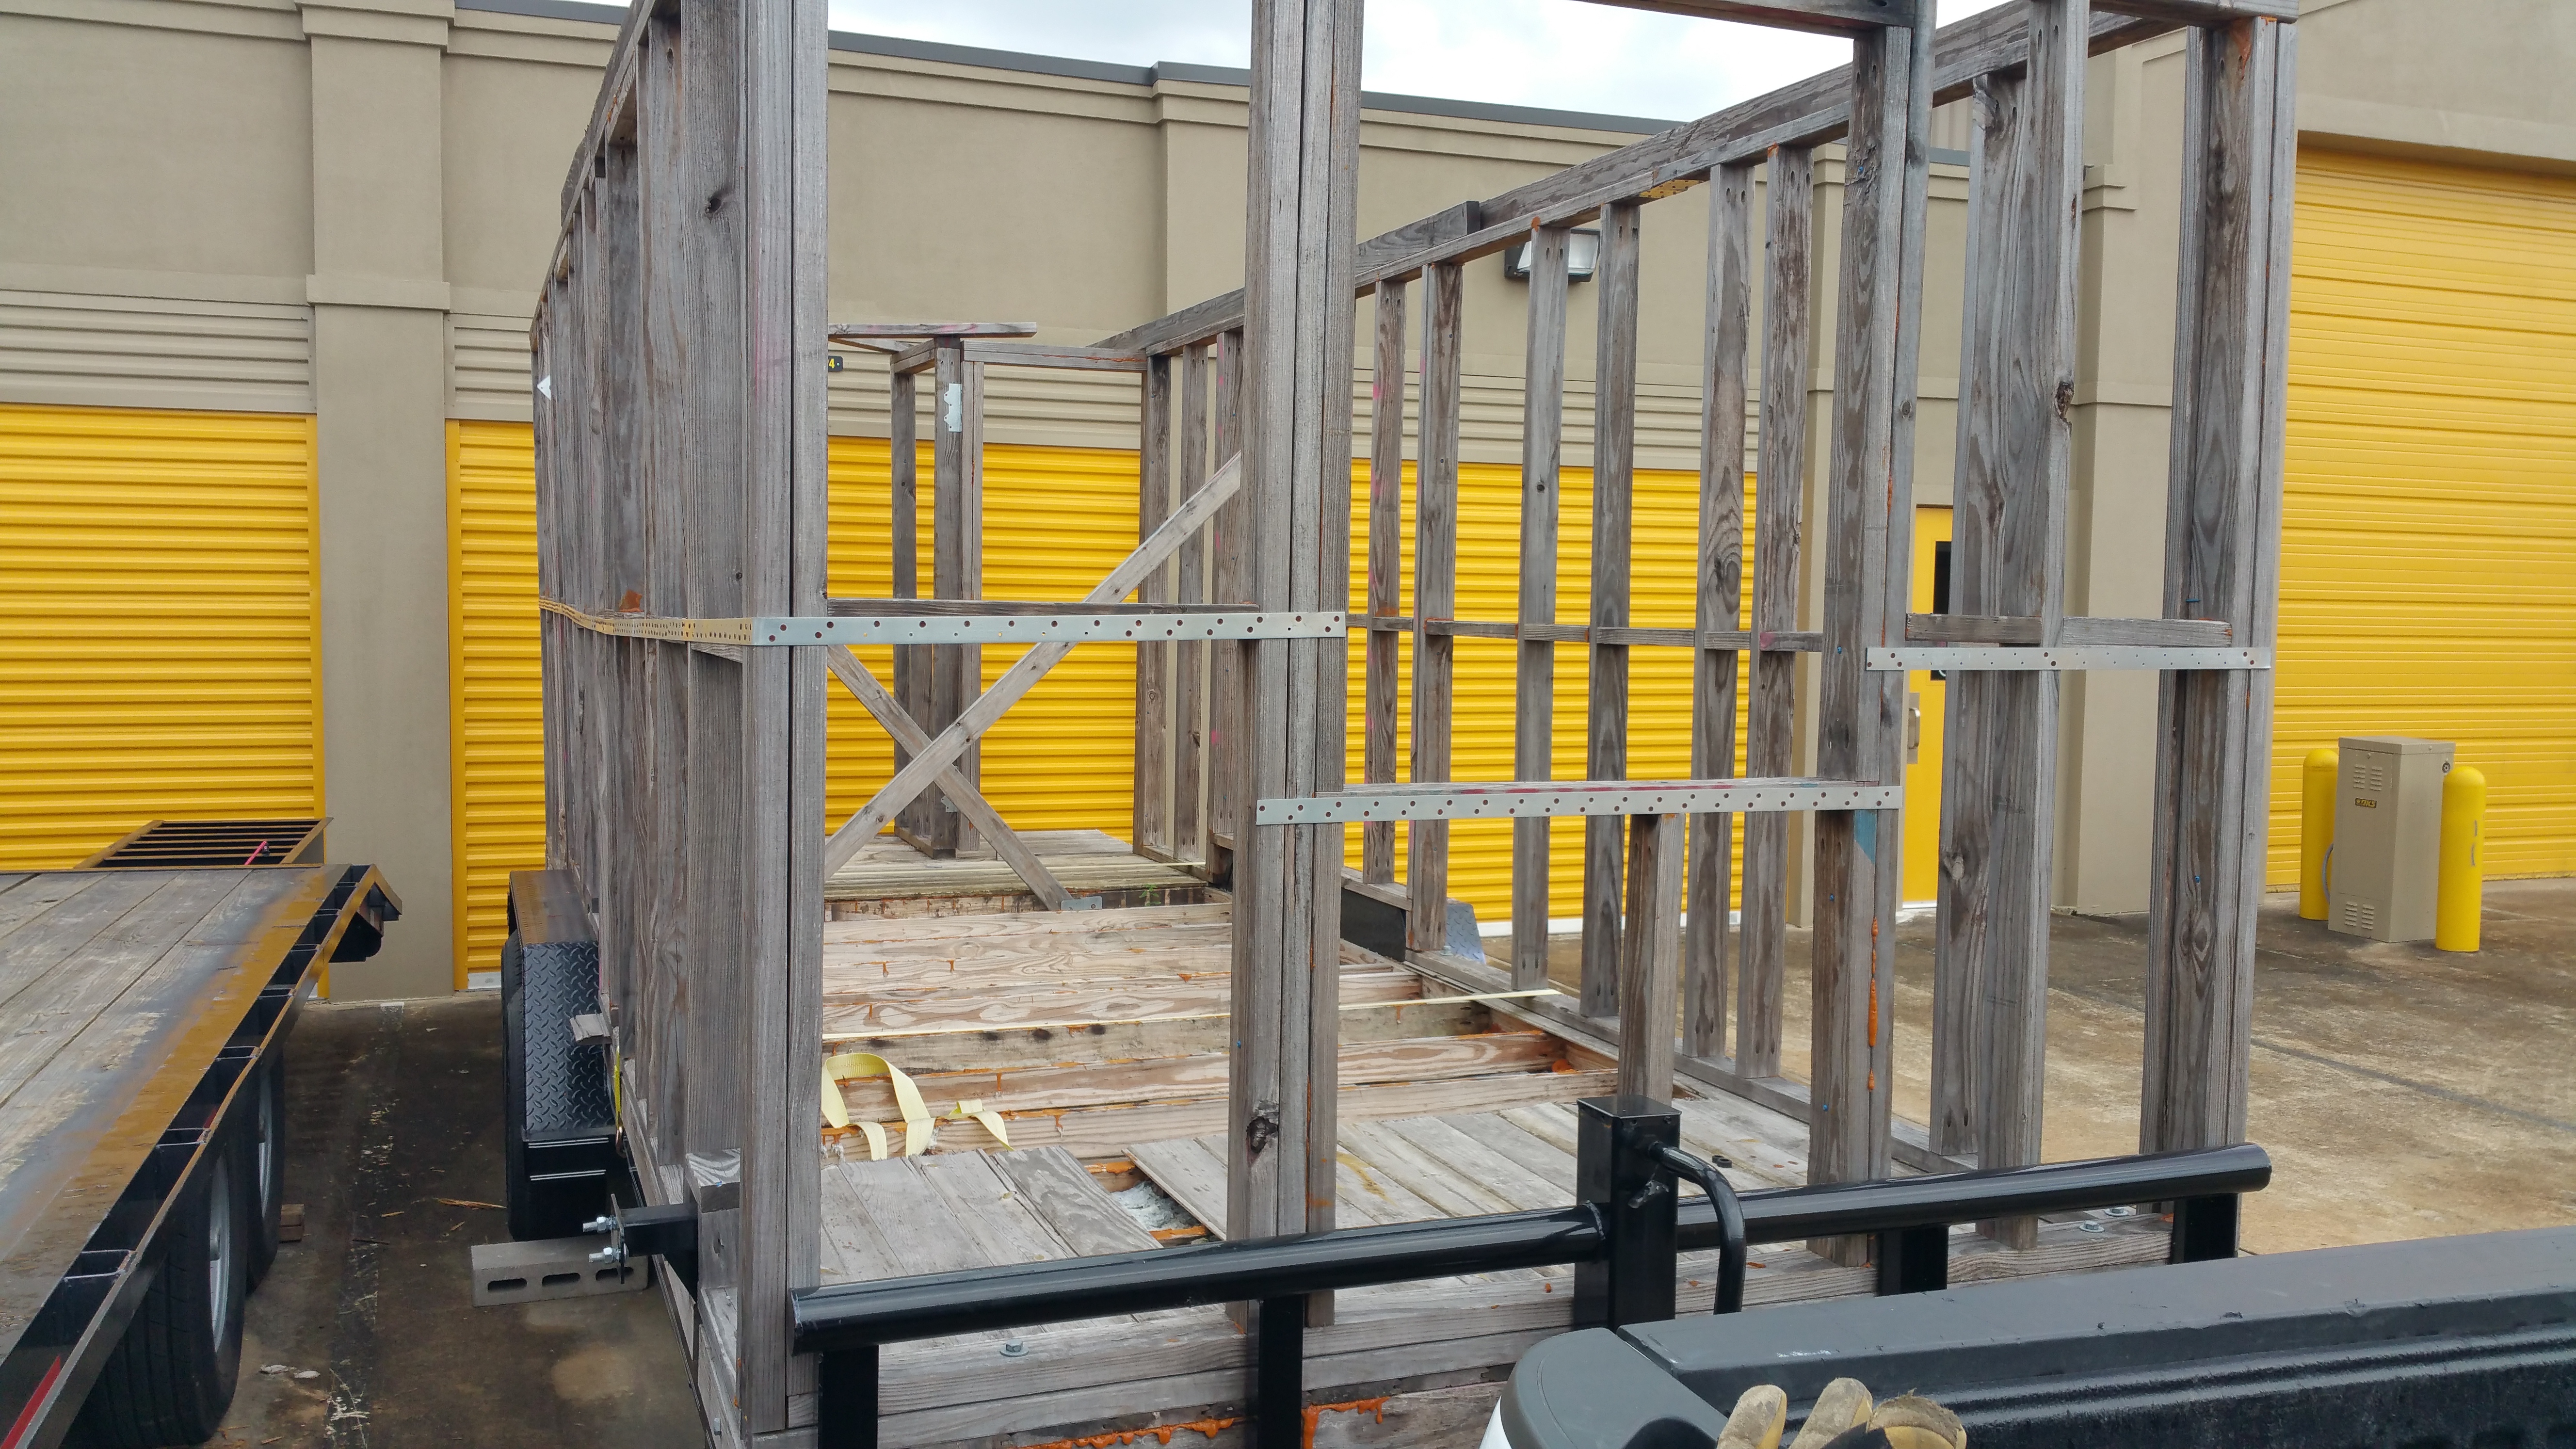
It has been about 9 months since the last entry. In that time, I’ve had to move the Tiny House from its build site.

What happened was there was a disagreement from the management (or overlord) about my continuing to rent the space. I had agreement until after mid 2016, but the problem was it was verbal (some what via email, but a crucial part was done in person).

Eventually, the overlord made threats (“get it out now or we’ll burn it to the ground”), we (using the law) blocked, and both parties agreed that I’d vacate on a specific date. That date arrived, I packed up everything and took off, never to set foot there again.

During this ordeal, I received support and advice from several friends, for whom I am eternally grateful.

All of this would have been avoided (or required much less energy) if I had a written contract that specified the terms of housing the Tiny House. The saw goes, “Experience is mistakes one learns from.” I certainly have a lot of experience now. 🙂

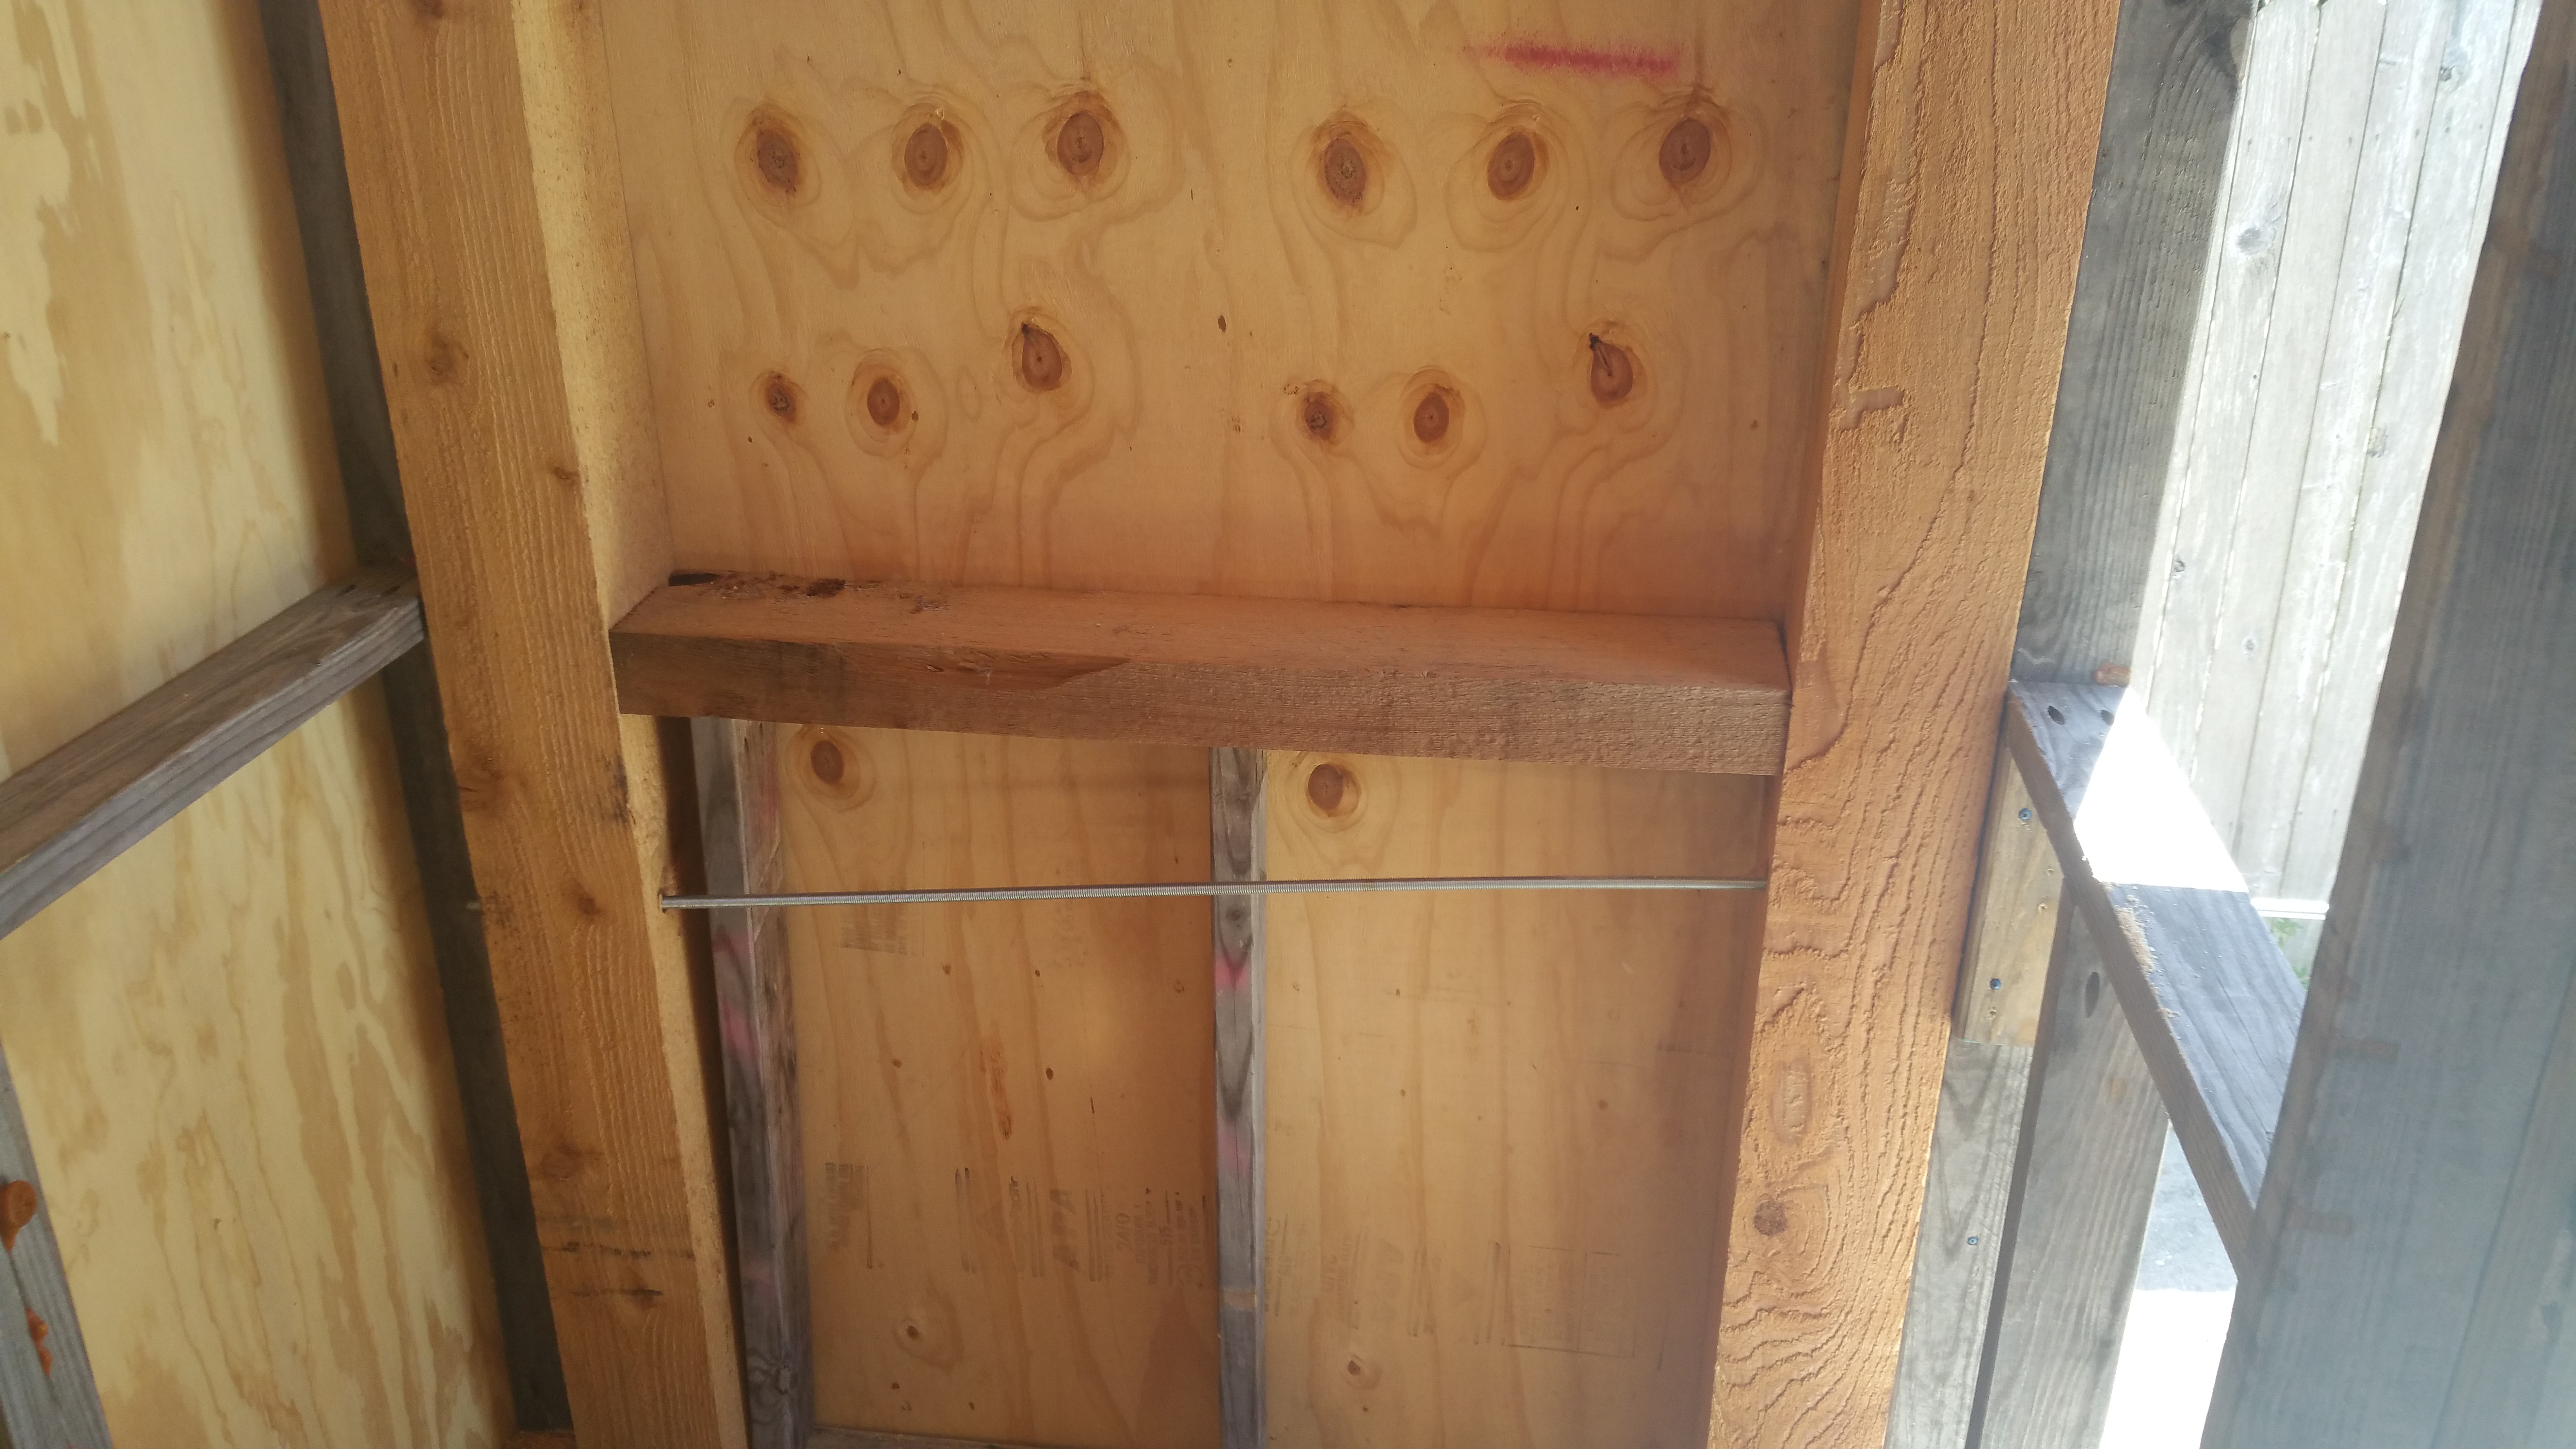
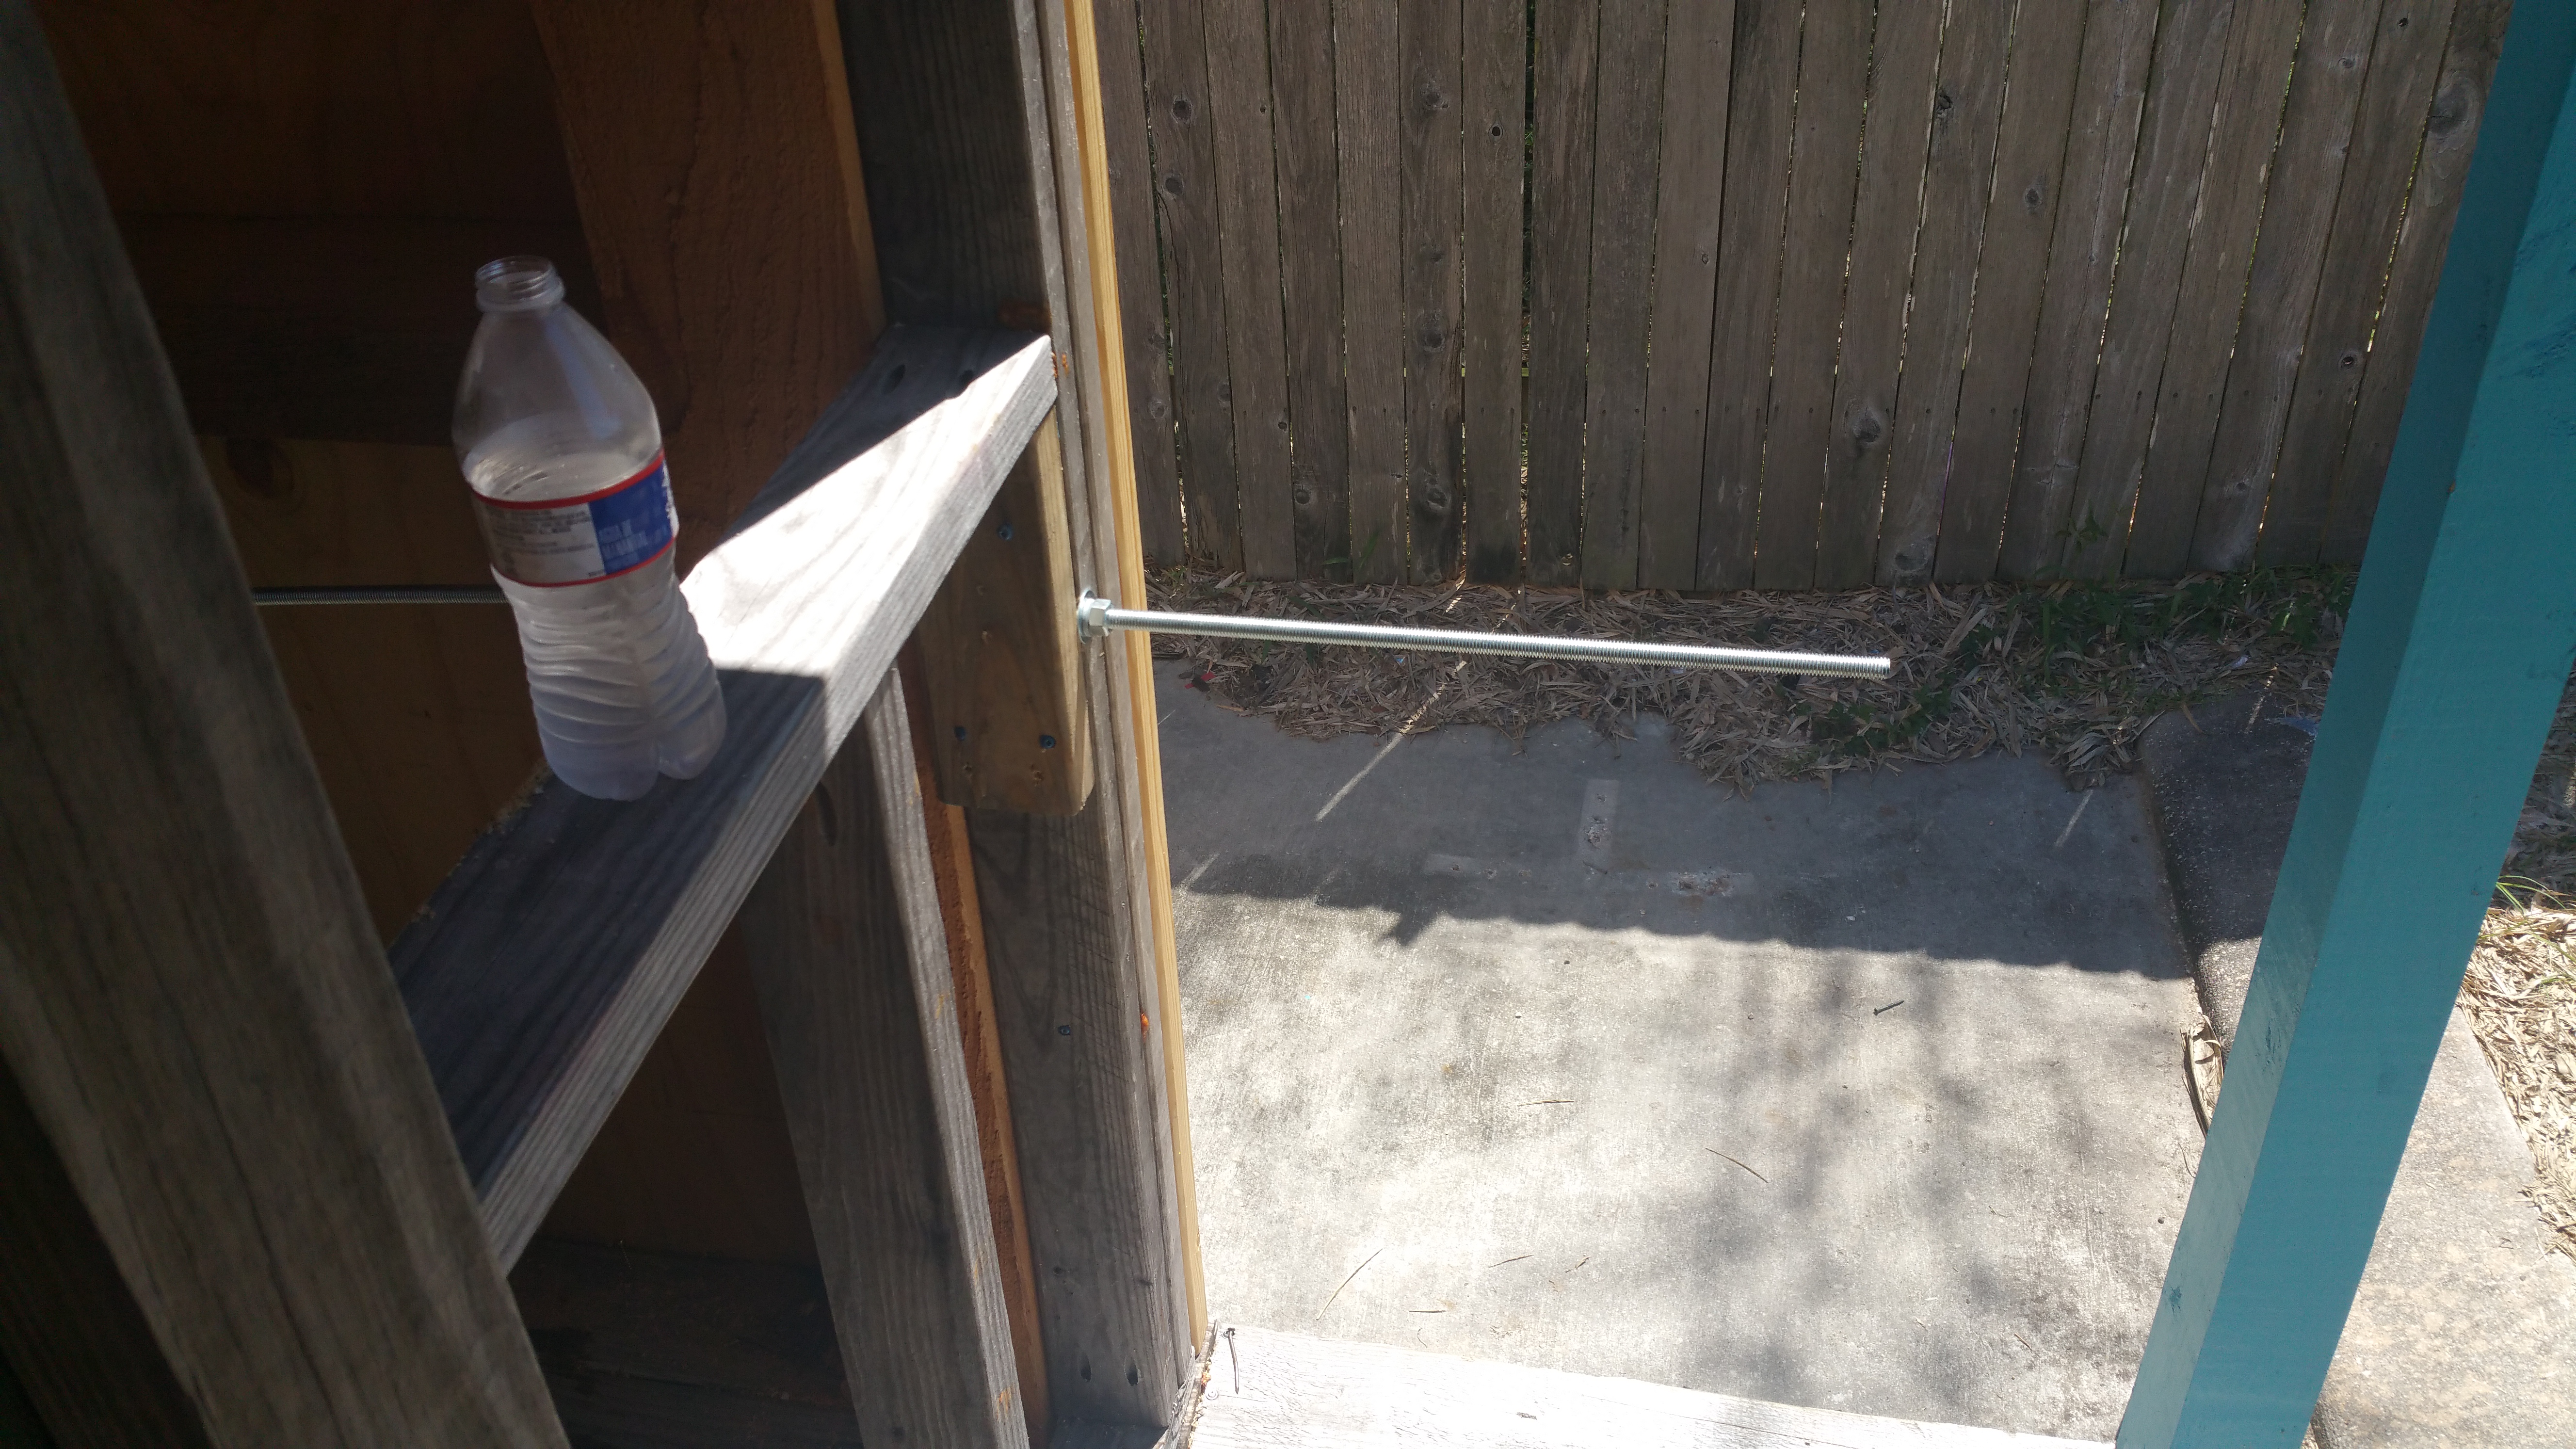
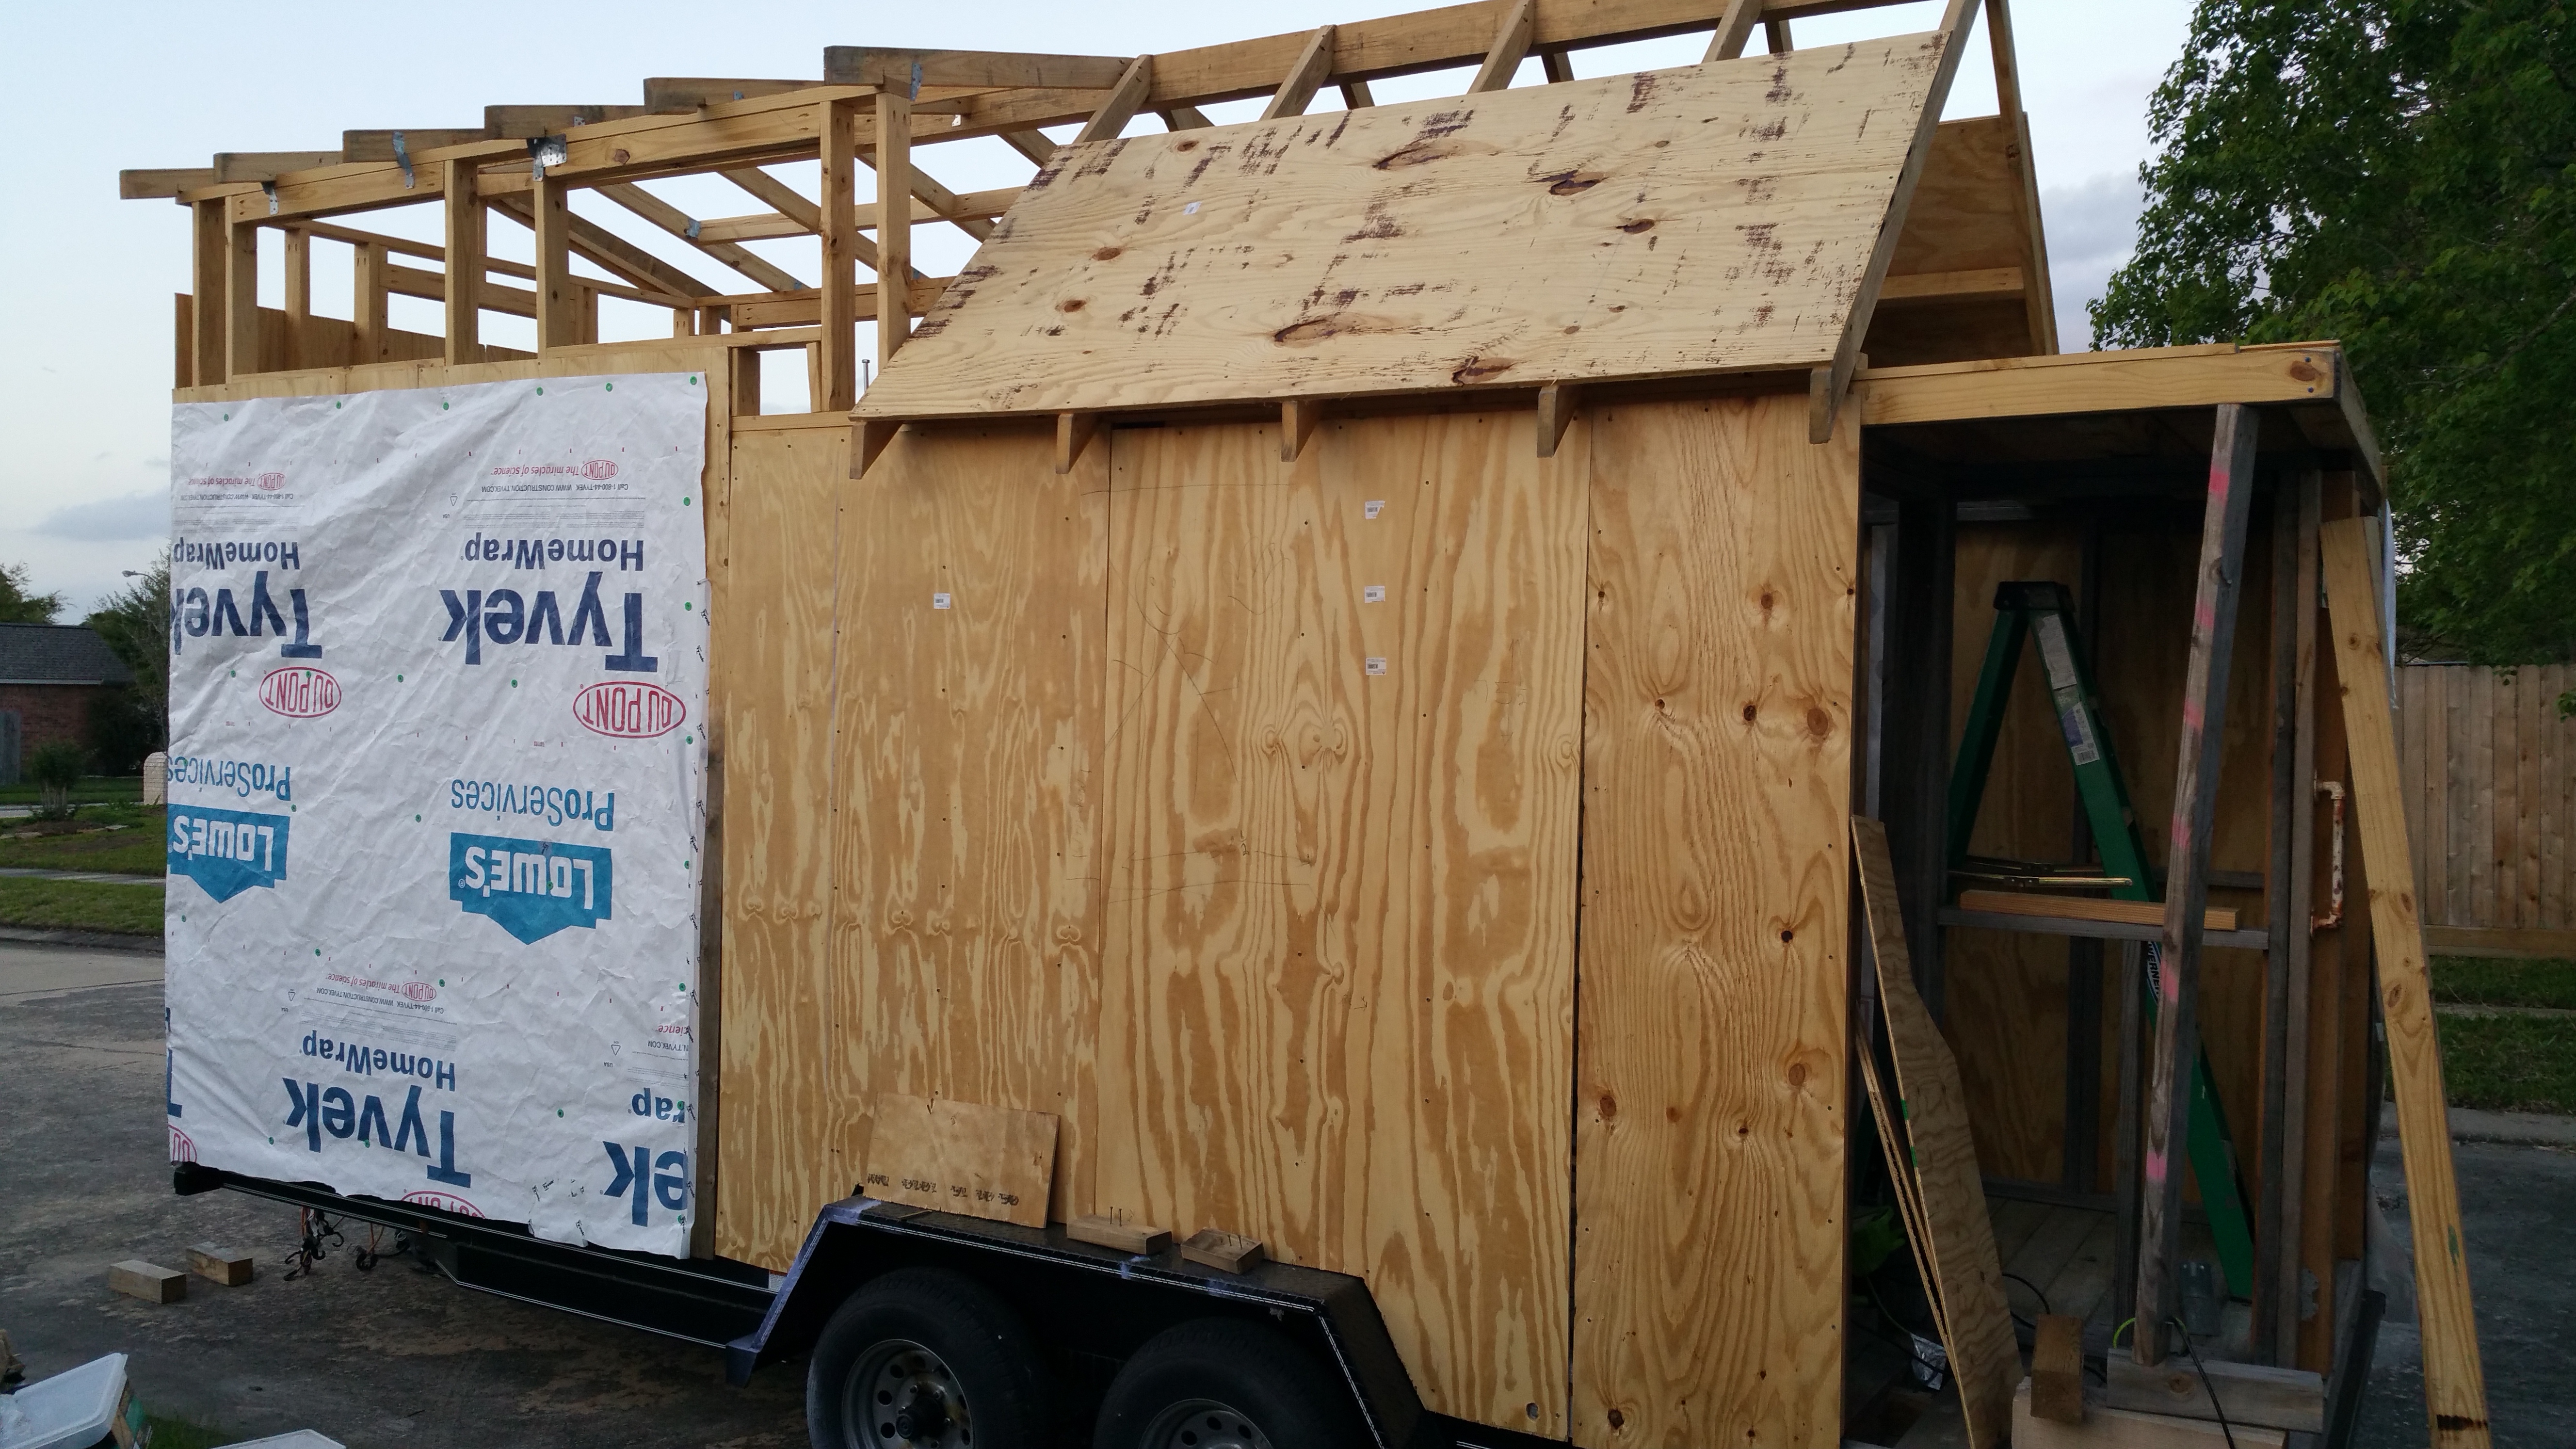
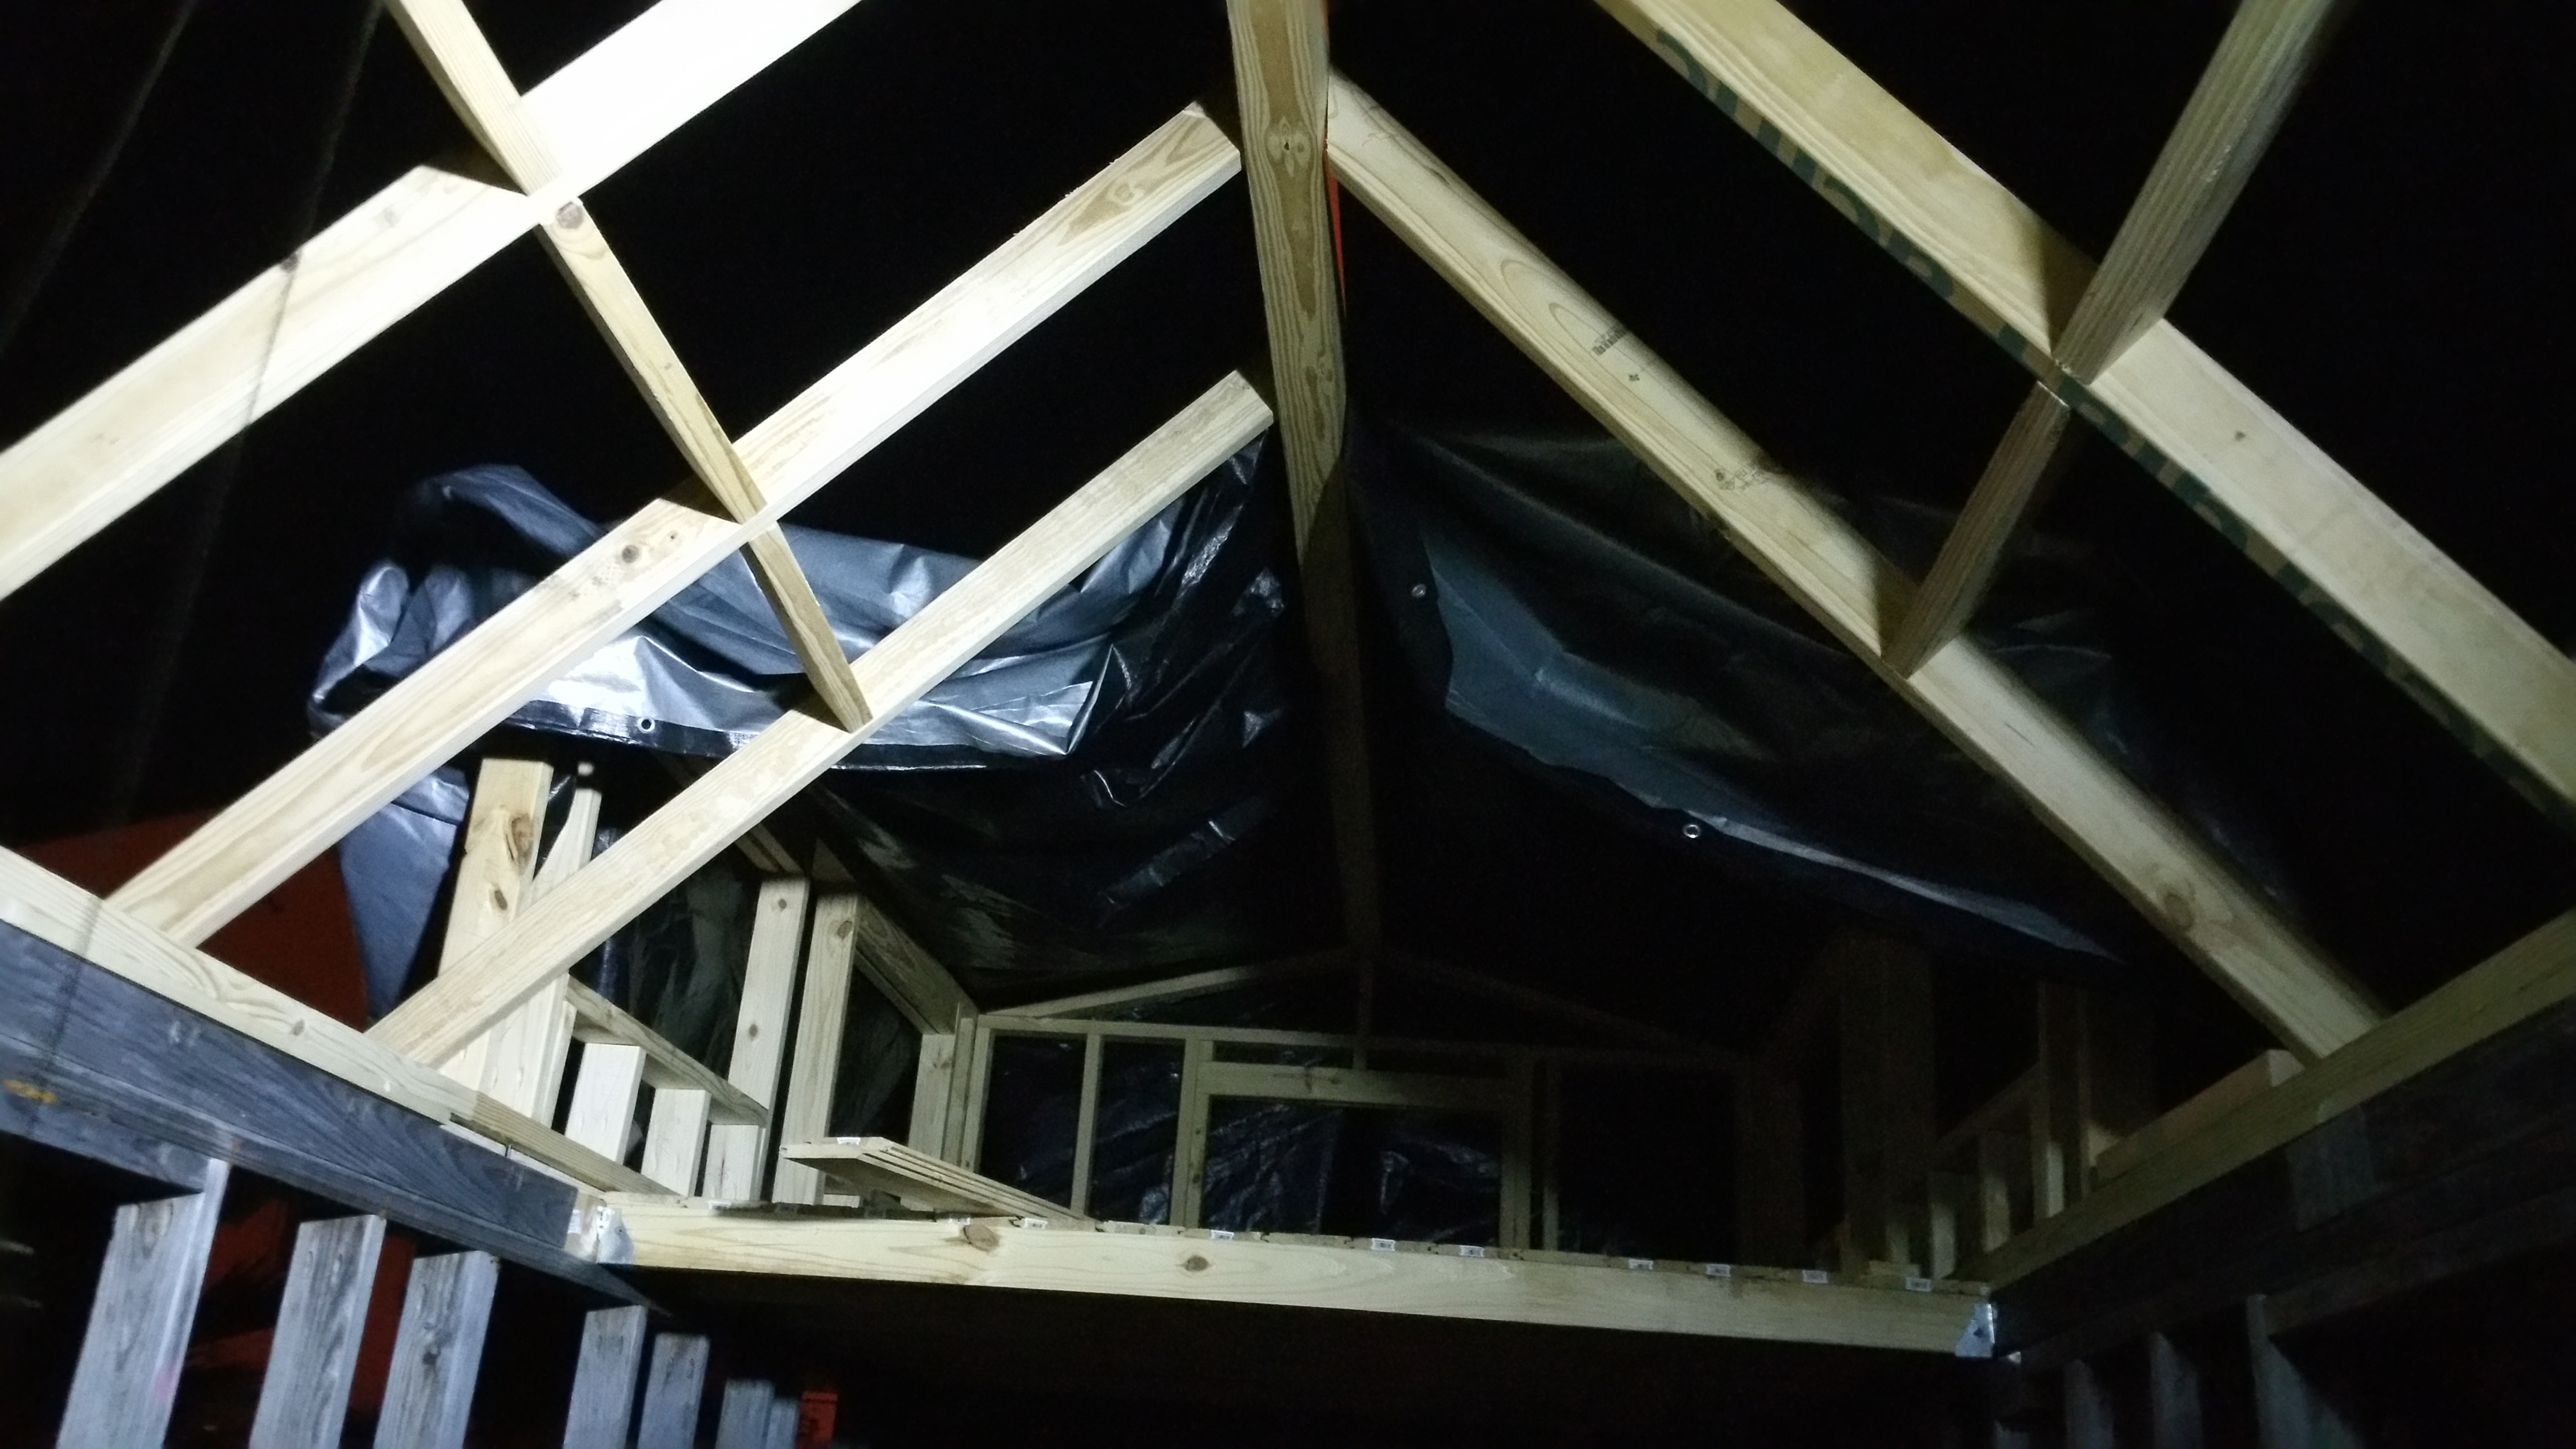
During the move, I noticed one of the short walls was wobbling terribly, as it was only supported on one side. I braced it with a spare 2×4 and it stopped wobbling. Once we got on the freeway, Tiny performed beautifully with no problems. I speed up to 65 mph and took it to its new temporary home.

Epilogue

This turned out to be the best thing to happen to Tiny, which I will elucidate in a future post.

Loft walls

Time to work on the loft’s walls. I’m deviating from the original plans in order to provide more room in the loft. Originally, the roof was going to slope down to meet the loft floor, creating a tight space along the sides.

To fix this, I’m installing dormers—short walls to open up the loft and make it more roomy. The added benefit is the loft will have 5 windows instead of 1!

You can see an example of a dormer on the second floor here: