CS 14 Strapping Installed

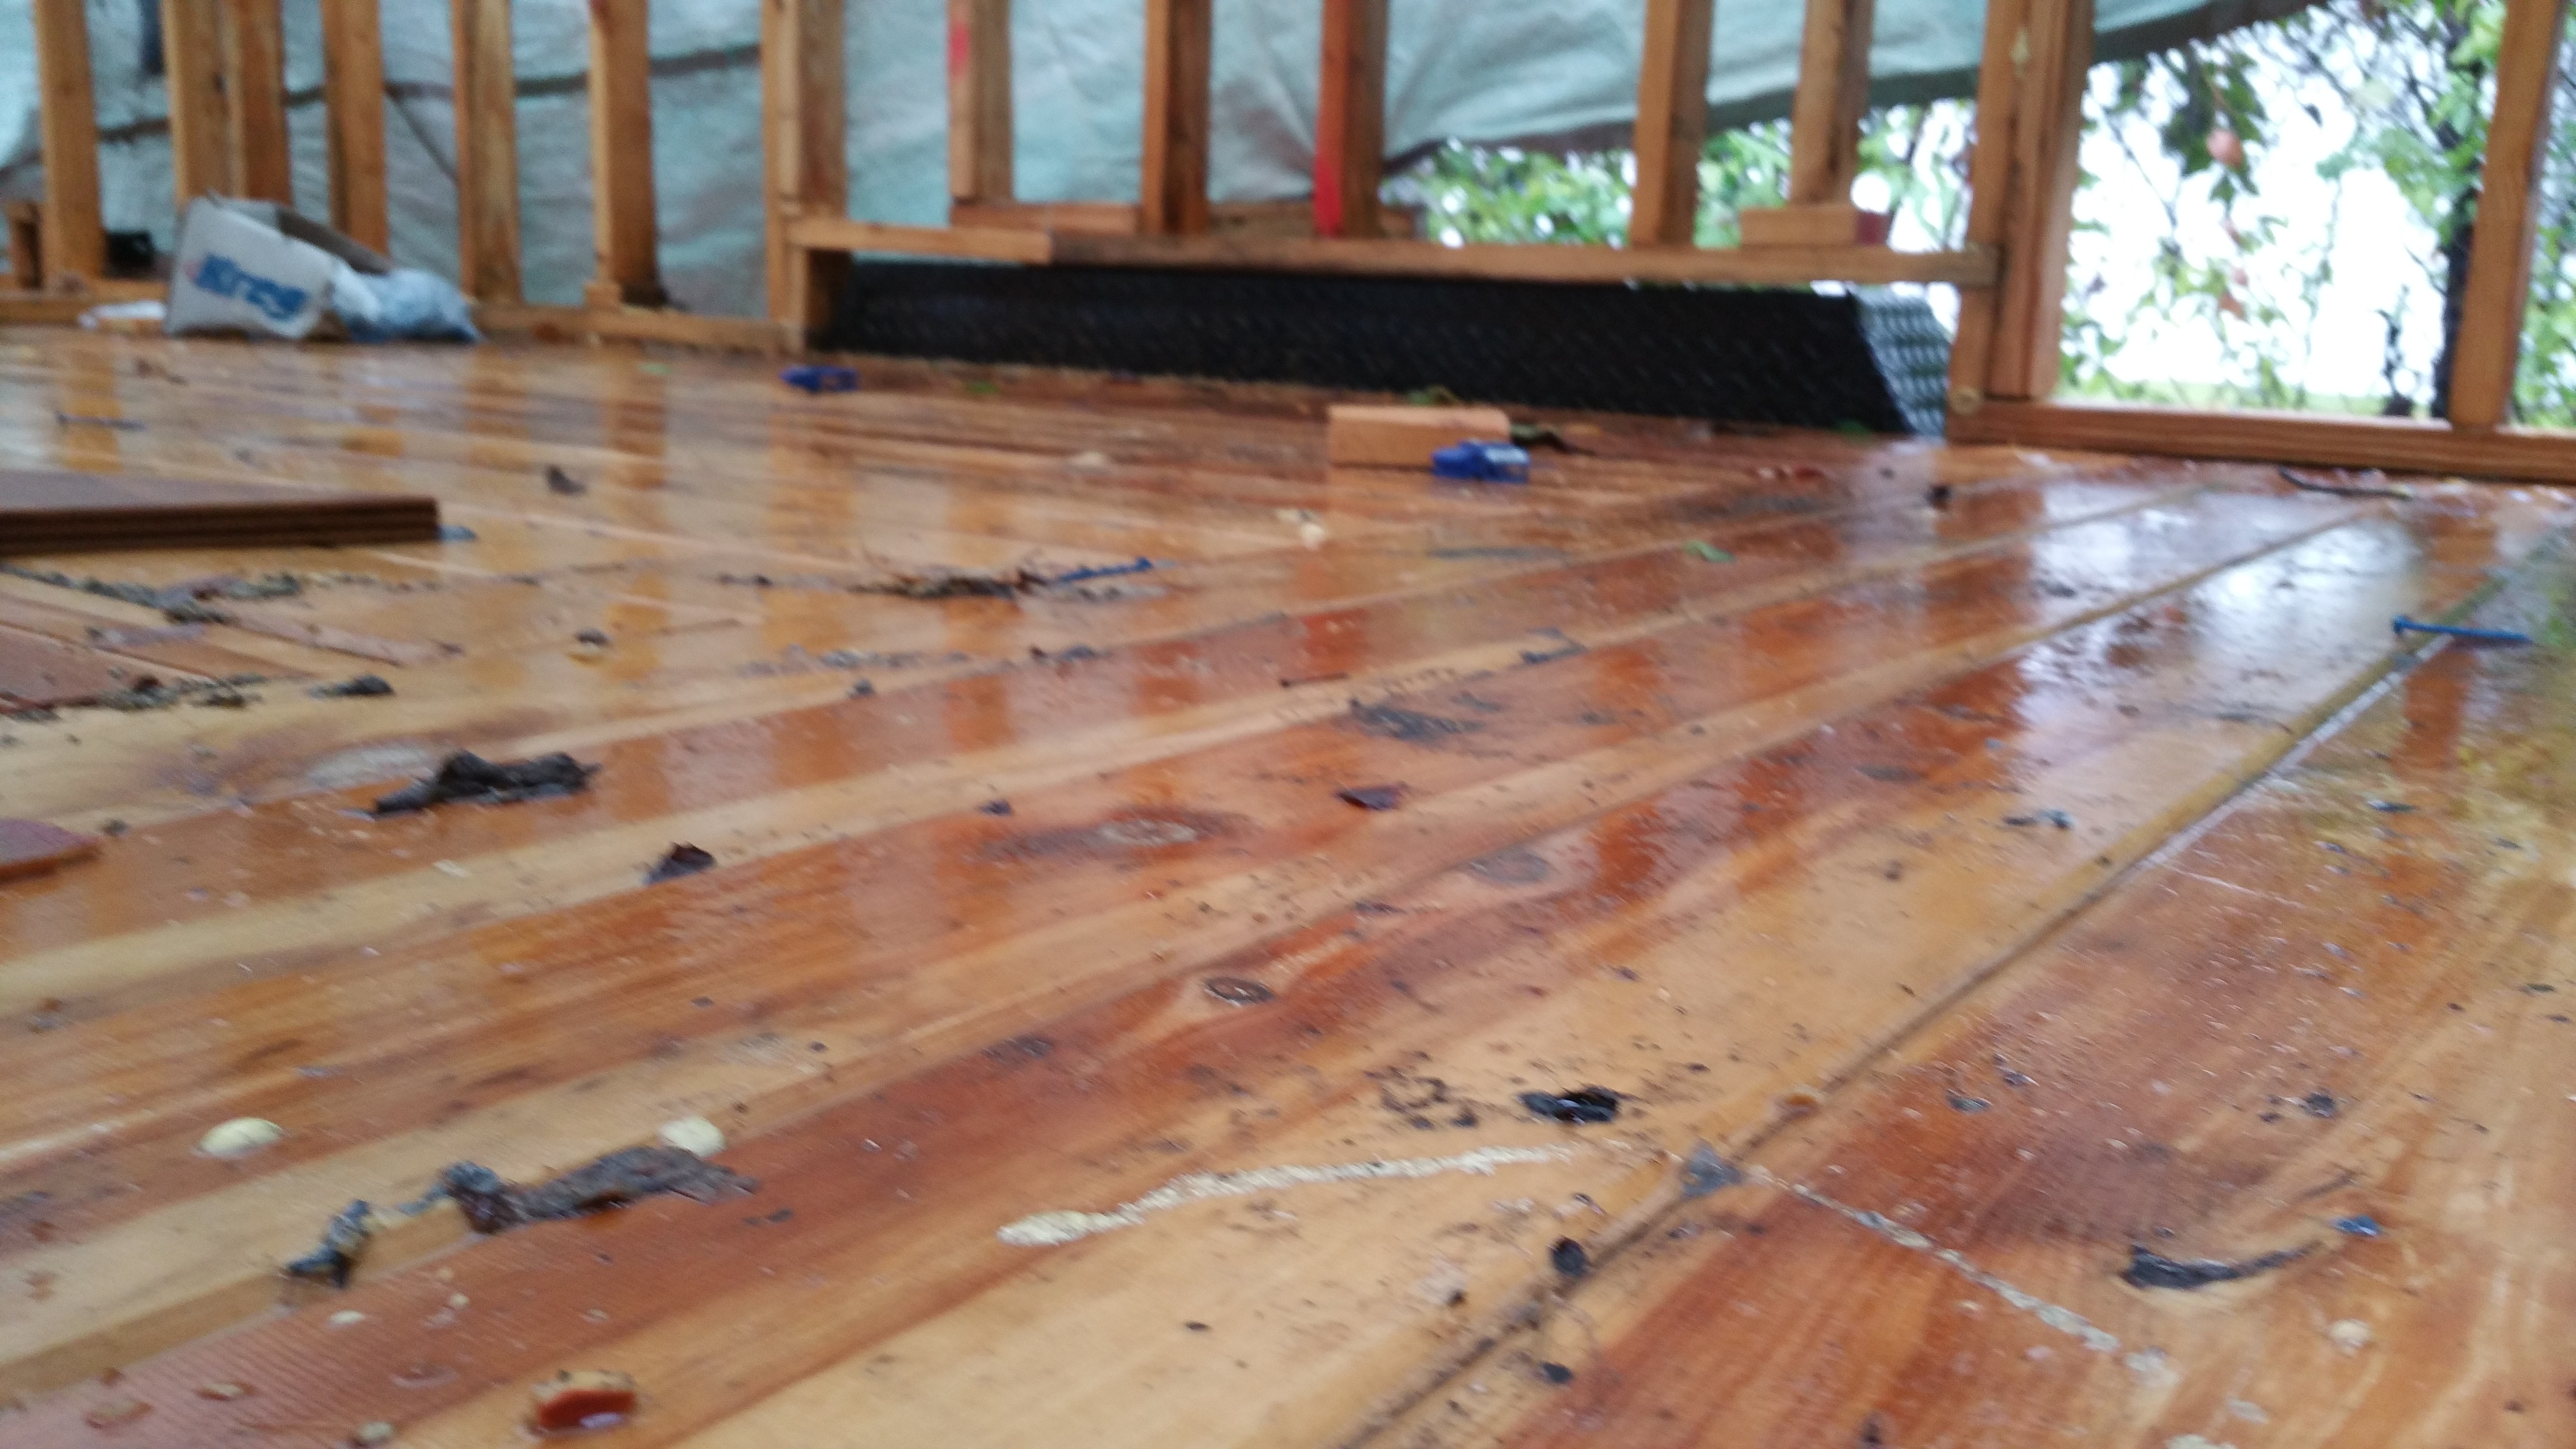
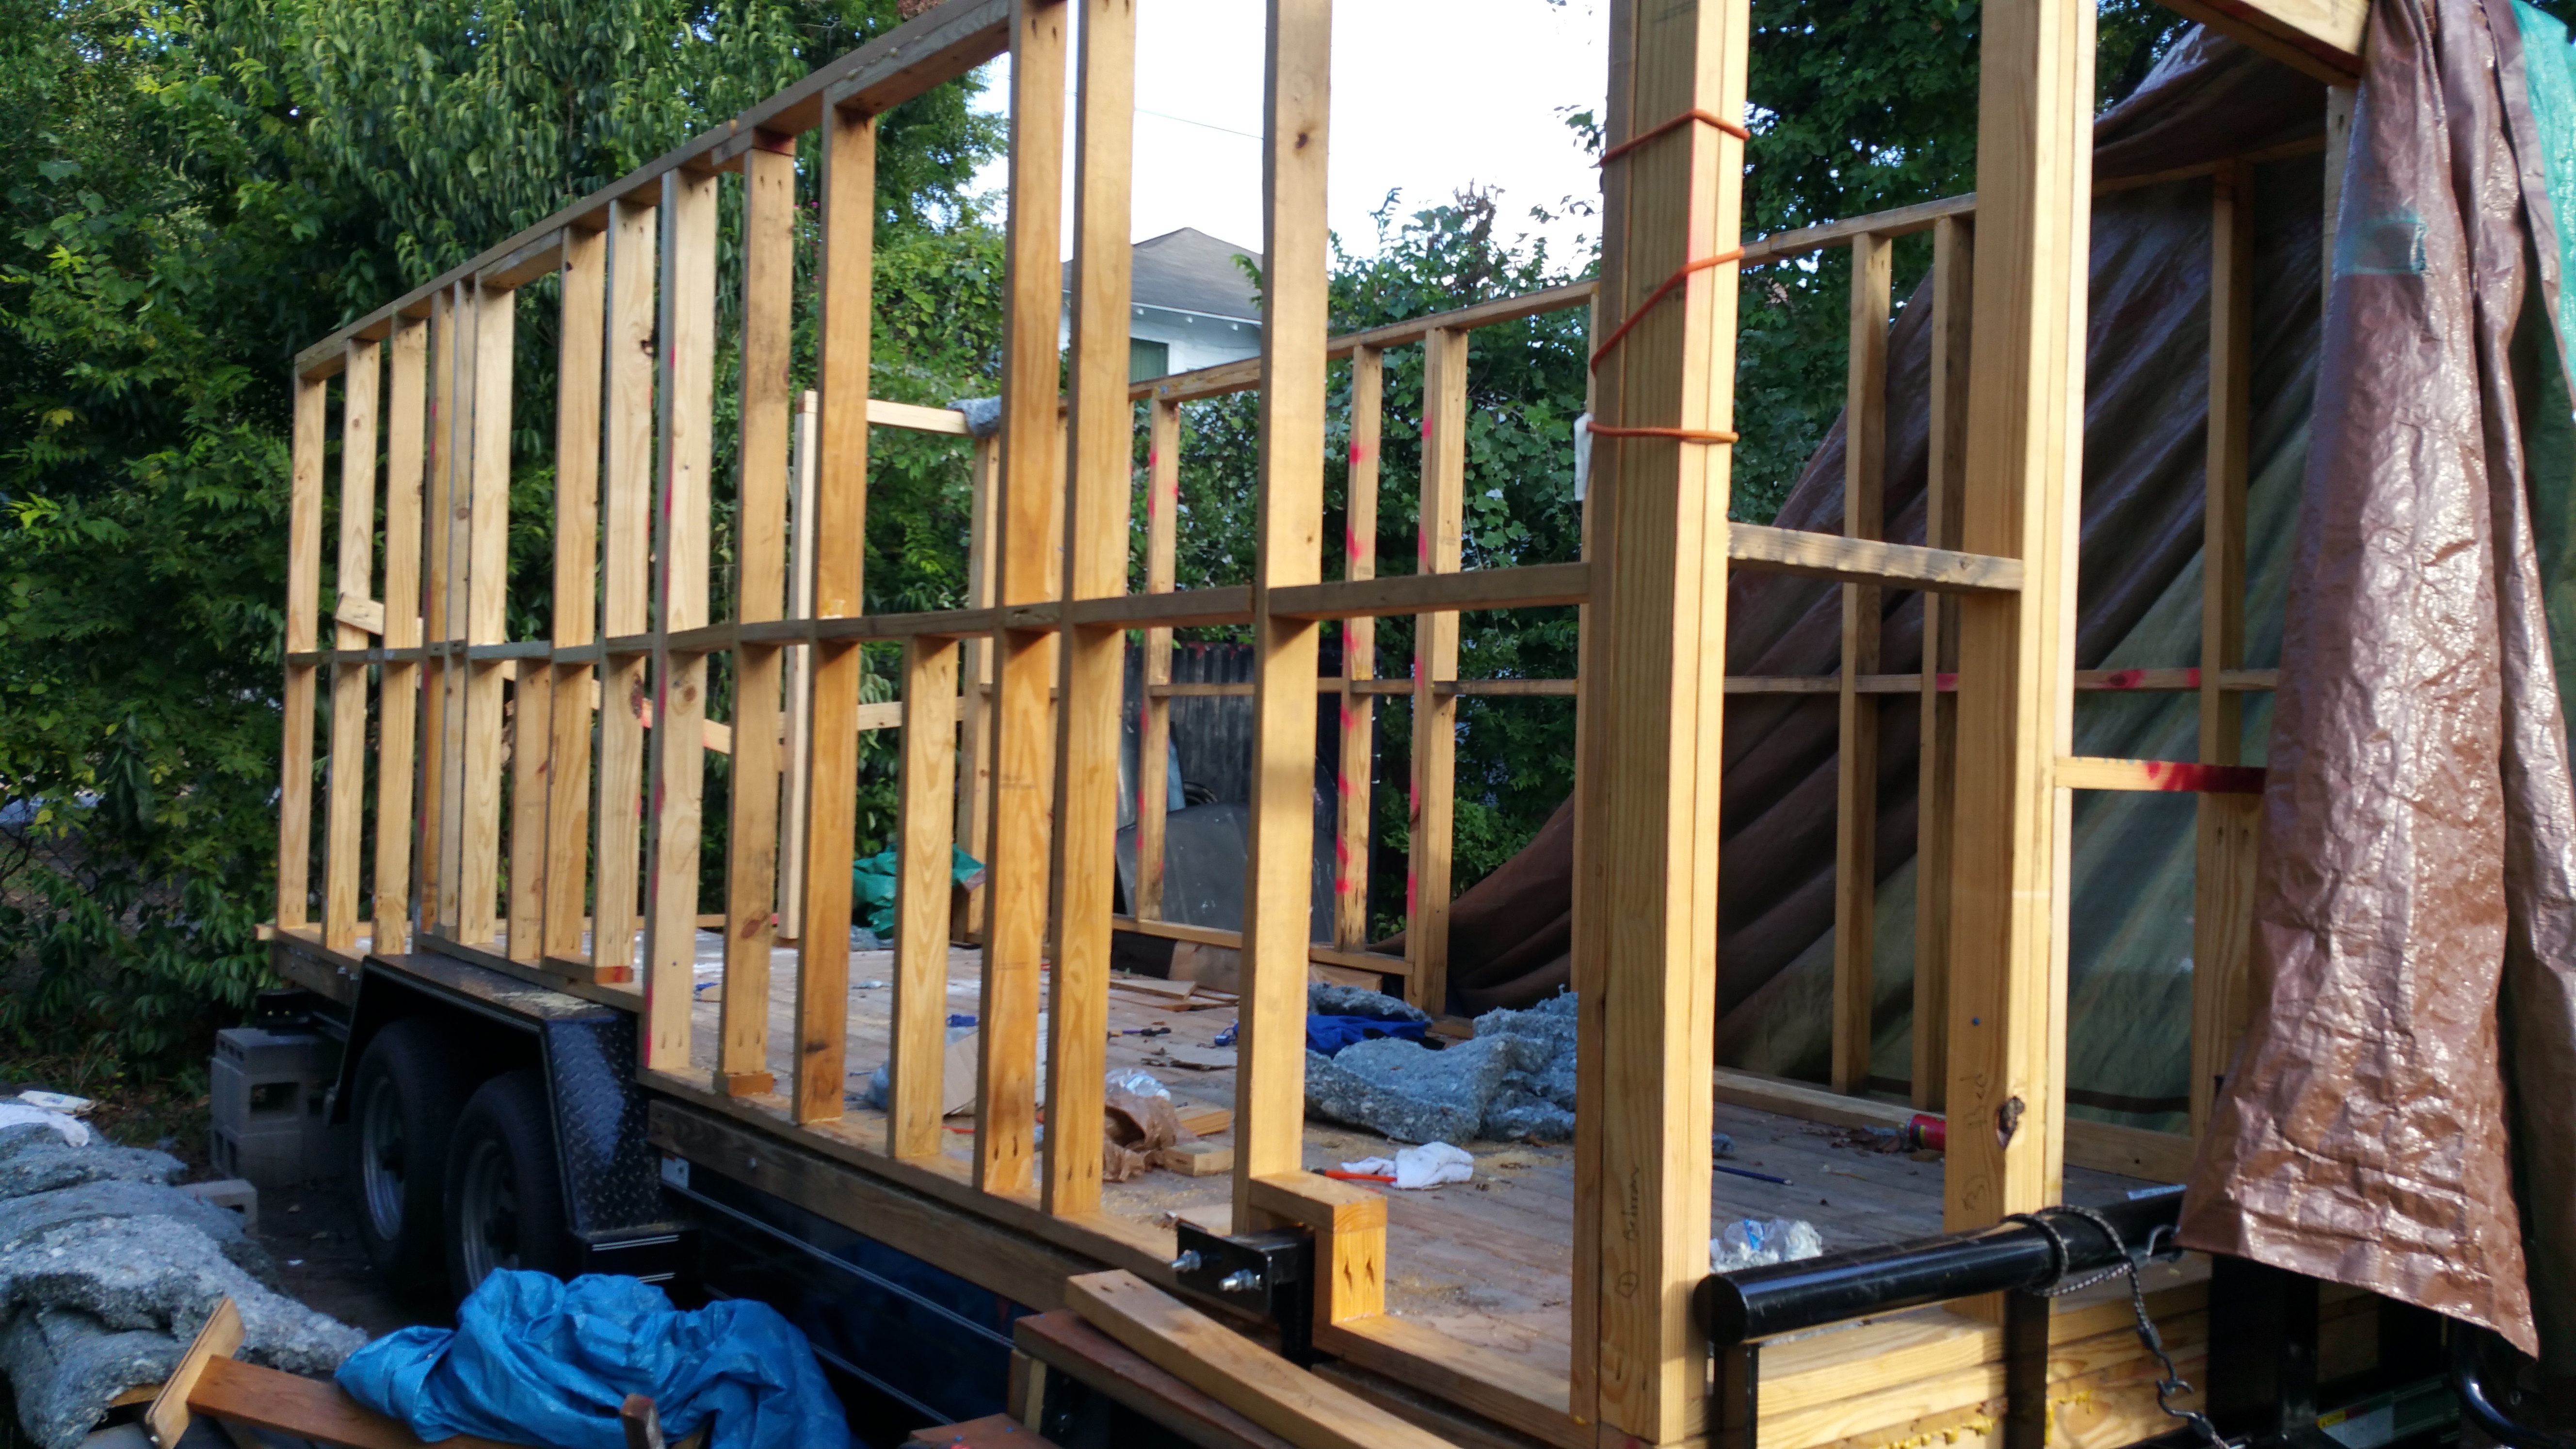
We got the CS 14 strapping installed all the way around the house and it is looking great.

CS 14 installed
CS 14 installed

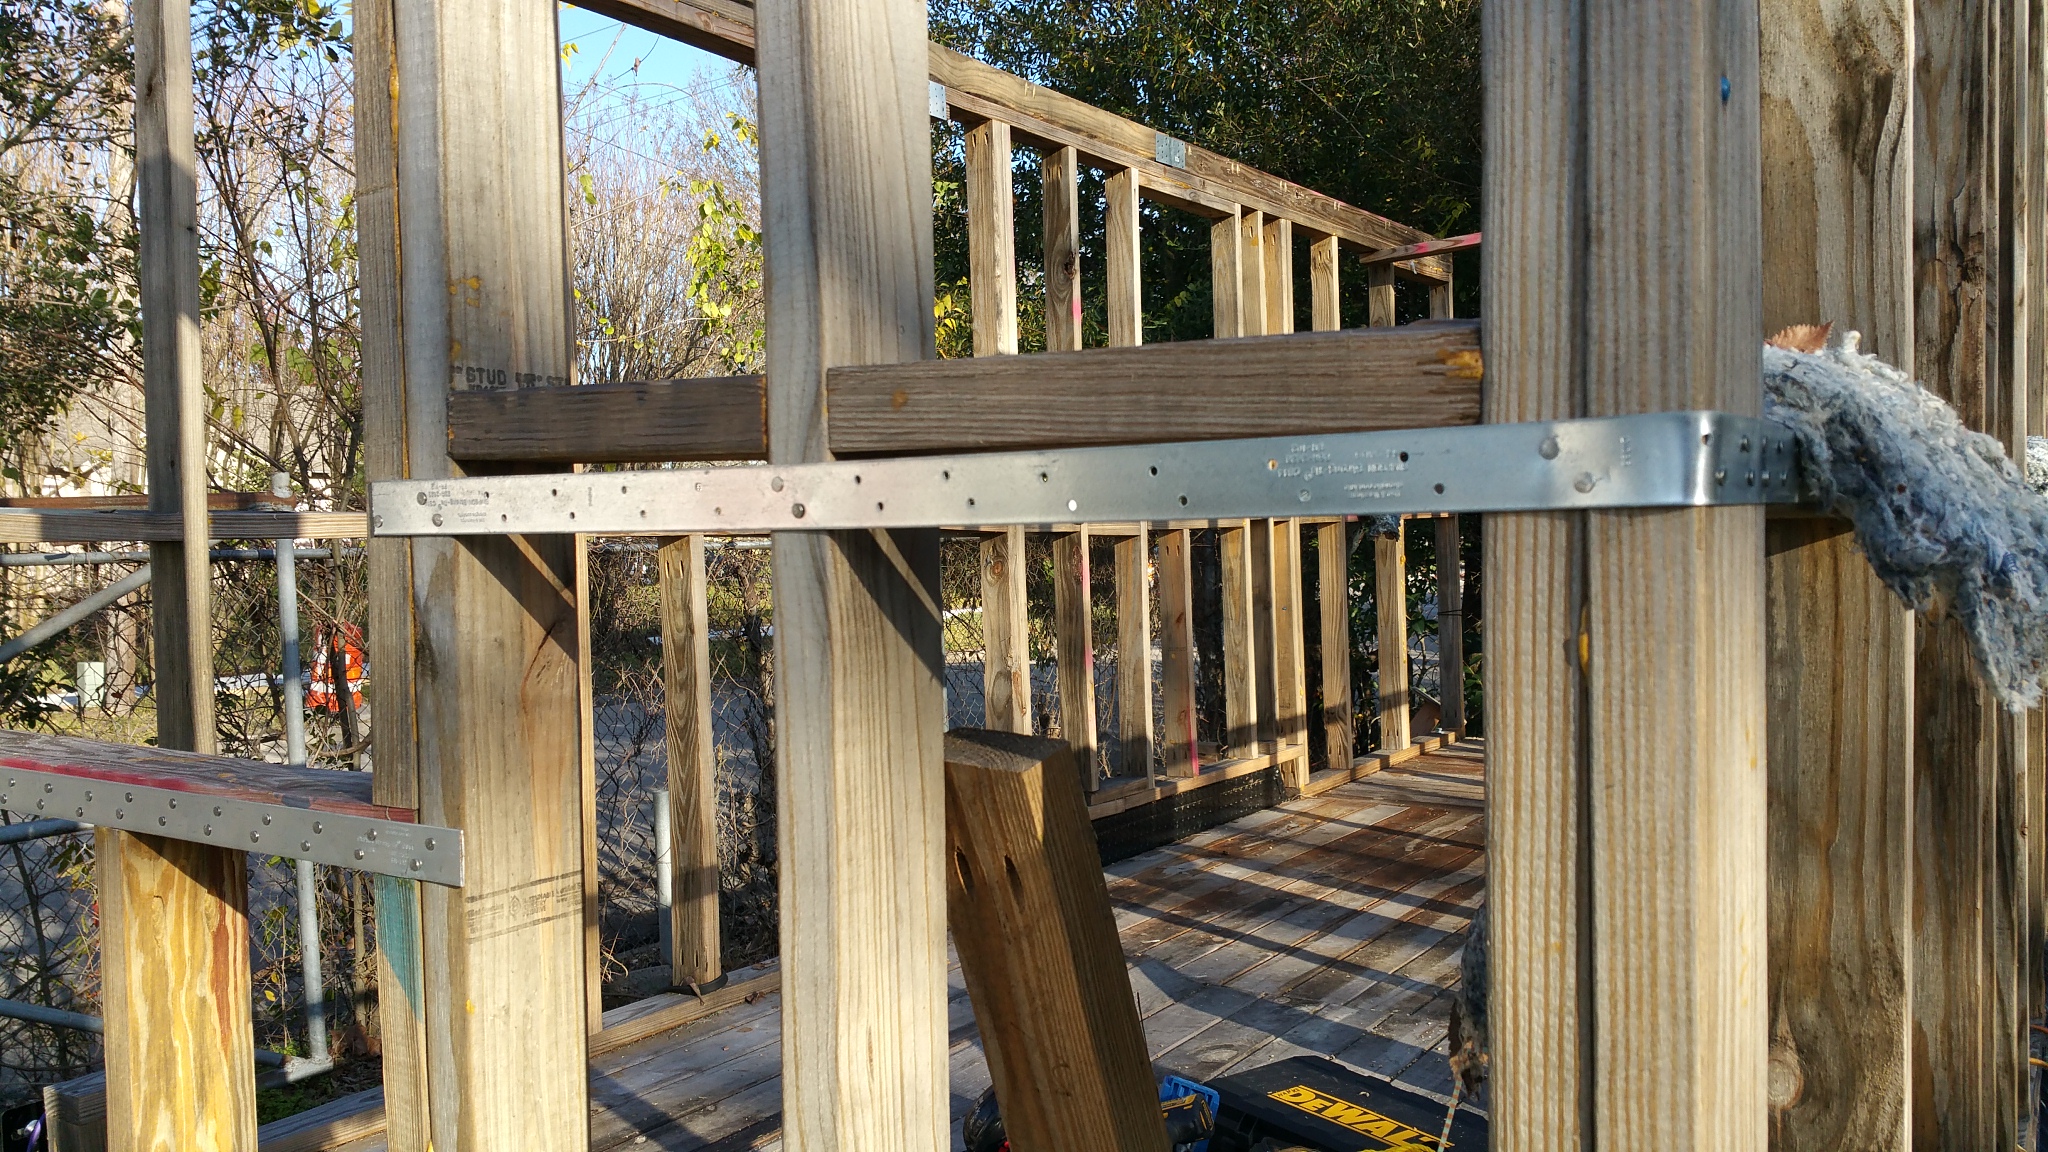
As with many things in his project, it involved some compromise and flexibility. When I laid out the blocking (the wood between the studs), I neglected to get them exactly lined up with one another, so when it came time to install the CS 14, it was obvious it wasn’t going to match.

As with everything else that “went wrong,” I had to remind myself that any job worth doing is worth doing poorly.

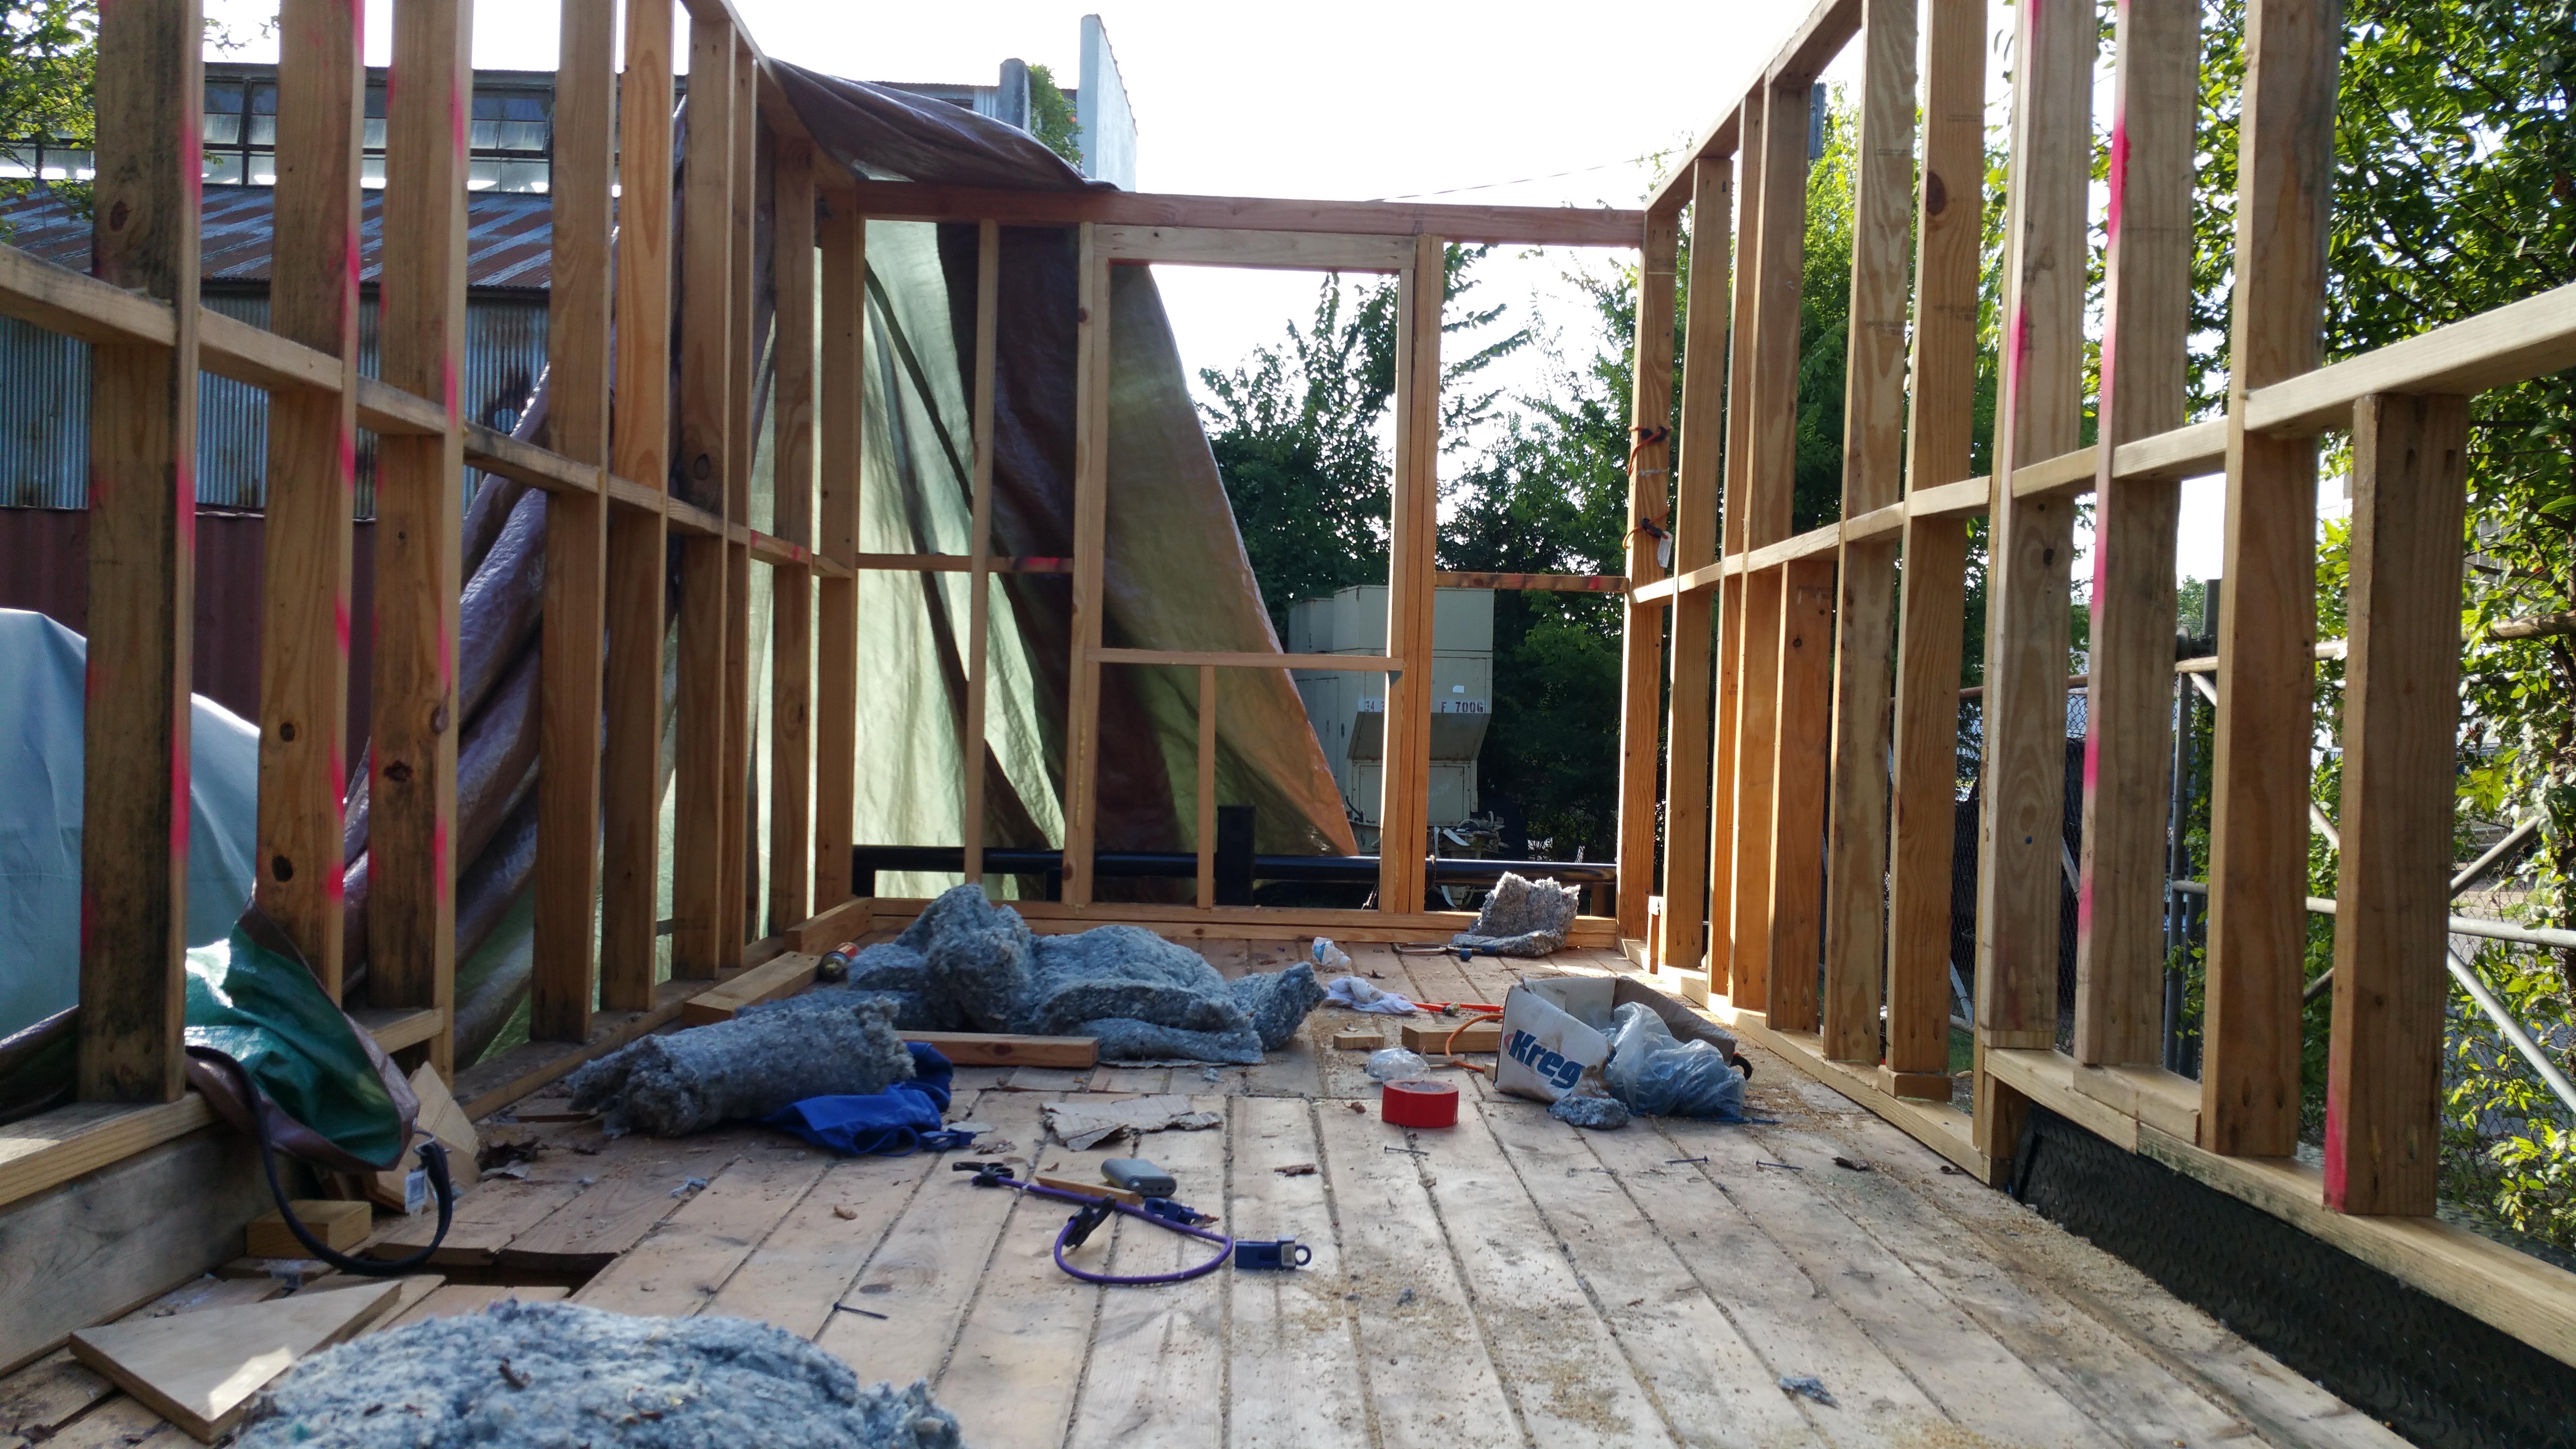
Coming to the master bedroom’s window, I had to cut the CS 14 to make it work.

CS 14 on master bedroom window

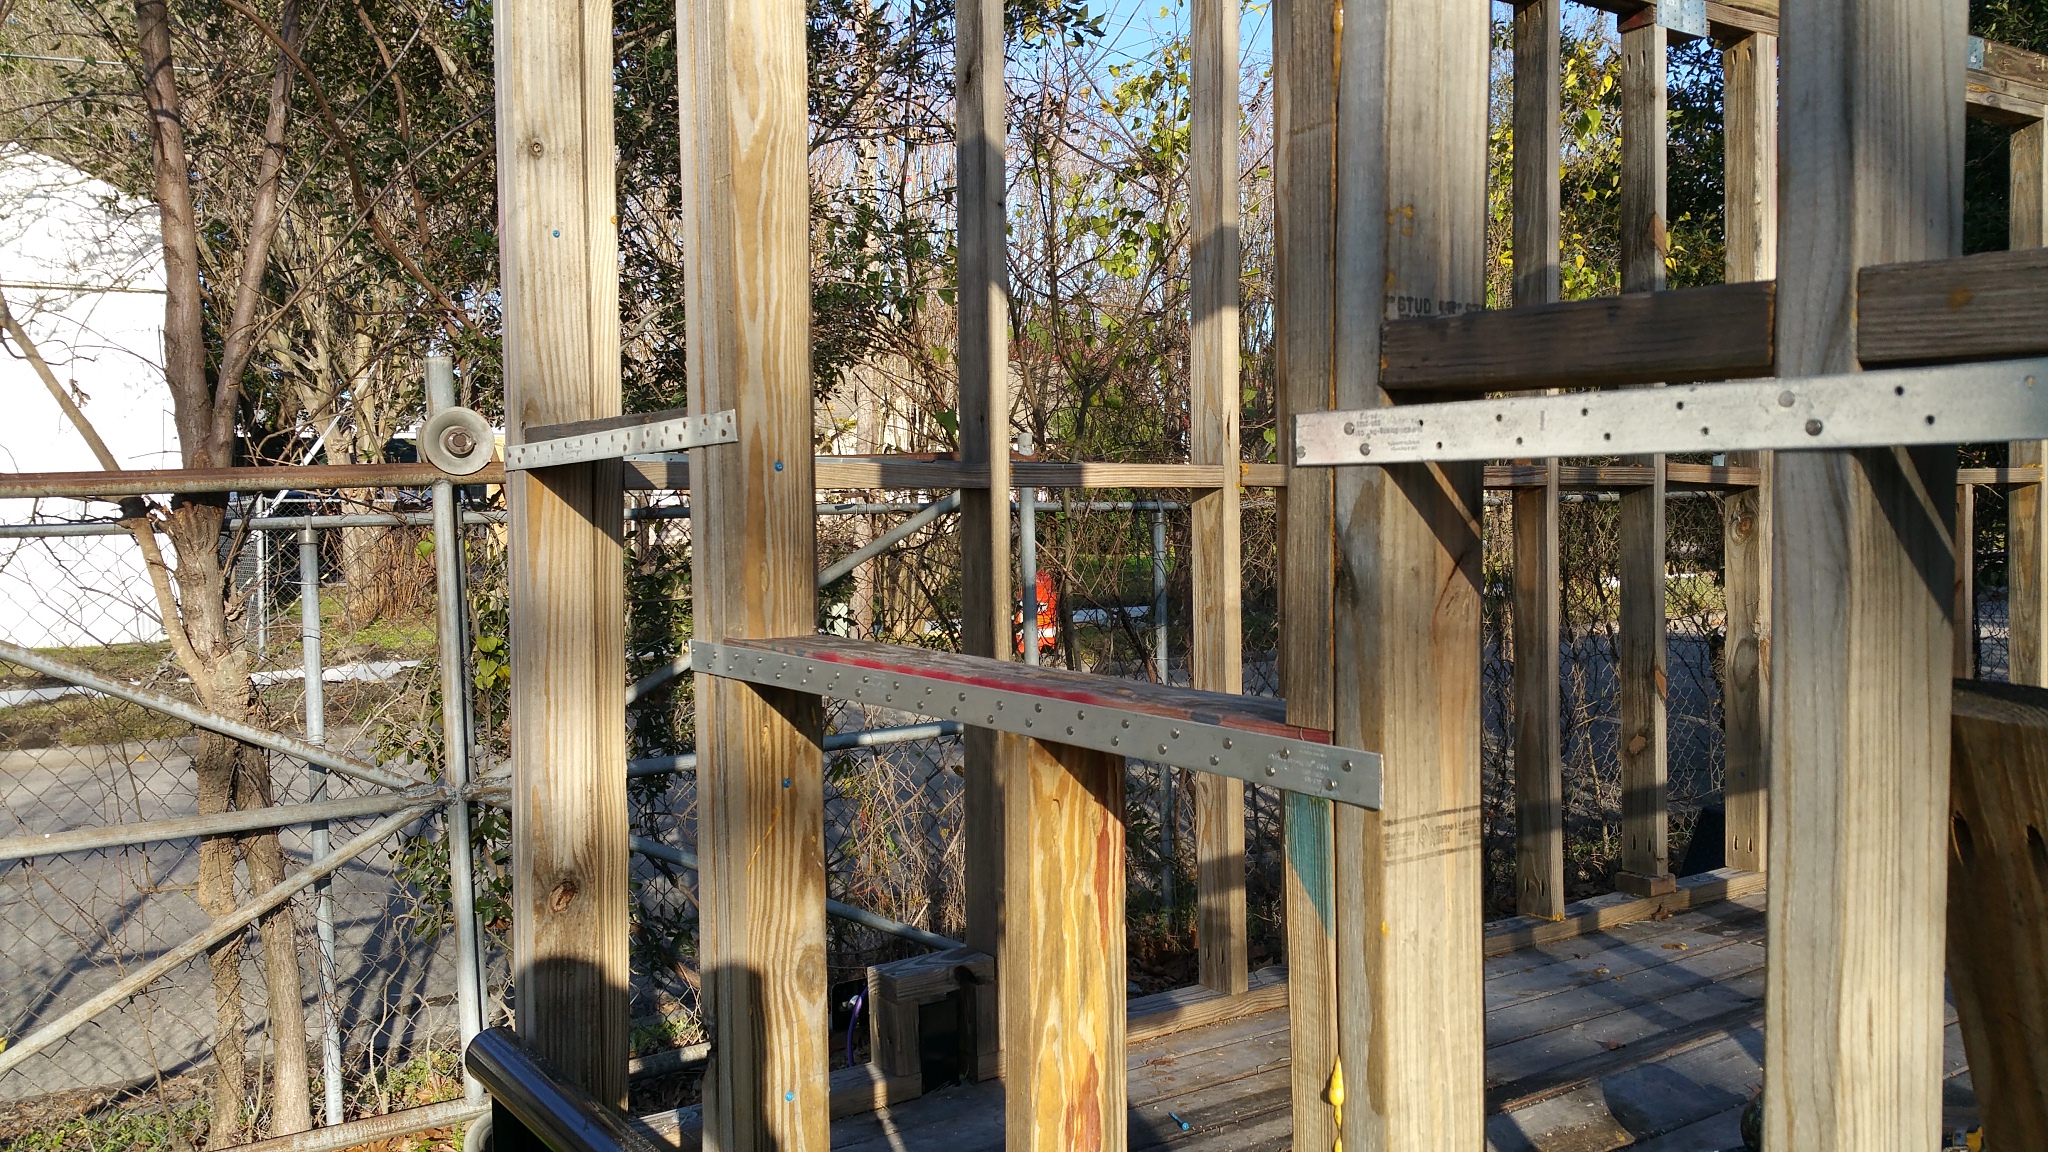
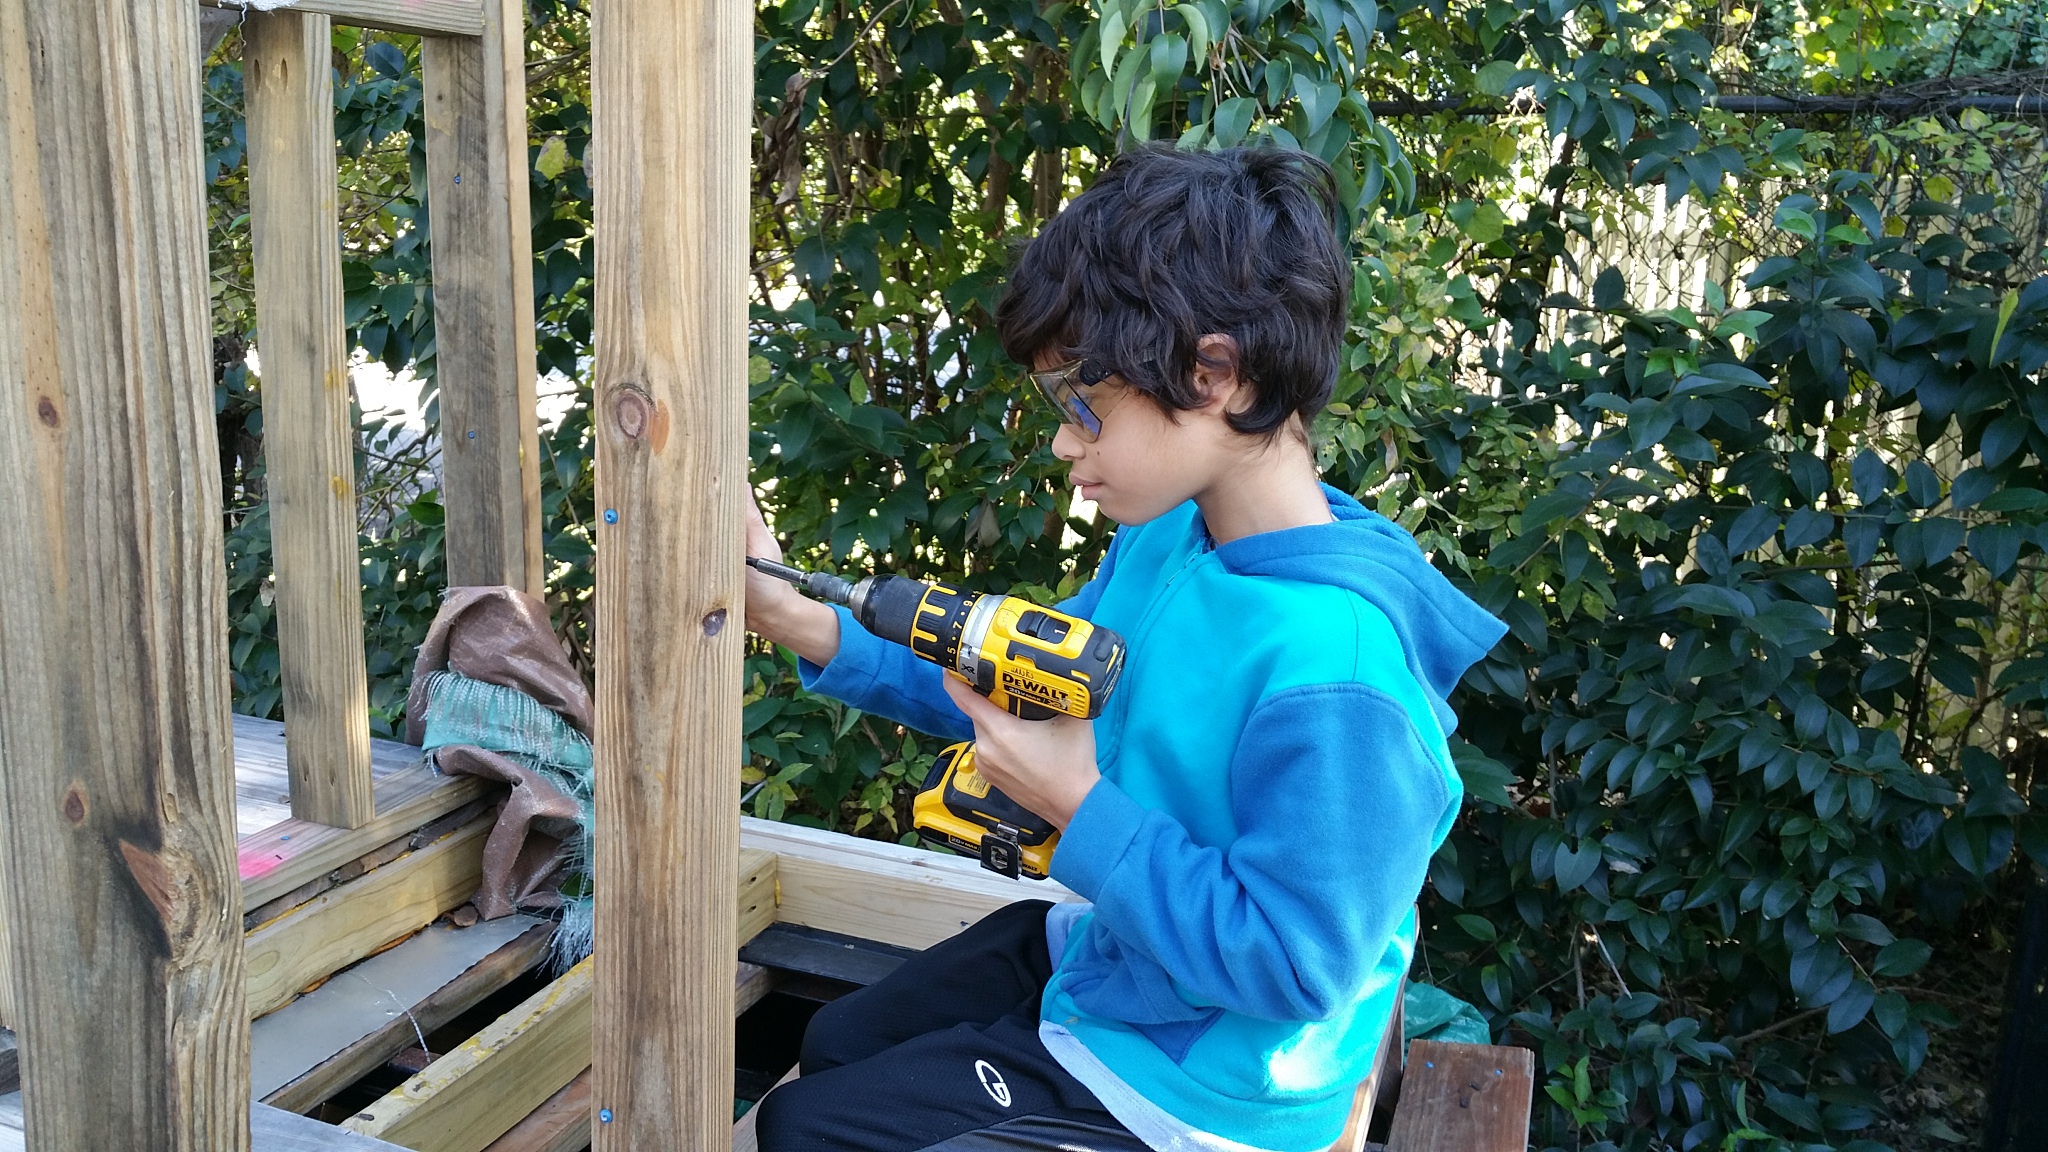
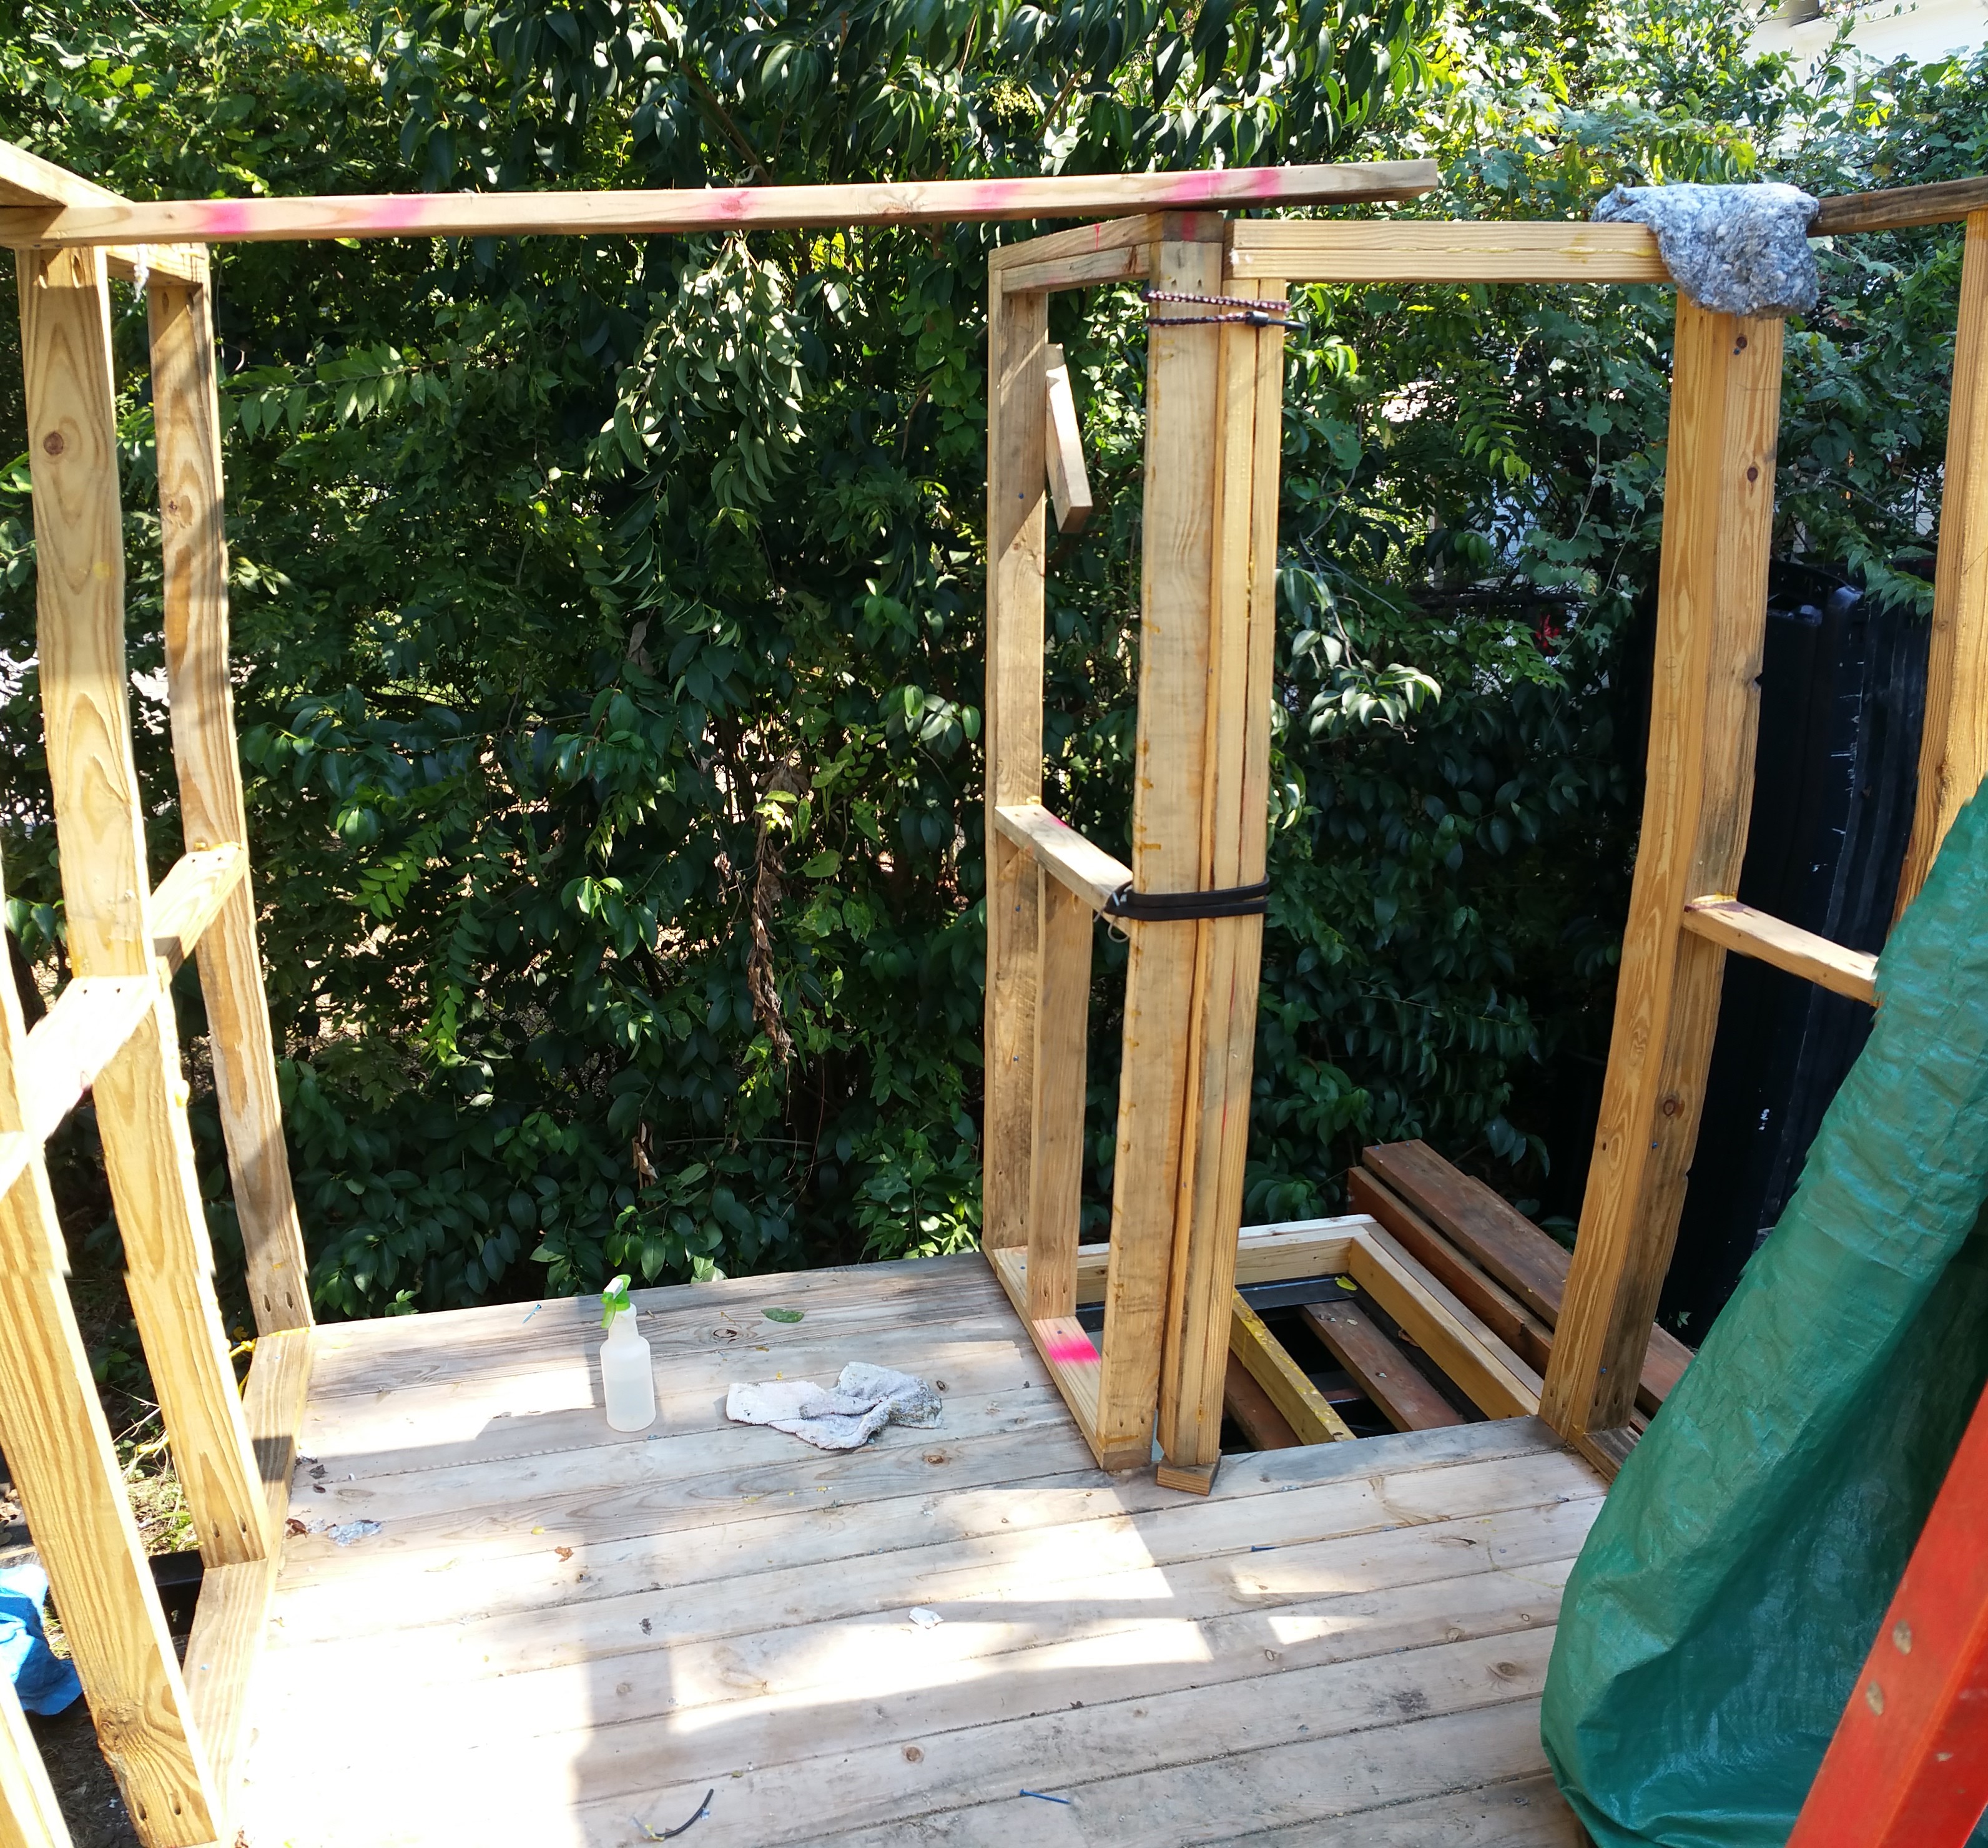
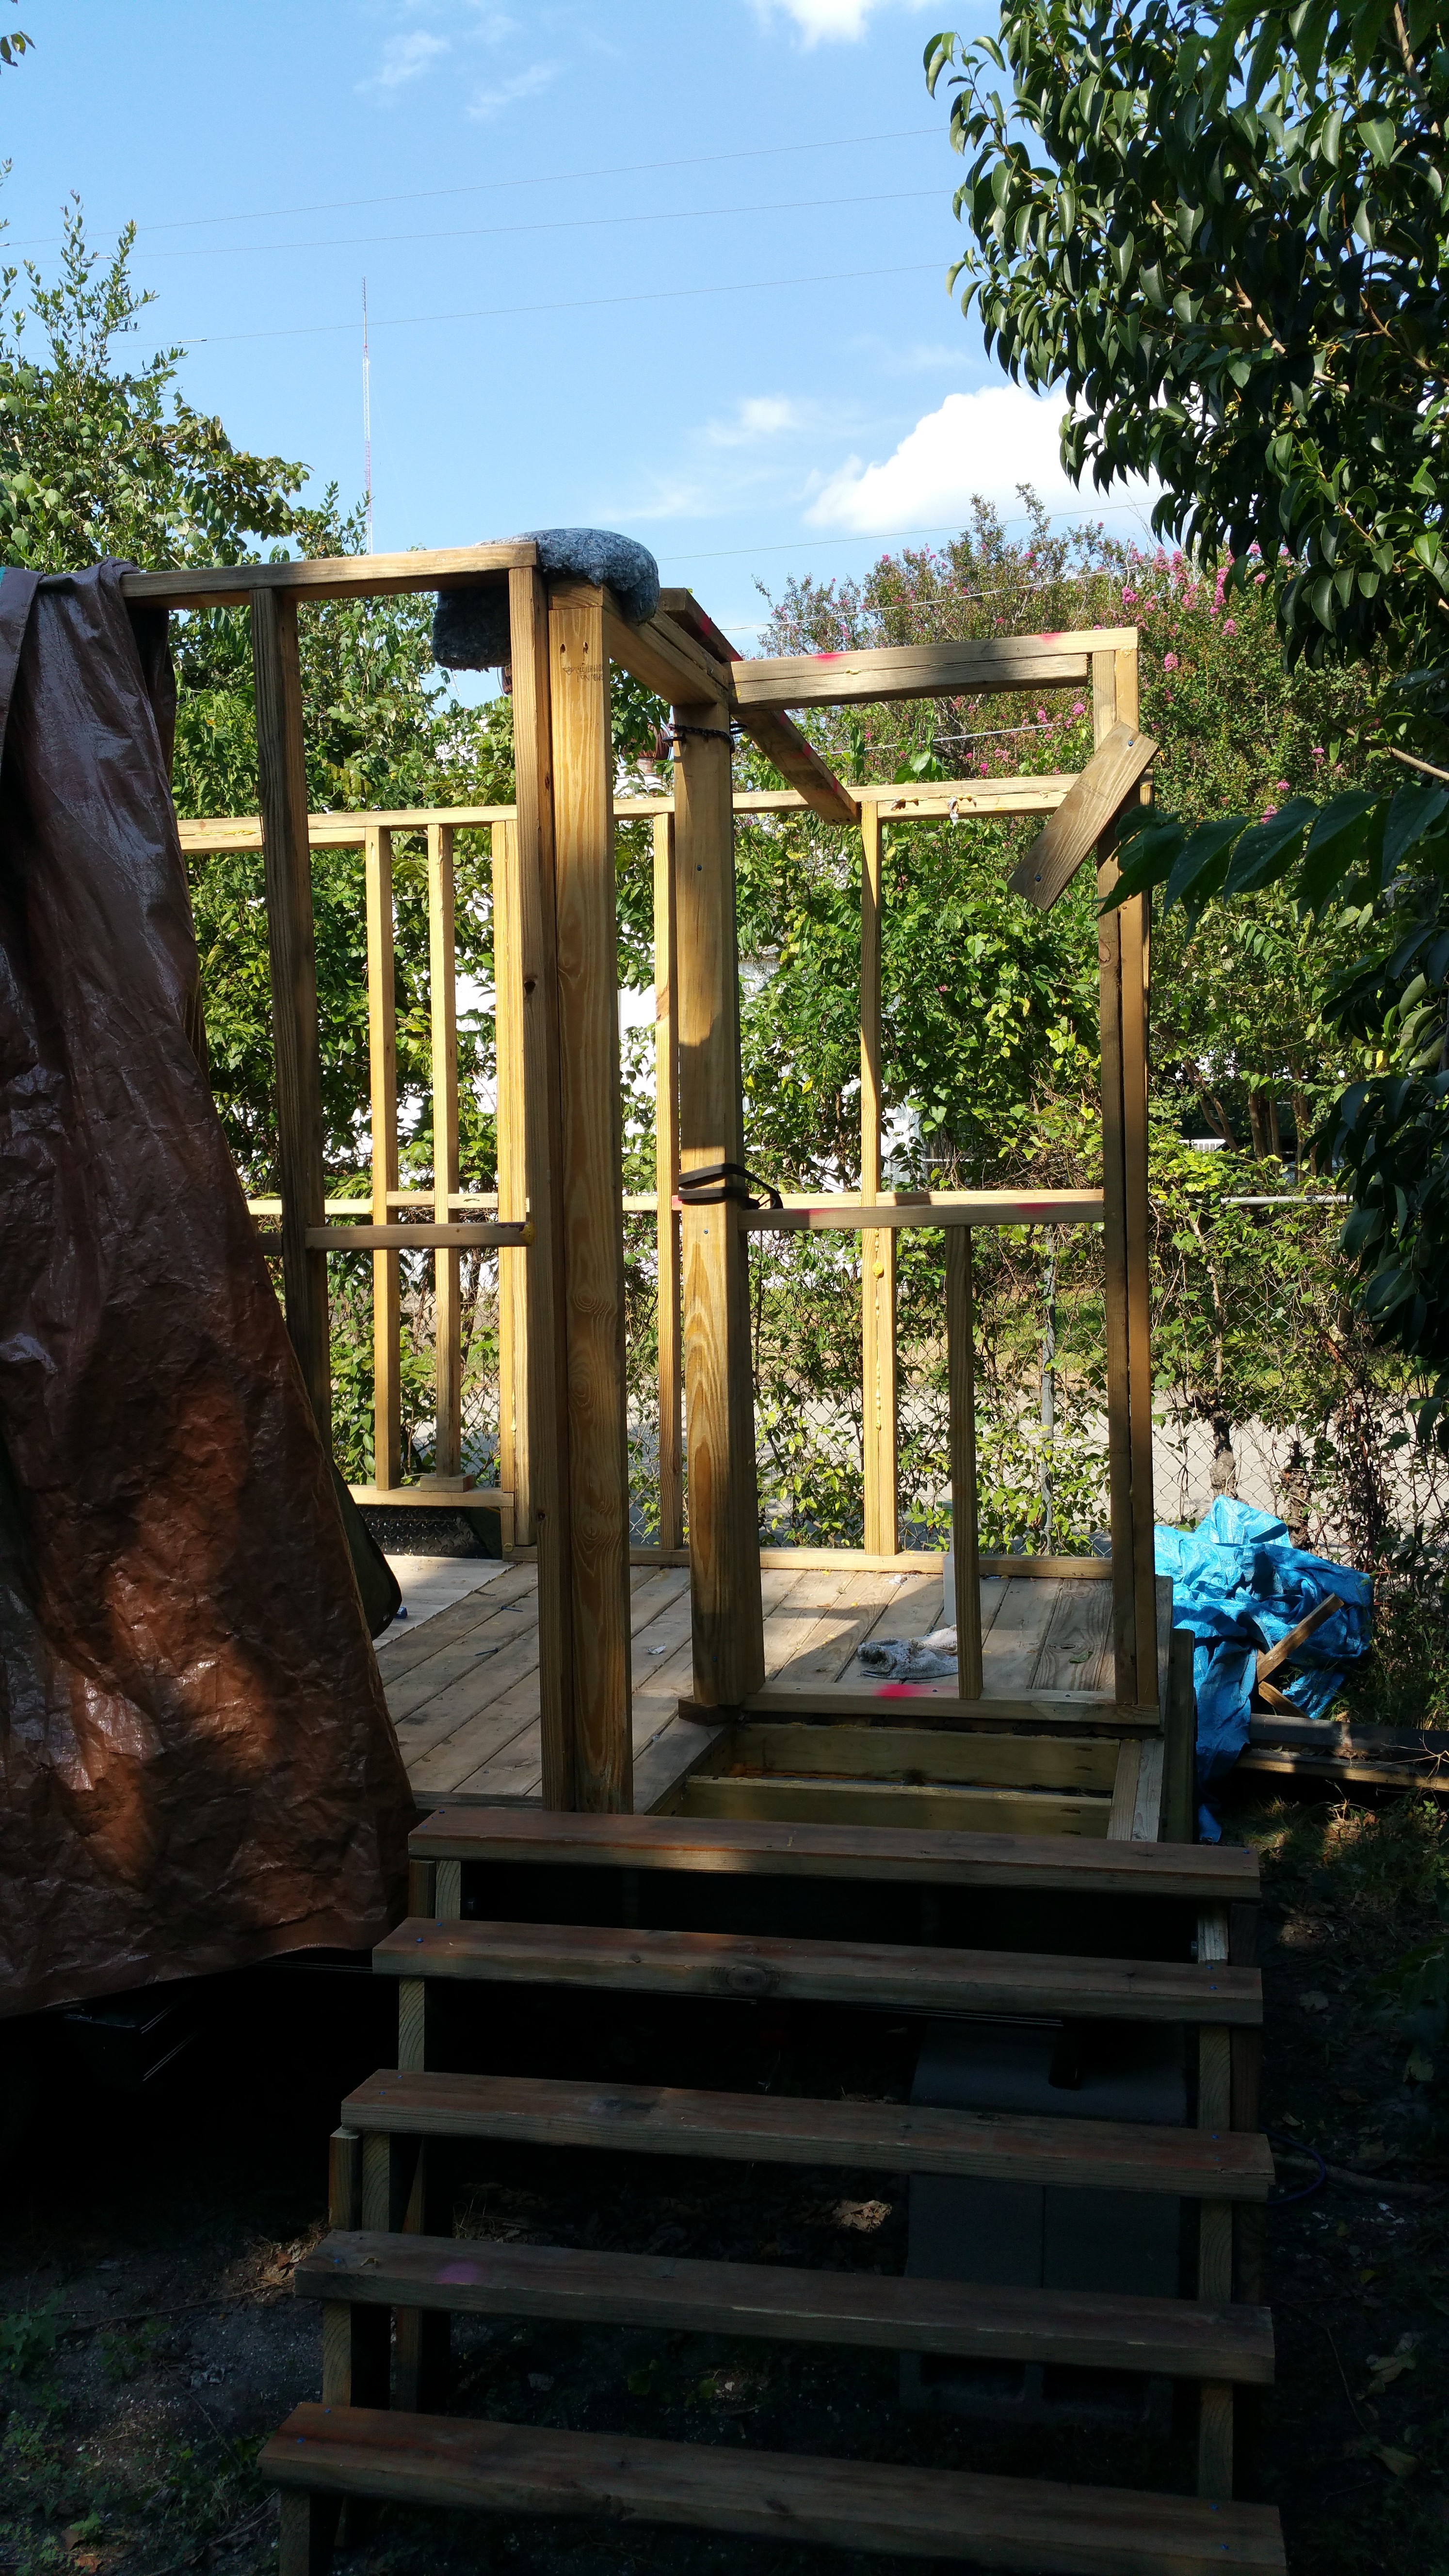
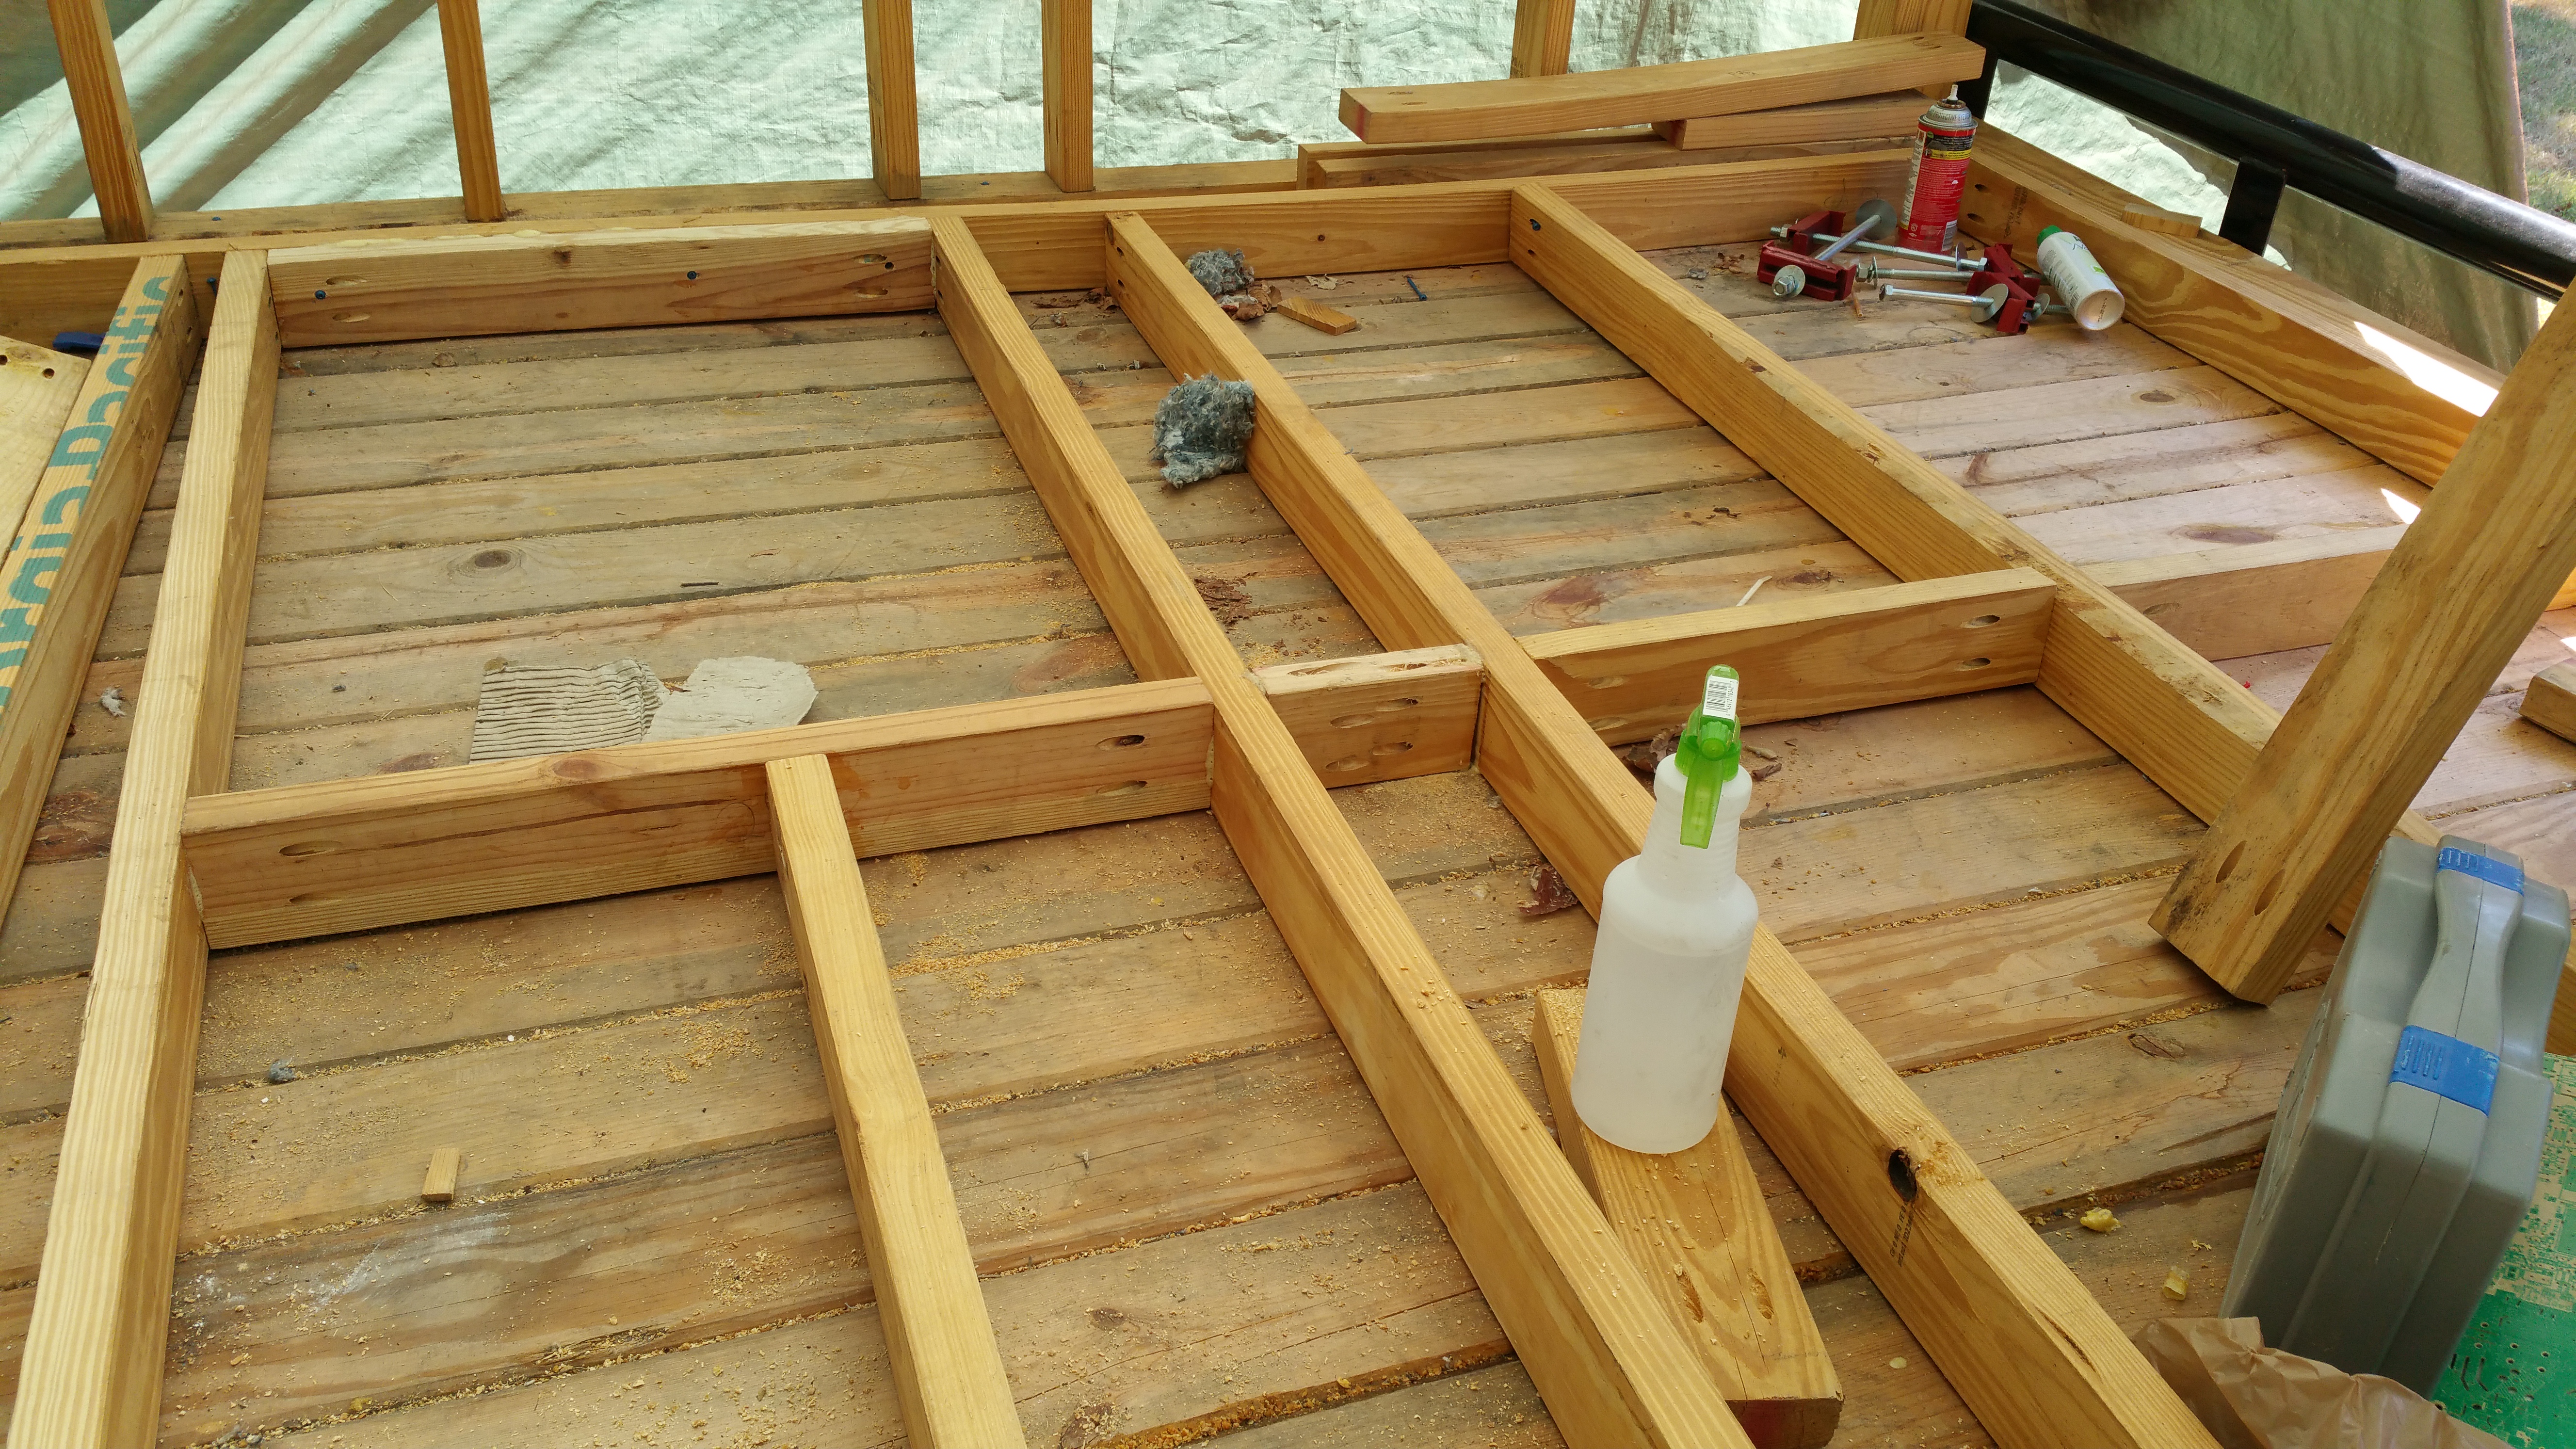
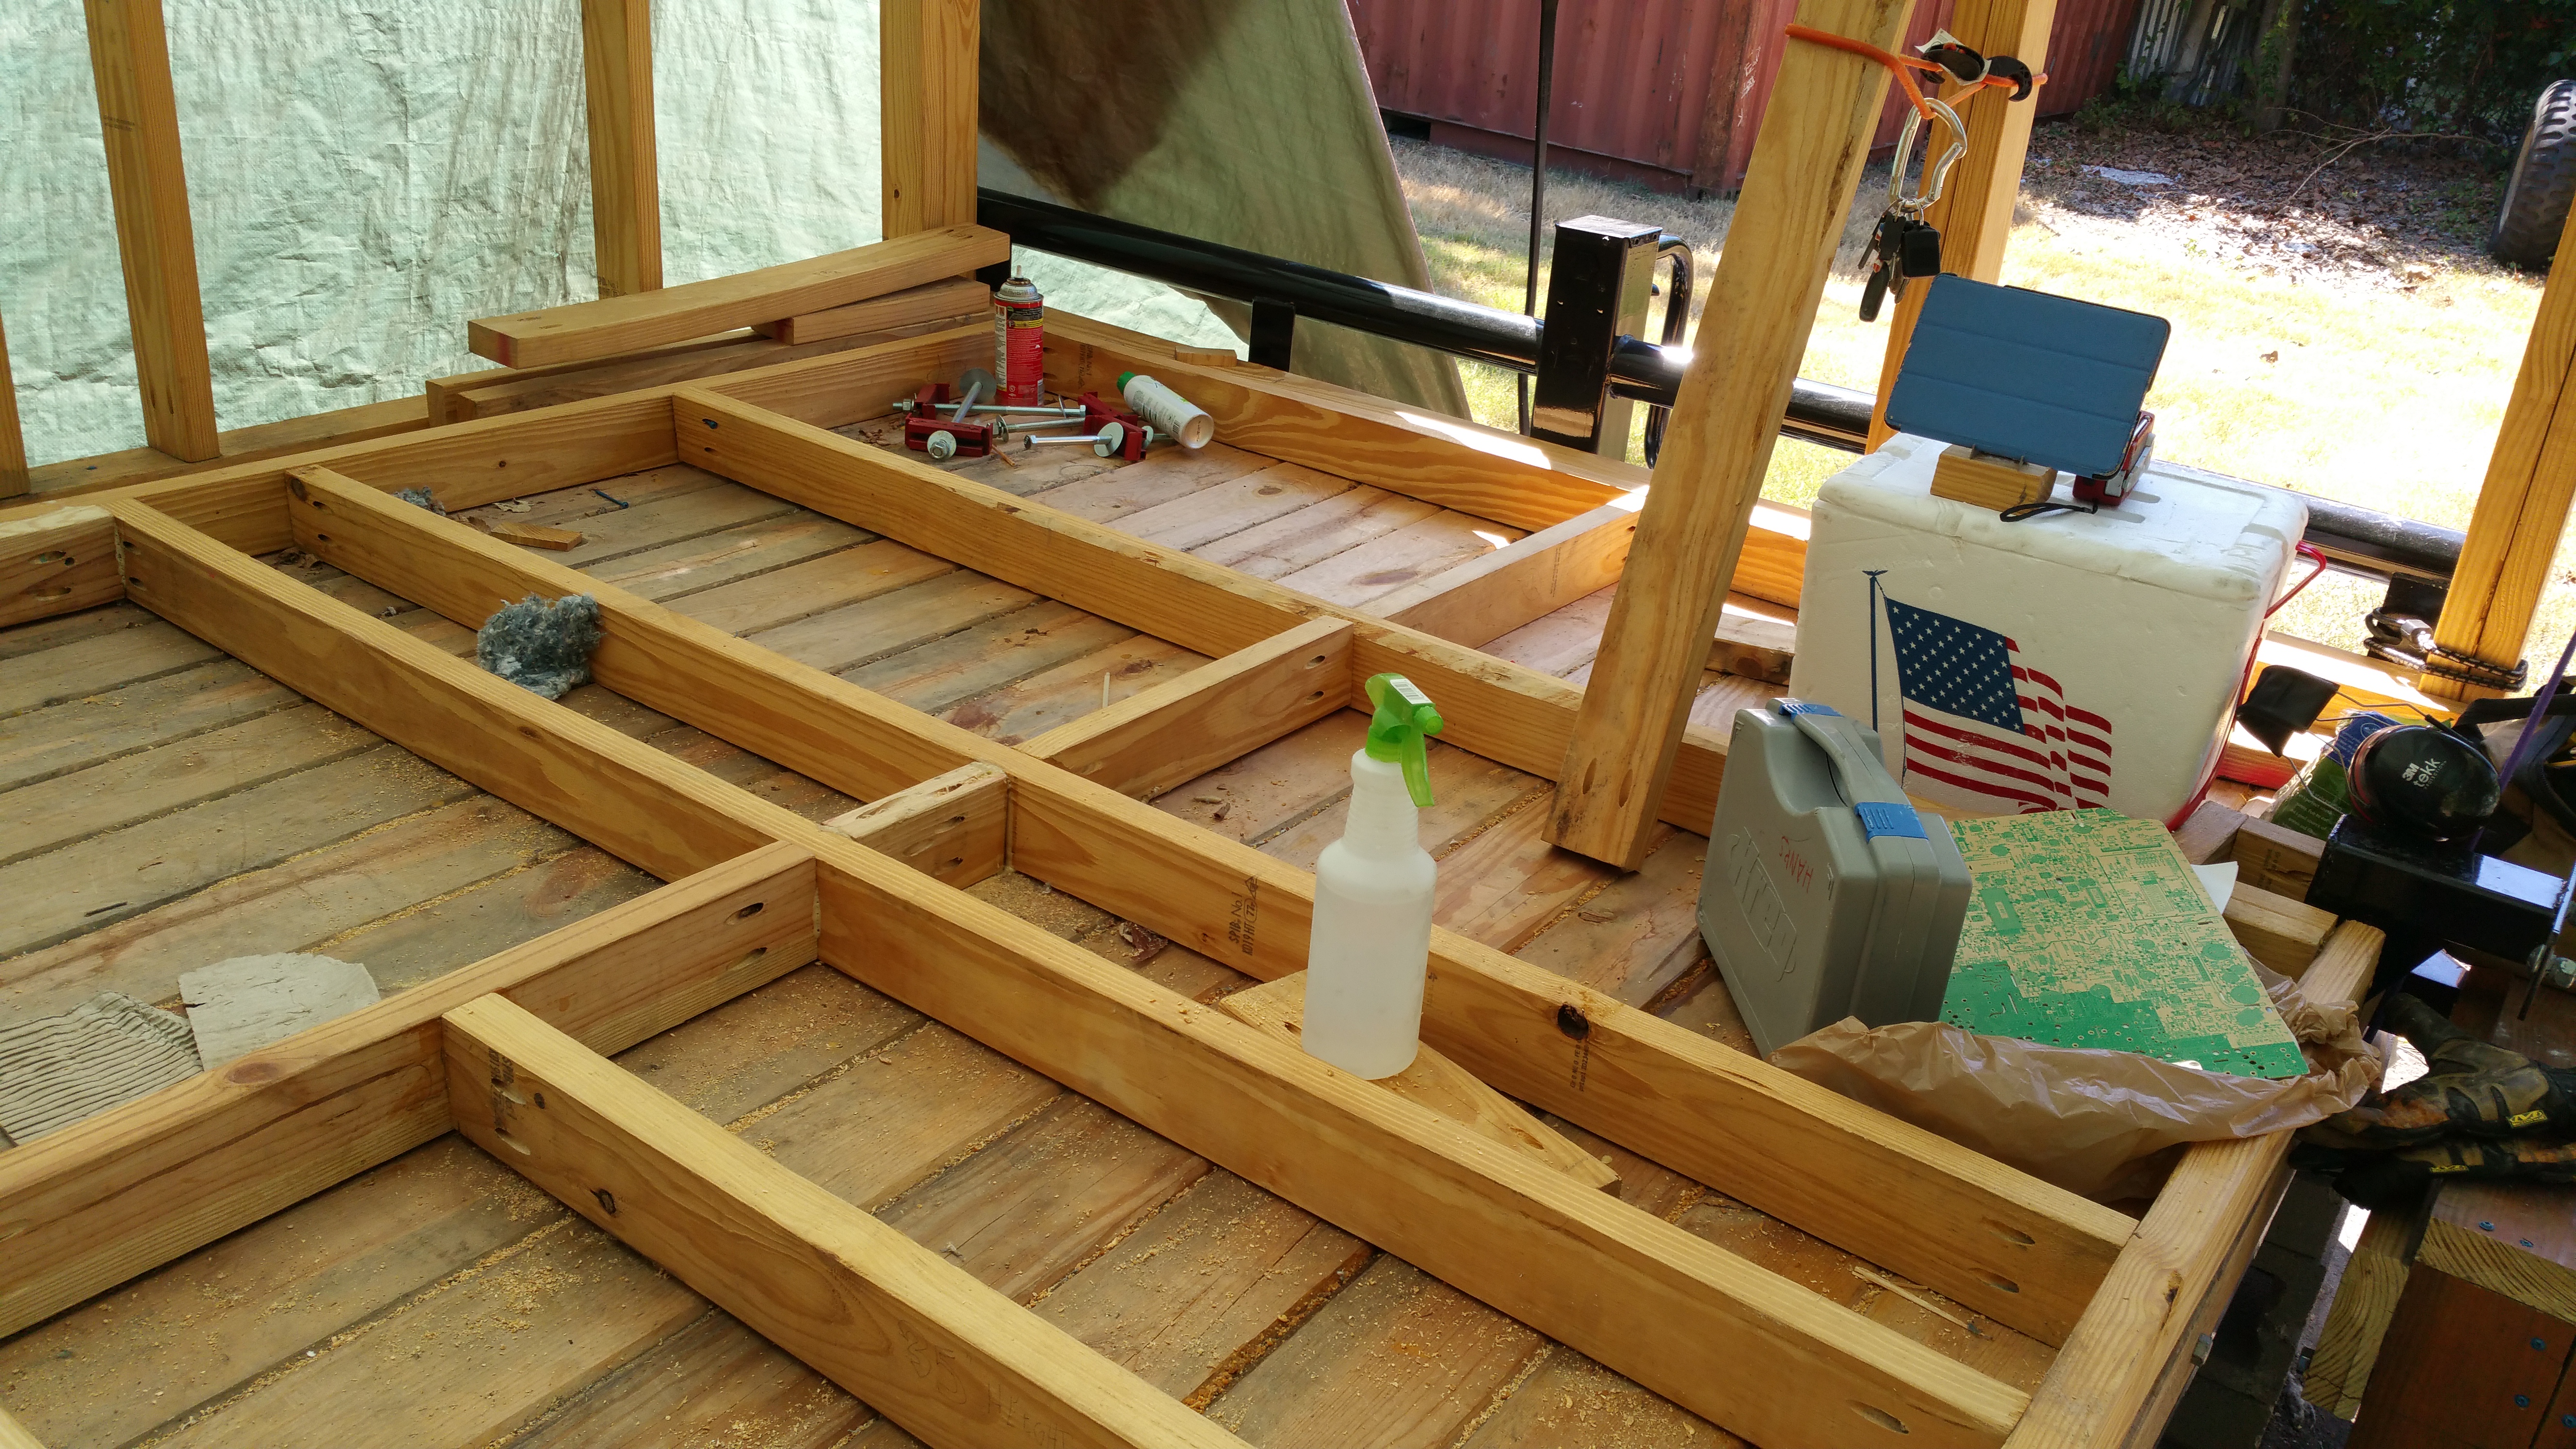
It turns out that tin snips don’t work, but an angle grinder does the job nicely. So with that out of the way, it is time to work on the loft.

Shoring up the frame

Tiny homes are a little different from conventional construction in that the house needs to handle movement, such as when driving down the road. To help with this, we add some steel to the wood.

Lil’ Helper

The kiddo wanted to help, so the key to keeping him interested and engaged is to give him a task he can complete, along with the opportunity to use power tools. 😄 I asked him to install corner brackets on the door frame and he had a blast.

Give a kid a power tool...
Give a kid a power tool…

CS-14 Strap

I got a spool of 14 gauge steel strapping to wrap around the house.

CS Strap
CS Strap

It will provide stability to keep the studs from moving around when we’re bouncing around the highway. Or weathering a Cat-5 Hurricane (well, maybe not that part).

We are Back, Baby!

We are back, baby!
We are back, baby!

It has been long, too long for sure.

Running out of funds cascaded through my situation, and I’ve only just now been able to crawl out far enough to poke my head above water. With the new year comes a chance to restart.

I purchased some wood for the loft about a month ago; sadly twenty of my 2x4s were stolen. At least they left the loft rafters and floorboards! I’ll take this as a lesson-learned: use the wood ASAP; don’t leave it lying around!


Out of Money

English: Finnish spruce plywood
Plywood (Photo: Wikipedia)

So, with the next phase of building approaching, it is time to get more wood, notably the plywood for the walls and roof.

In addition, I’ll need:

  • a bunch more 2x4s for the rafters, loft walls and interior walls,
  • some 4x4s for the loft beams,
  • floorboards for the loft,
  • 6x6s for the last wall, and
  • an 18 foot 2×6 for the roof beam.

I’m guesstimating this will all run me about $500ish + about $50-75 for the truck rental.

Taking a look at my Tiny Home piggybank, I’m out of money. I should have enough money in the bank at the end of the month.

In the meantime, I still need to plumb and square the remaining walls, so I’m not completely dead in the water.

Fifth Wall Installed and Plumbed Some Walls

With the fifth wall built, it was time to install it. It didn’t take very long.

Looking towards the front of the house
Panorama of front of the house

Looking from outside you can see the porch:

View of fifth wall
Looking at the Porch with the 5th wall installed

I moved the stairs over here because climbing through the wall was not very easy. Who’da thunk it?

Trying to walk on the porch (really a hole with one rafter across it) is not very easy. I’m thinking I need to install the trap door and flame-throwers sooner, so the porch will be usable.

Plumb-Bob Squarepants

I took the opportunity to square up and plumb two of the walls (the long one and the bedroom one). What this means is I measure a wall corner-to-corner diagonally, and then measure the other diagonal. They should be the same if the wall is square.

To plumb the wall, I check it with a level to make sure it is straight up-and-down. As a sanity check I also verified the angle between the wall and the floor, although with the floor being buckled and warped a bit from all the rain, I didn’t worry about it being perfect.

Next up is to square and plumb the second-longest wall, then start building the first-floor ceiling/loft floor. And the sixth wall.

5th Wall Built

Despite the soaking, I regrouped and moved ahead with building the 5th wall.

Overhead view
Walls 4 and 5 location

Assembly went fairly quickly, however I’m starting to run out of wood(!). I had to scrounge around a bit to find the wood for the crossbeams.

Wall 5 ready to be assembled

A bit of glue and screws later, it was assembled:

Wall 5 assembled
Wall 5 assembled

Then I made sure it was square (measuring diagonally from corner to corner) and then nailed on some scraps to keep it that way until I could install it.

Wall 5 standing upright

I ran out of time to install it, so that will have to wait for next time.

Raintastrophe

Wet Floor
Wet Floor
Wet Floor
More Wet Floor

We got a strong rainstorm yesterday, and my worst fear was realized. I’d neglected to tie down one side of the tarp, so the wind must’ve picked it up and flipped it (the tarp) over the side of the house, exposing everything.

Then it rained long and hard, soaking the walls and floor. As far as I know, two “compartments” in the floor got water in them, maybe more.


I repositioned the tarp and tied it down, but noticed it is full of holes. It is disintegrating from being out in the sun for so long.

All tarped up
All tarped up

The only thing to do is wait for the rain to stop and let the surface dry out. Eventually those compartments in the floor will mold (the insulation seems to be very good at resisting mold), so I’ll have to open up them up from the bottom and take out the insulation so I can dry everything out.

Next steps? Plow ahead! I’d been afraid of getting the floor wet since I laid it down and now I don’t have to worry about it!

This weekend I plan on squaring the walls and bolting them down (using the brackets I made) next.

First Window

This weekend I got about a third of the wall framing completed, including a window!

First Window Detail
First Window Detail

The square in the upper-left corner is the tiny (24-inch) window. The actual glass won’t go in for a while, until after the wall is raised, the plywood attached, and the water barrier installed. Still it is nice to have a tangible feature completed.

Notice in a ‘typical’ home, there are studs above the window, called King (or Cripple) Studs:

Diagram illustrating parts of a Wall ...
Parts of a Wall Panel. 1. Cripple 2. Window Header 3. Top Plate / Upper Wall Plate 4. Window Sill 5. Stud 6. Sill Plate / Sole Plate / Bottom Plate (Photo credit: Wikipedia)

Their function is to help transfer the load around the window. Tiny Home doesn’t have these because a) it is too short, and b) there isn’t as much load on top.

You can see here how little space I have to work with:

View of completed first third

The base of the wall is on the right and the wall itself fills the entire floor. The American Flag box contains lots of drinking water, most of which I drank and later evaporated.

I’ll try to drop in a few studs a day and we’ll see if we can’t get this puppy knocked out by the end of the week.