Got cracking on the big wall that runs the entire length of the house–20 feet long.
It turned out I was no match for my most fearsome nemesis:
Hell called; they want their heat back
I started adding in studs, spacing them out with blockers as required, however after a few hours I started getting dizzy and nauseous, so I called it a day.
Overheated
Now before you ask, yes, I was drinking water: I downed a 32 litre bottle in no time. The issue was I wasn’t drinking enough water, and I probably should’ve taken some salt.
The biggest challenge was getting the sole plate around the wheel well and spare tire hitch. I messed up and mis-cut the wood for the wheel well, but the spare tire hitch went well.
The next step is to cut the wood for the cross-beams between studs, then install them and the remaining studs.
I powered through and got the first two walls raised! There’s no going back now.
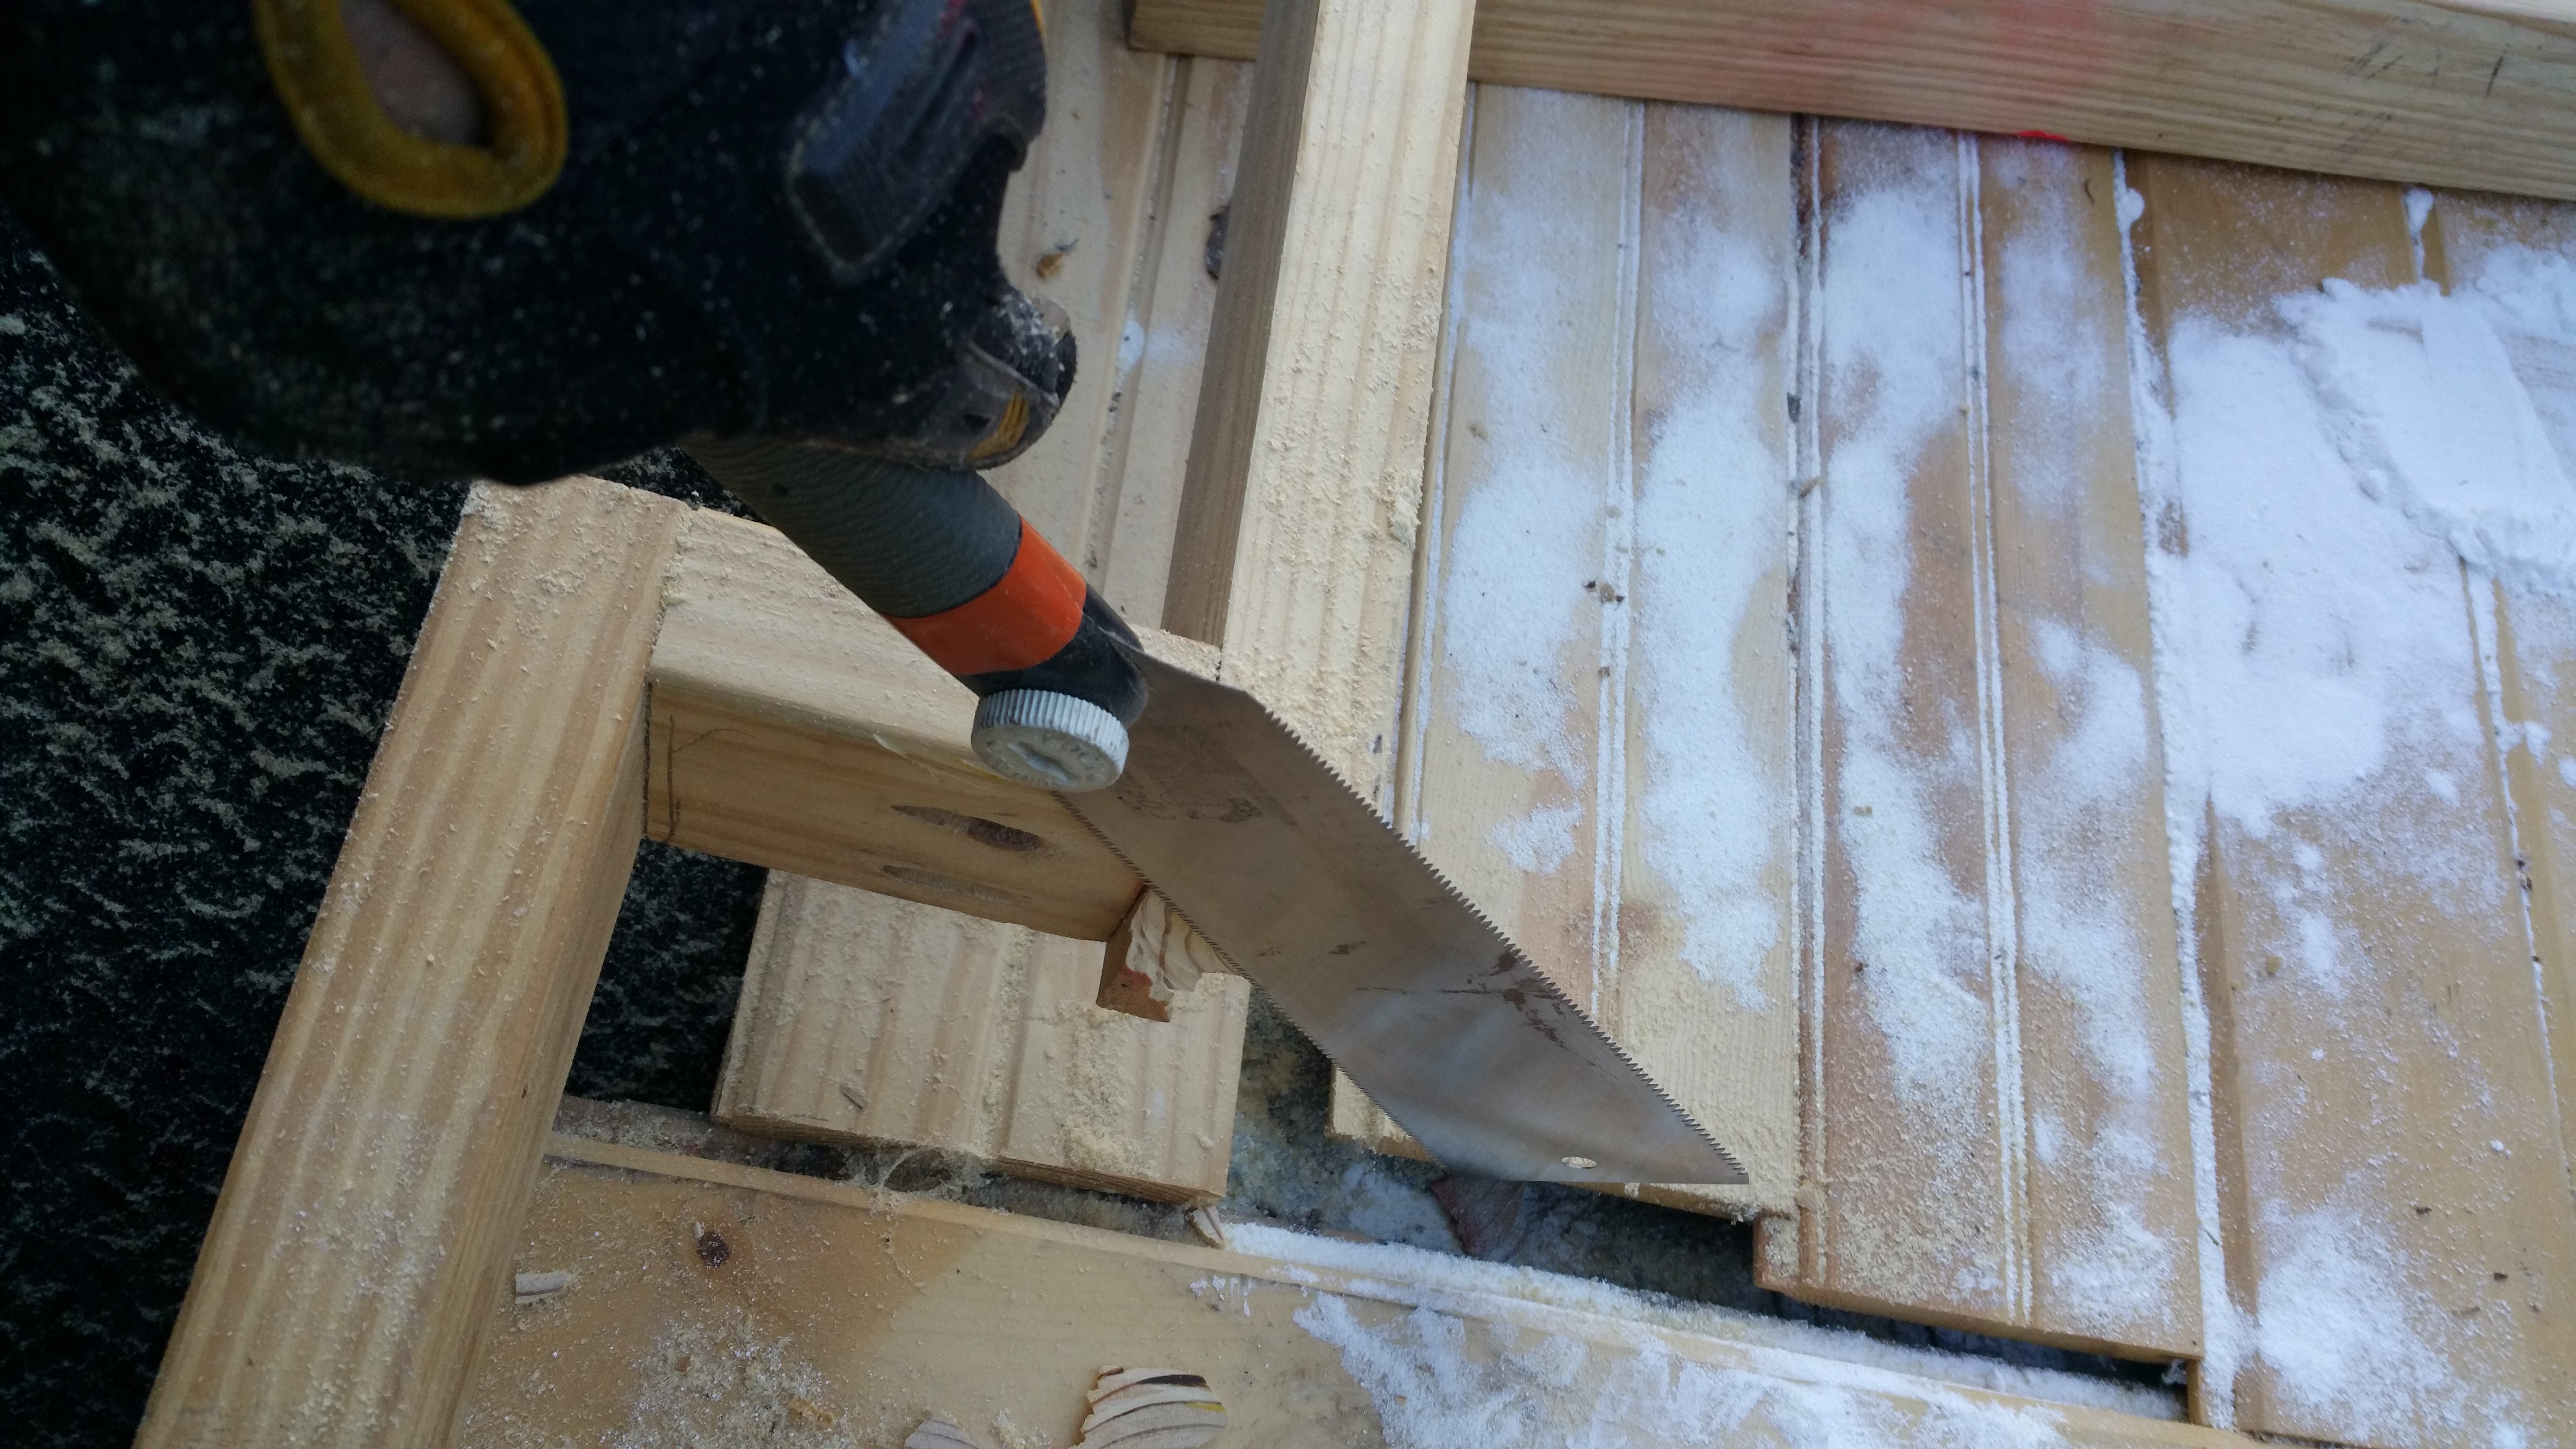
To start, I needed to trim part of the wall that hung over the wheel well. I’d measured it a little long and it needed to be flush. The Japanese saw worked nicely here.
Trimming wood with a Japanese saw
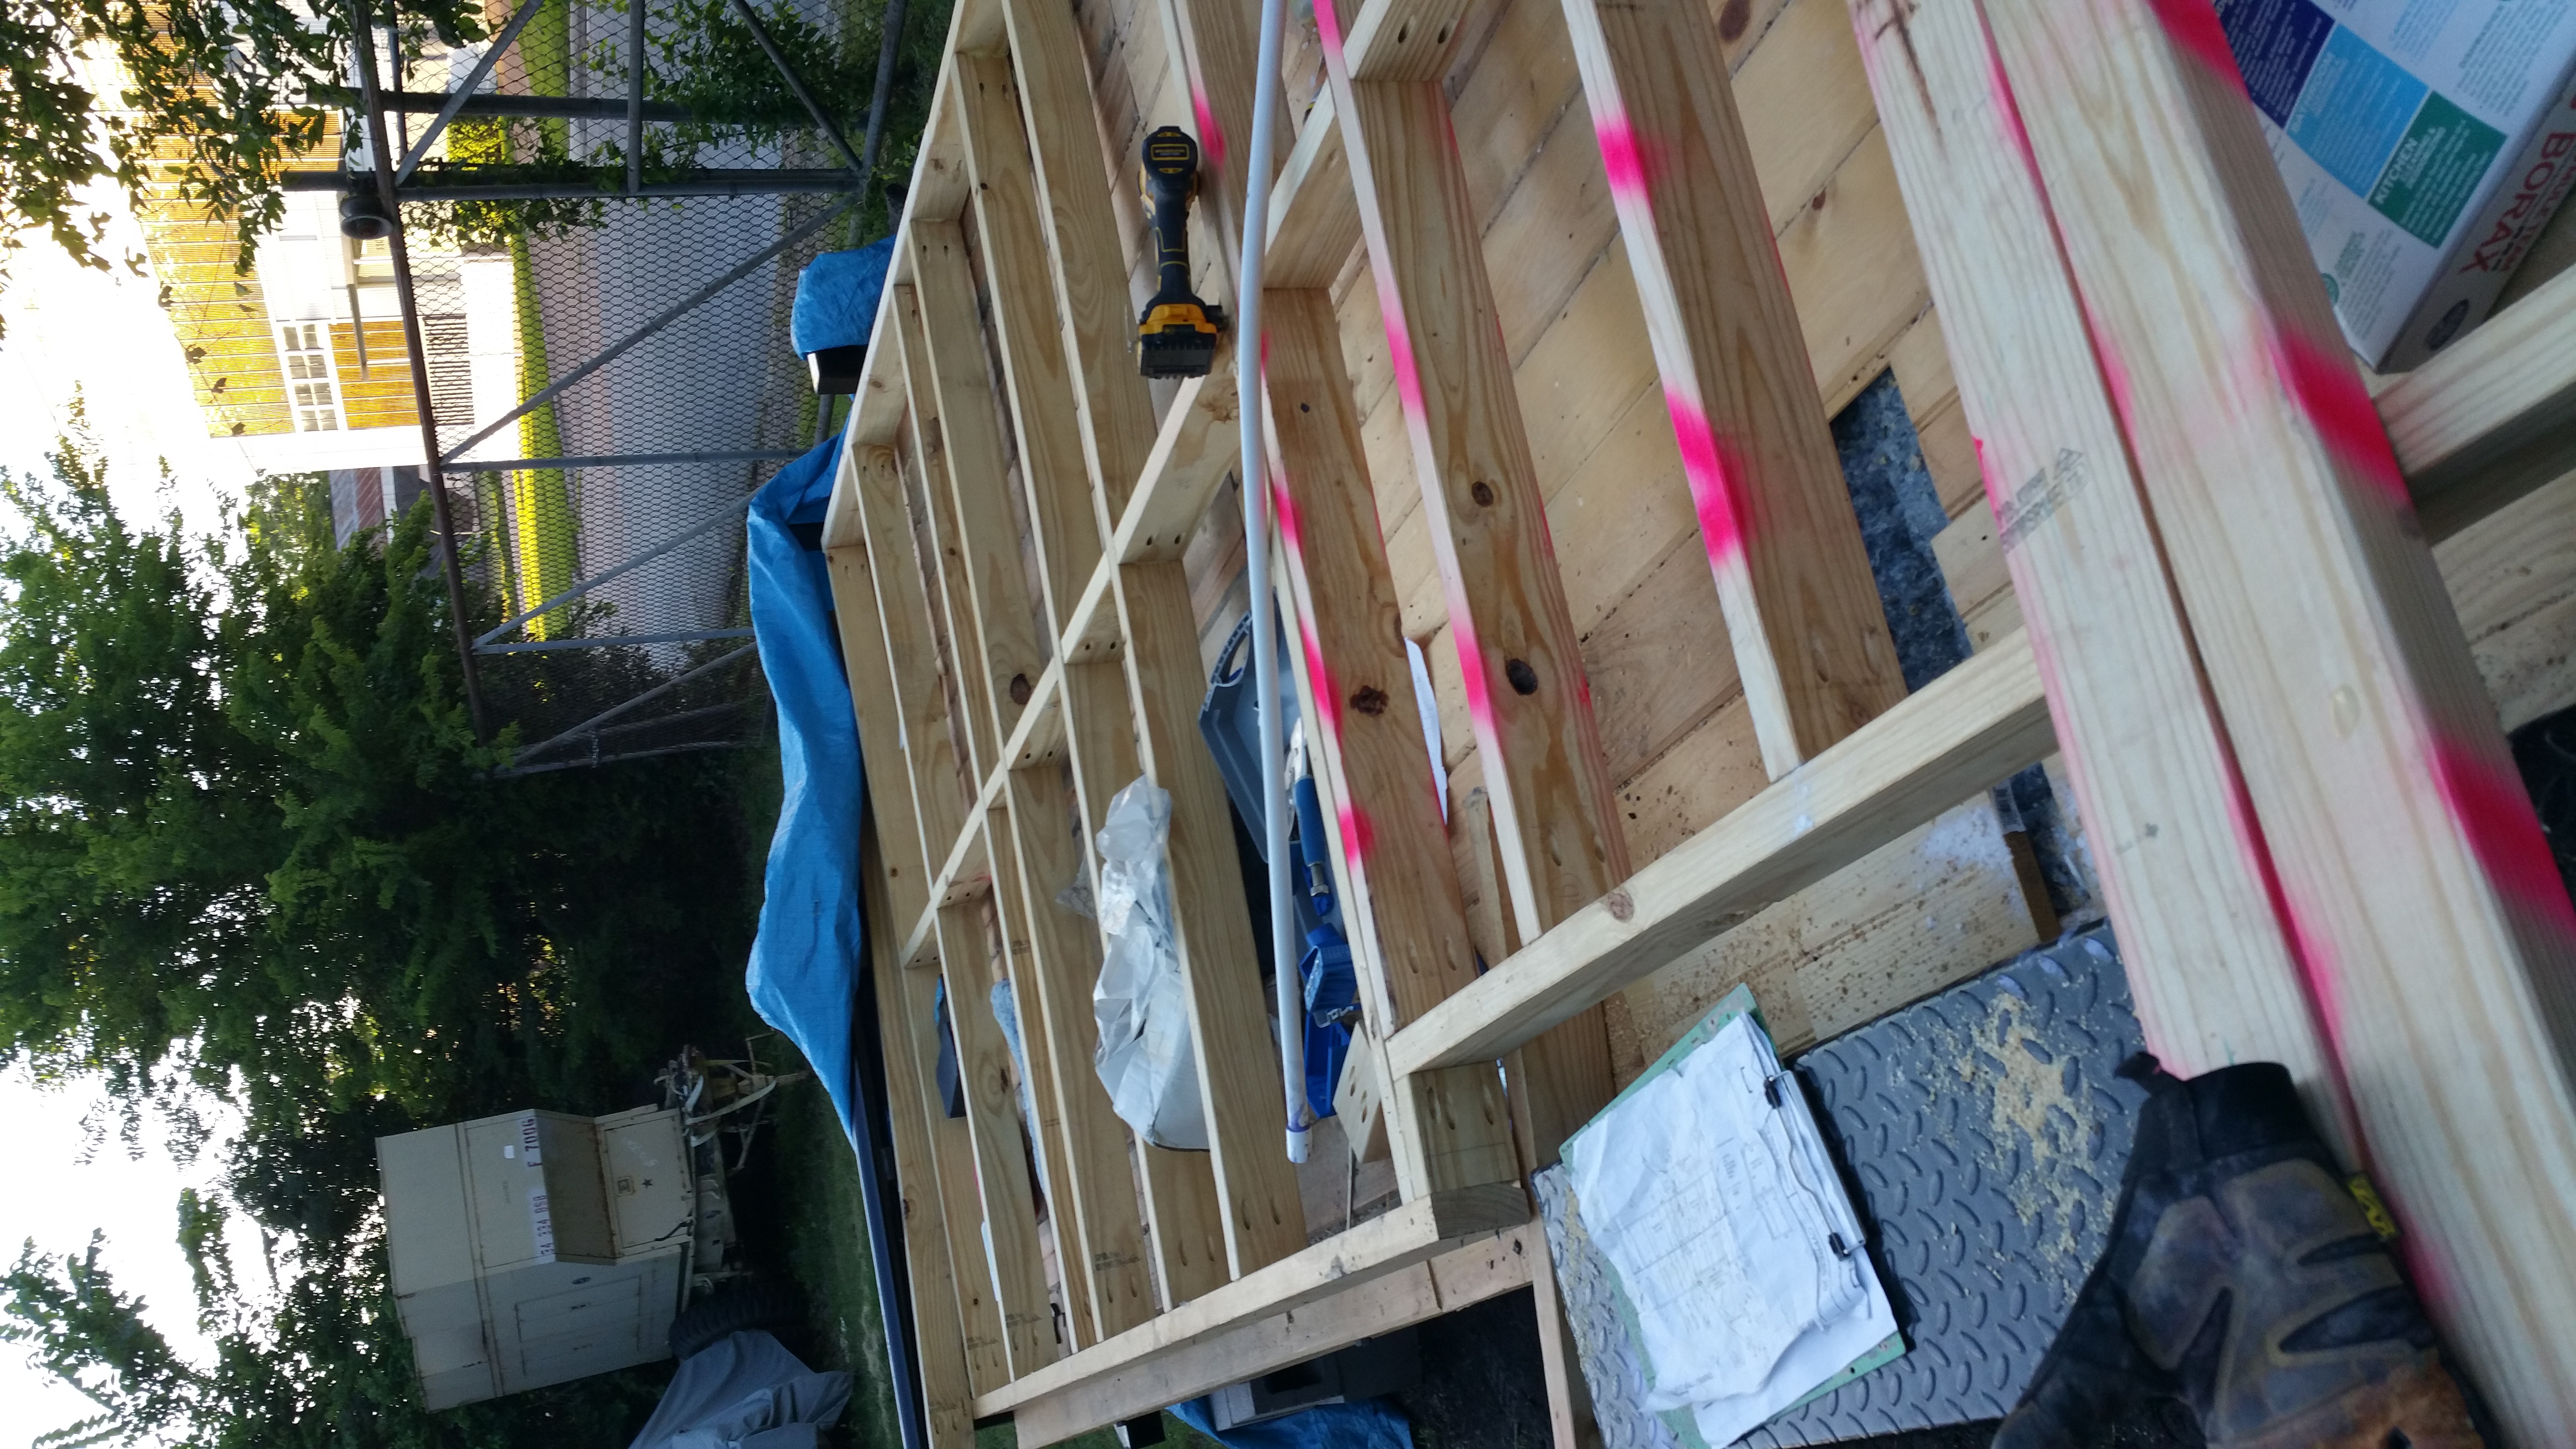
For the first (long) wall, I attached a couple of 2x4s, one at each end, with a single screw so it would hinge and prop up the wall when I raised it. This allowed me to raise the wall by myself.
Ready to raise the first wall
After I got the wall up and reasonably plumb, I clamped the bottom.
The wall upright and clamped
Next I worked on the adjacent wall, so as to provide stability. I needed to cover everything with a tarp (the next week is predicted rain every day), and I was concerned that a single wall would be easily knocked down by wind or the weight of the water on the tarp.
I quickly assembled the second wall, starting with the footplate. I went to look for a 4x4x8 in my wood pile for the header and realized I hadn’t bought any in that size. GRR!!! No problem. I used a 2×4 temporarily to anchor the top of the studs. I screwed in just 1 or 2 screws in each stud and didn’t use glue.
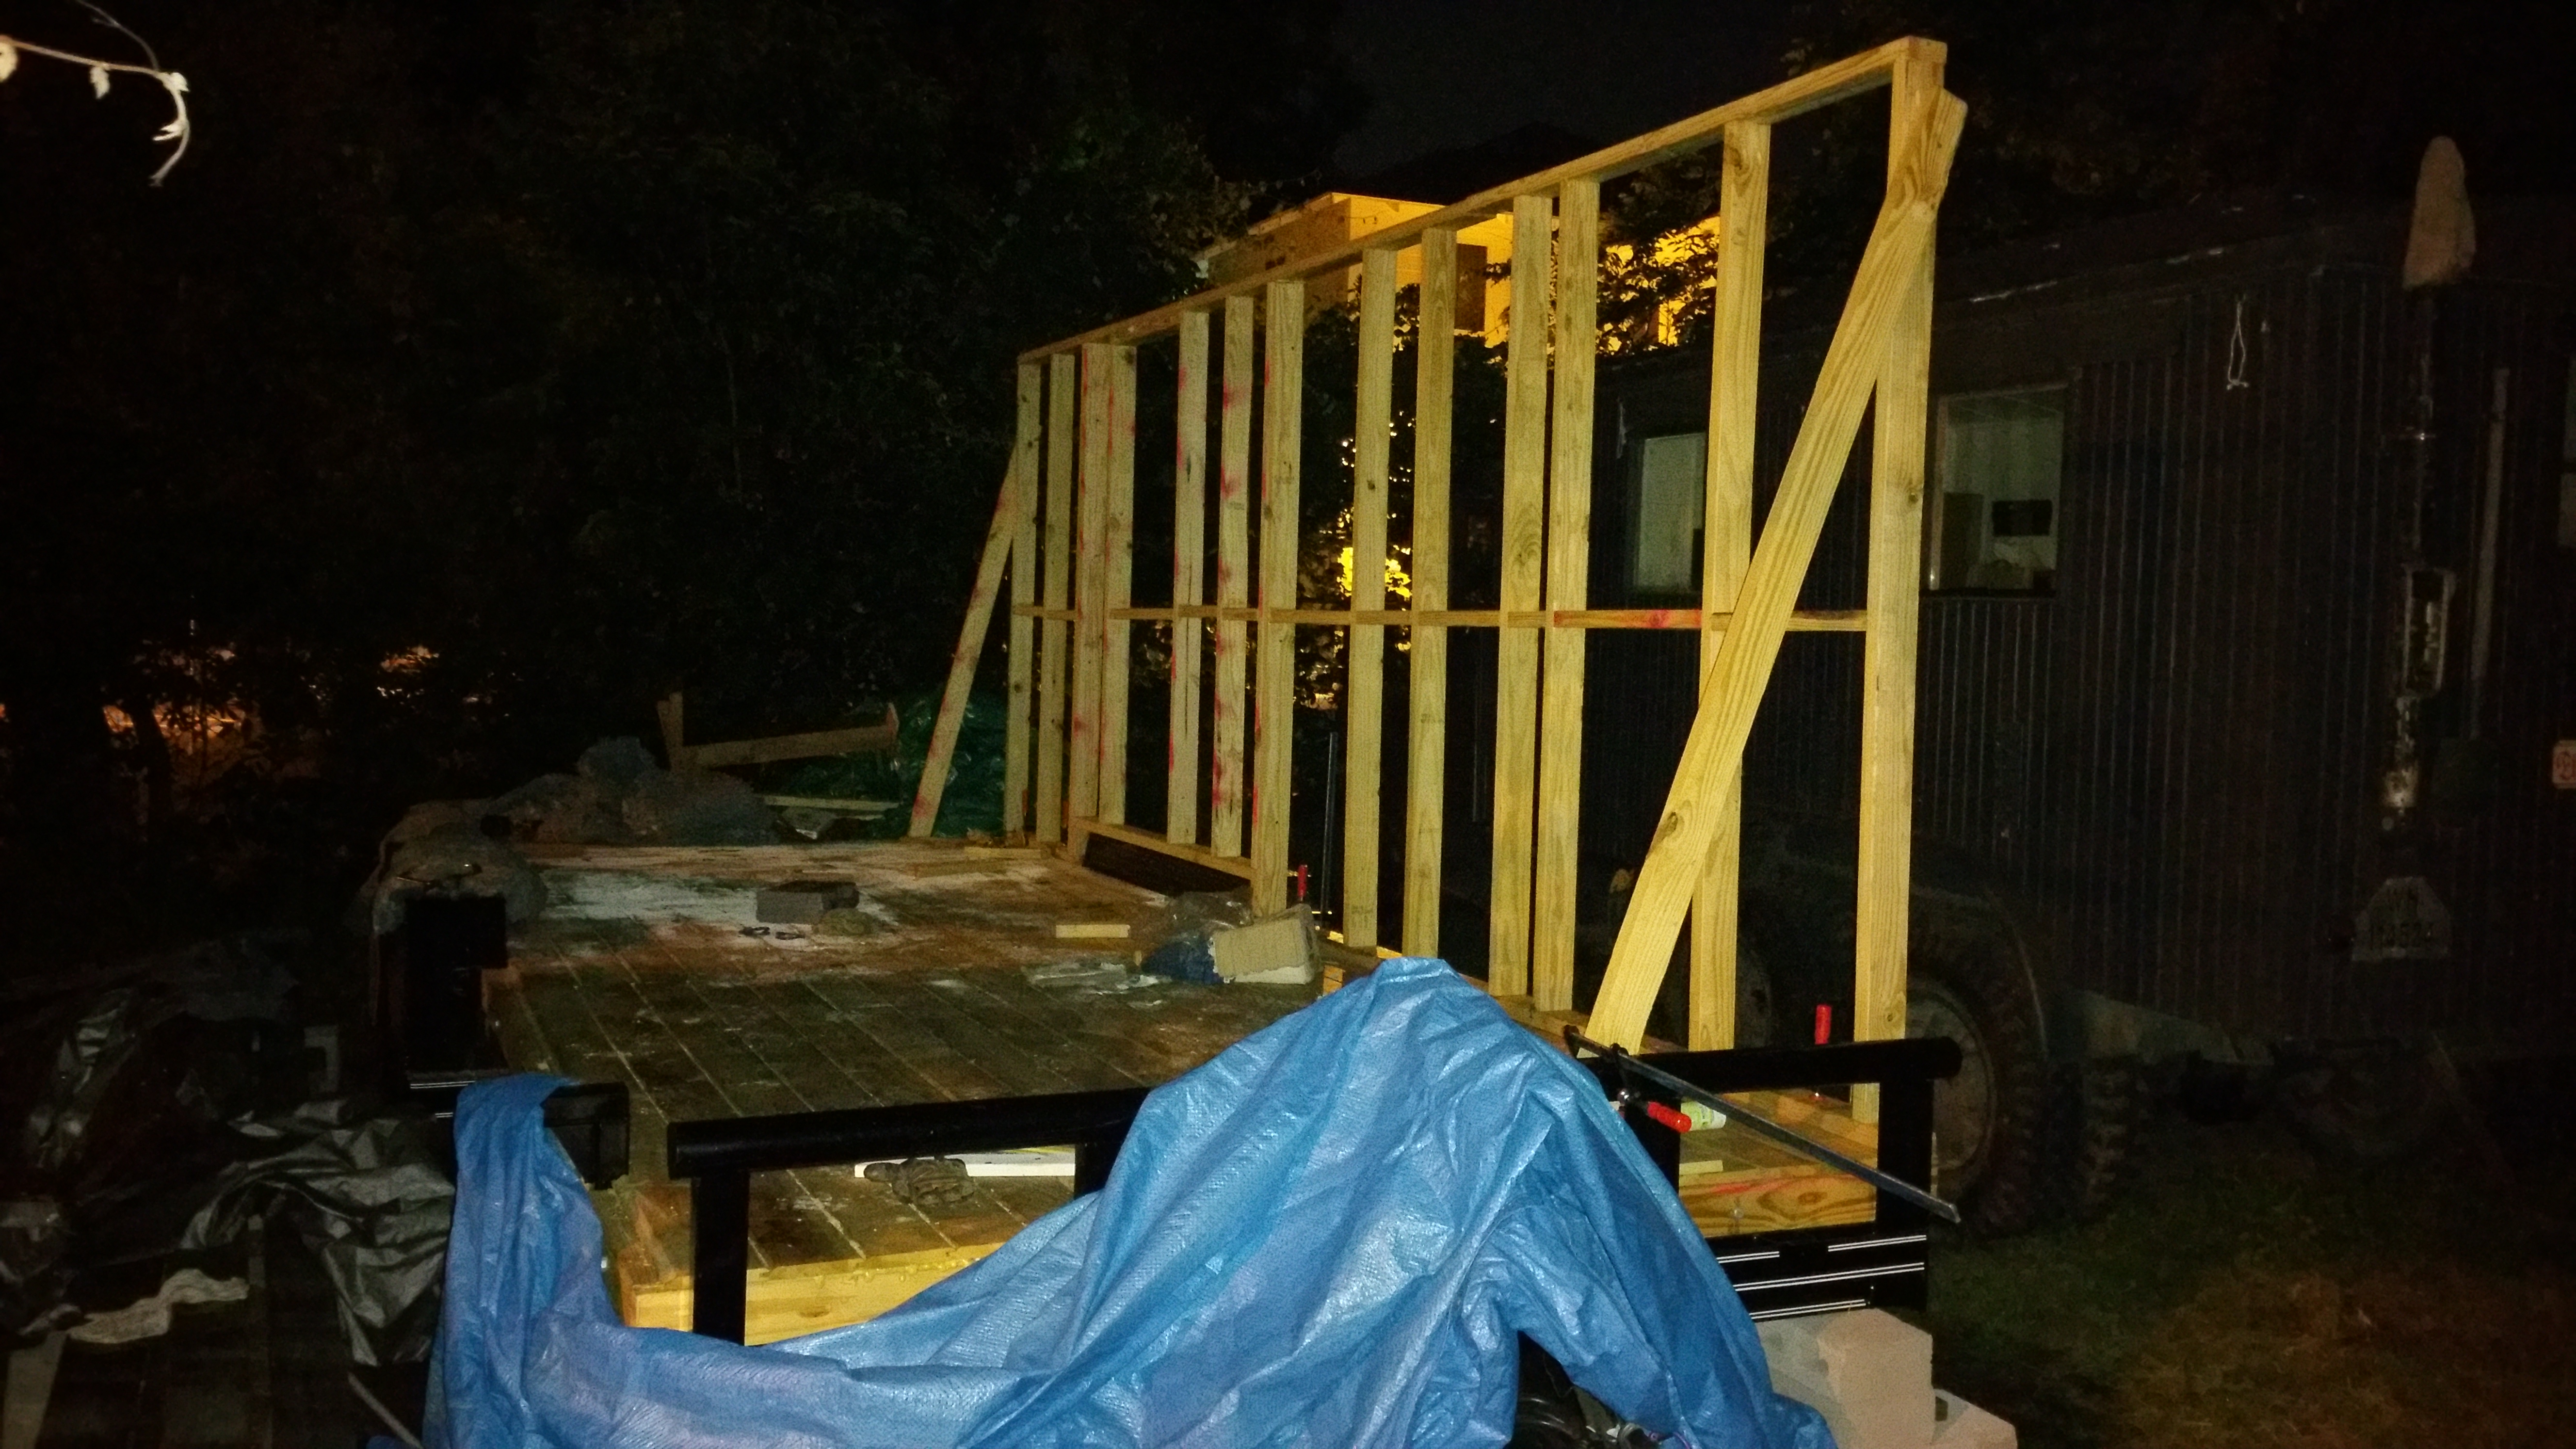
With that, I threw the tarp over everything and tied it down as best I could. By this time it was 1:30 am; I went late because I didn’t feel like I could leave it with only one wall.
The two walls tarped up. Phone ran low on power so flash didn’t work 🙁
Whew! The next wall is the longest one in the build. It should go faster because I’m more confident and know what to expect.
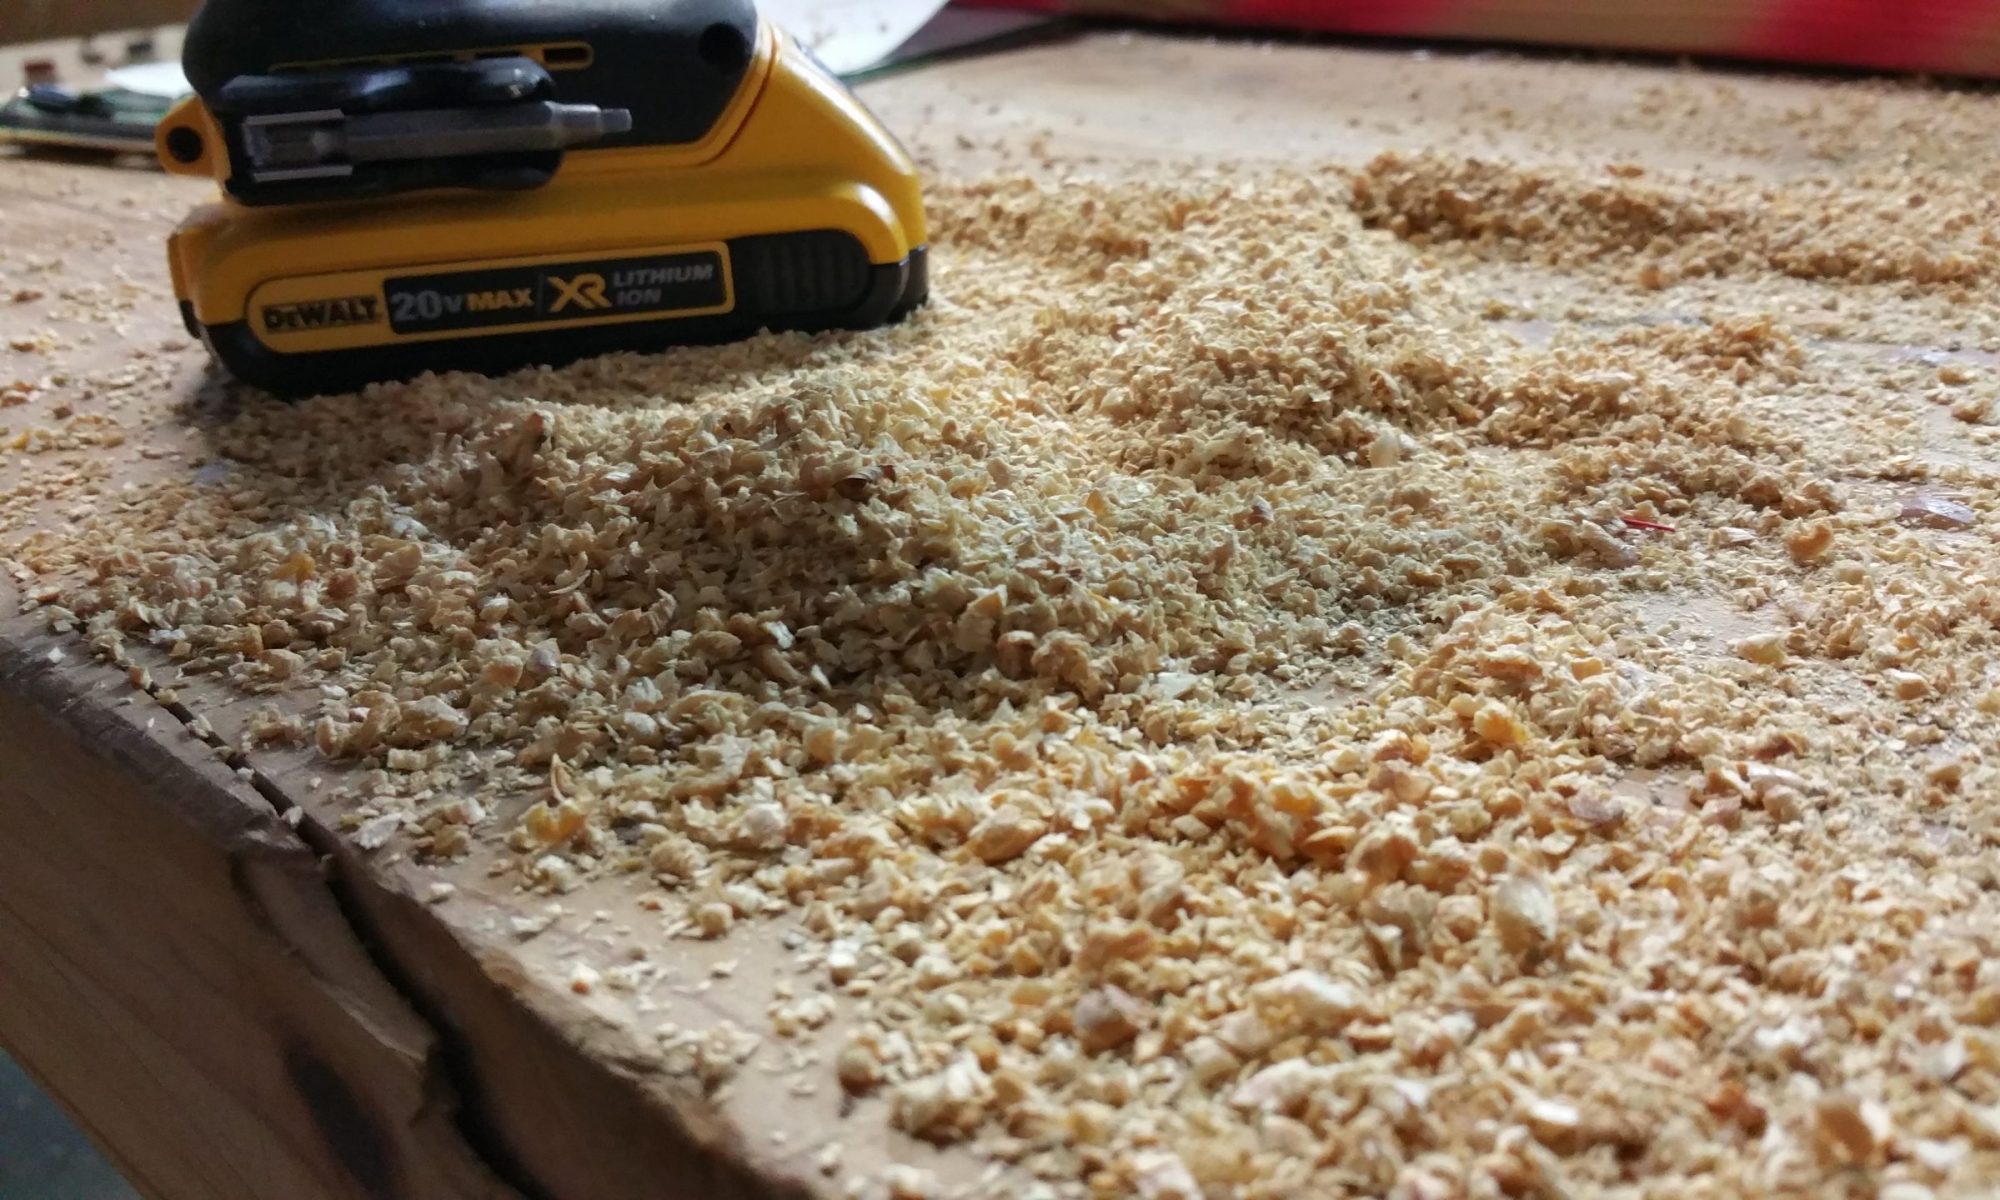
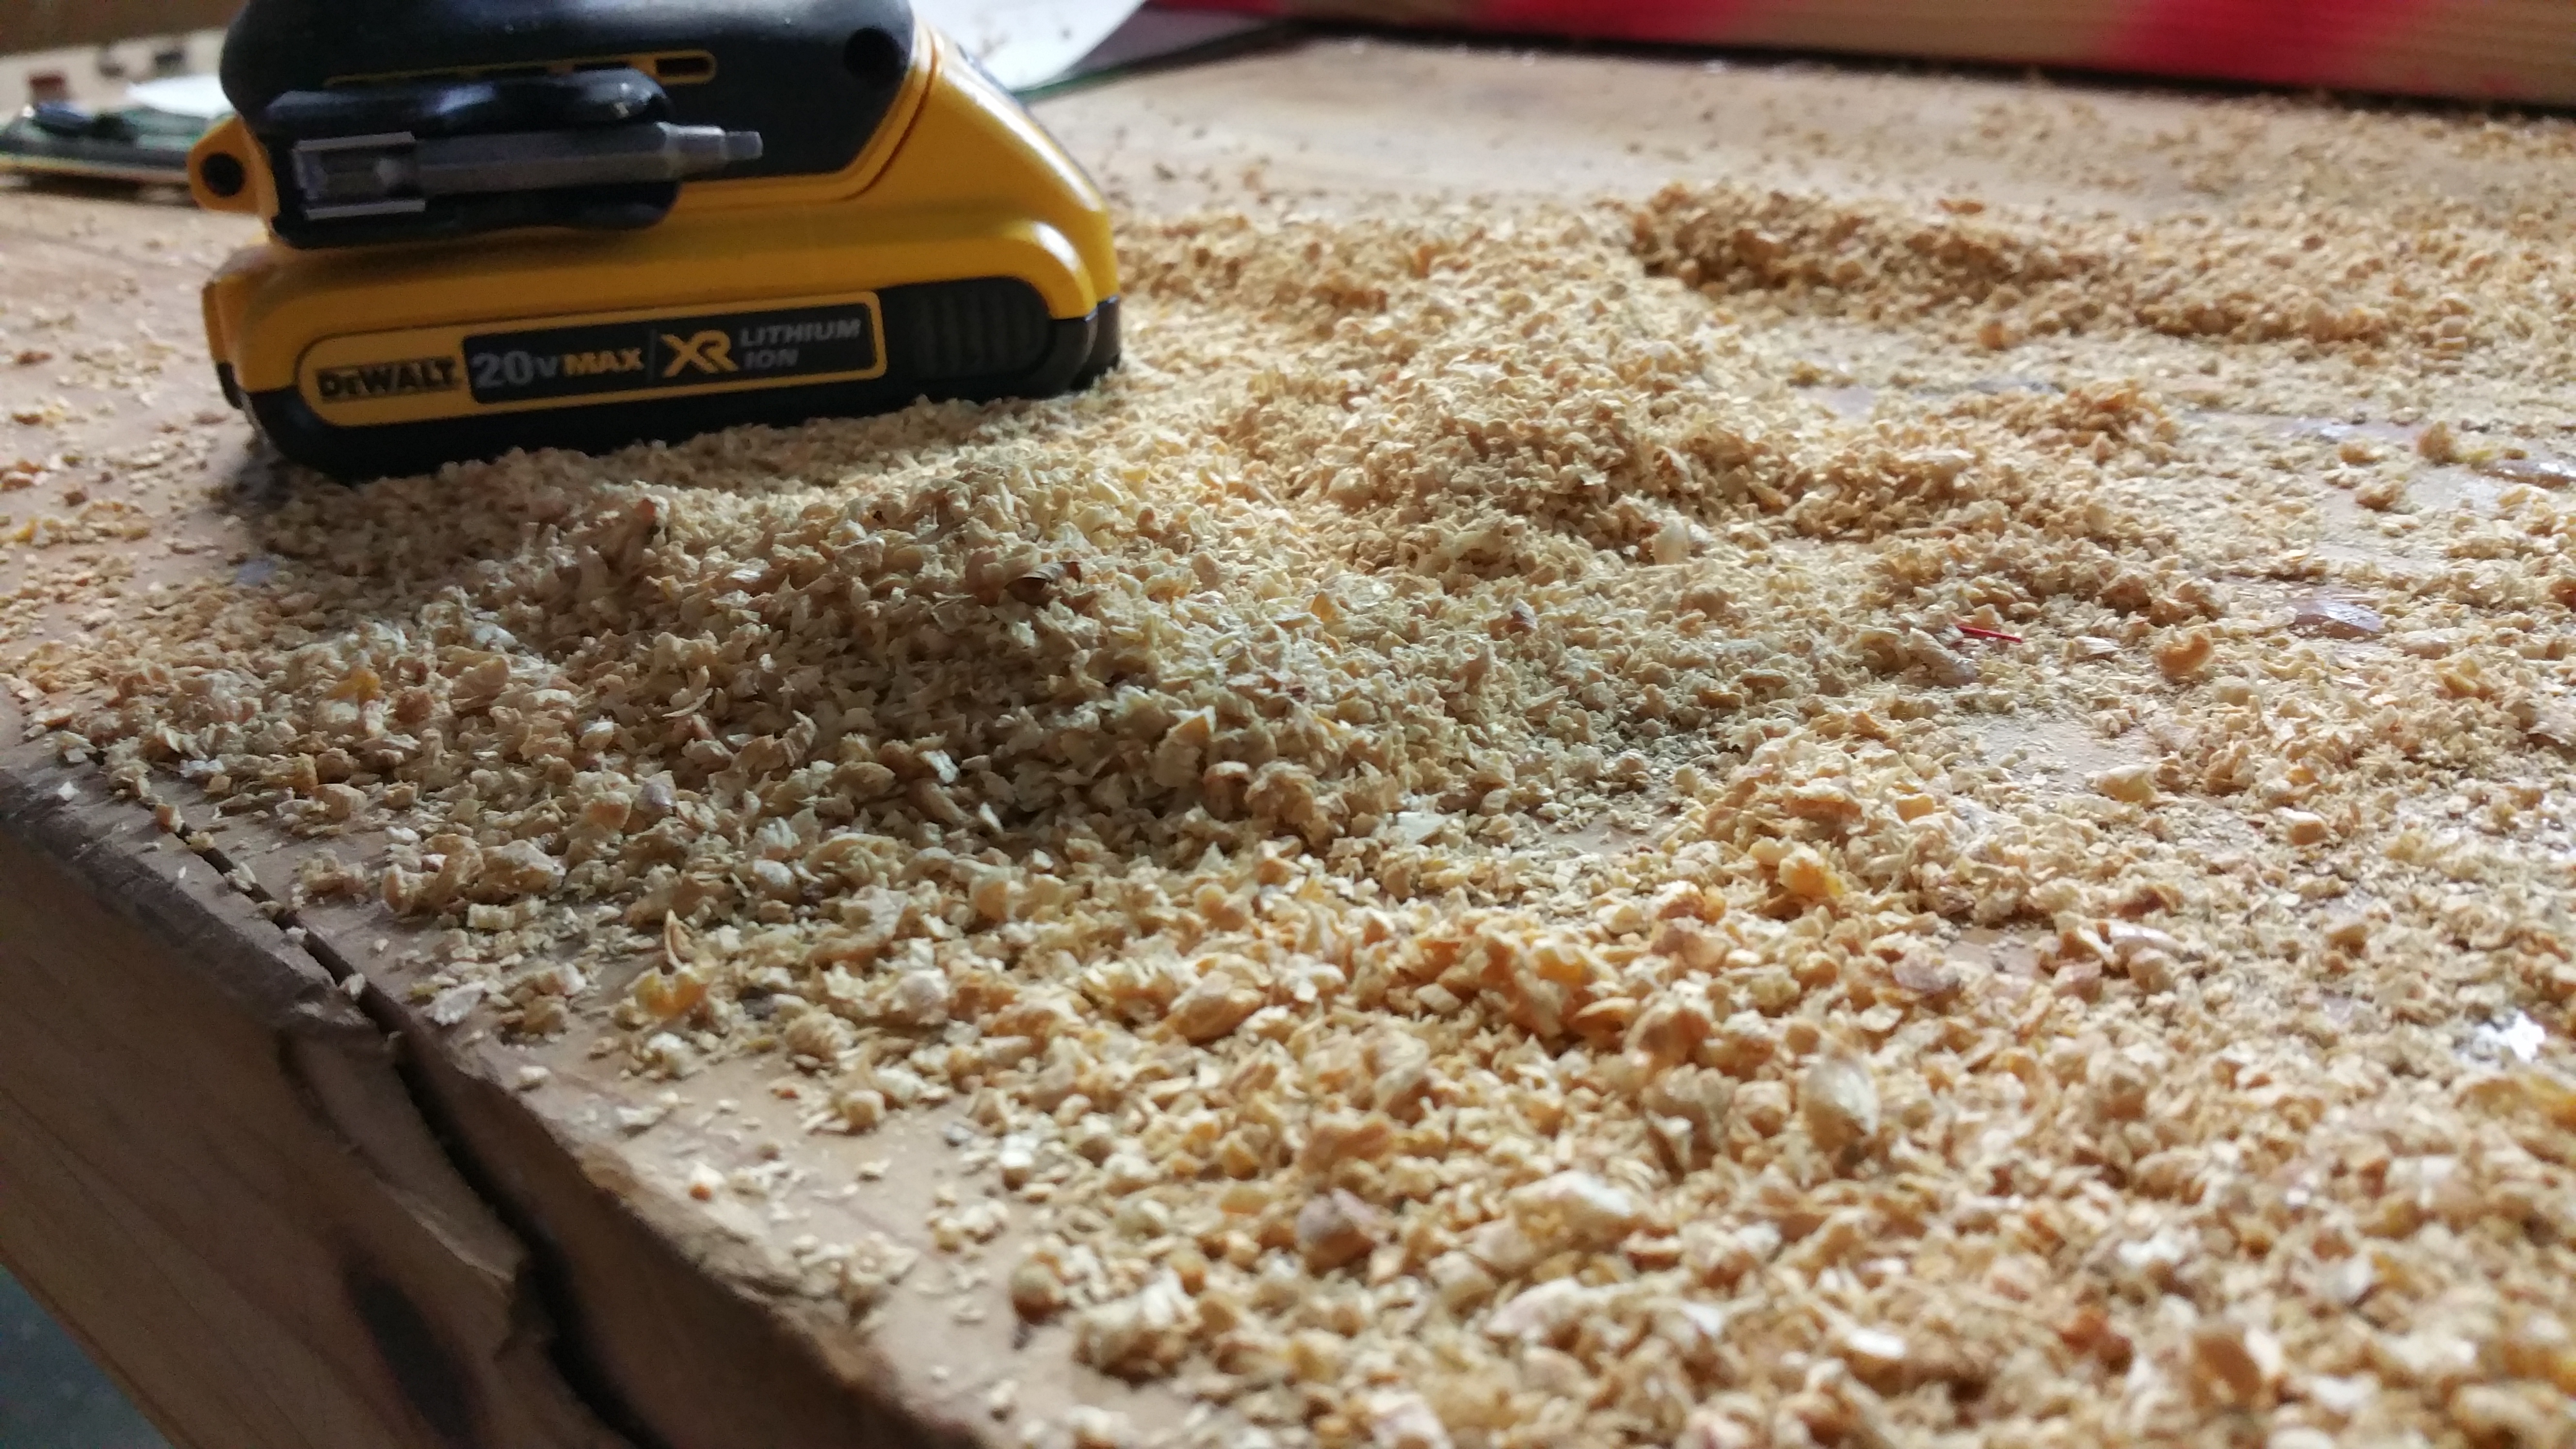
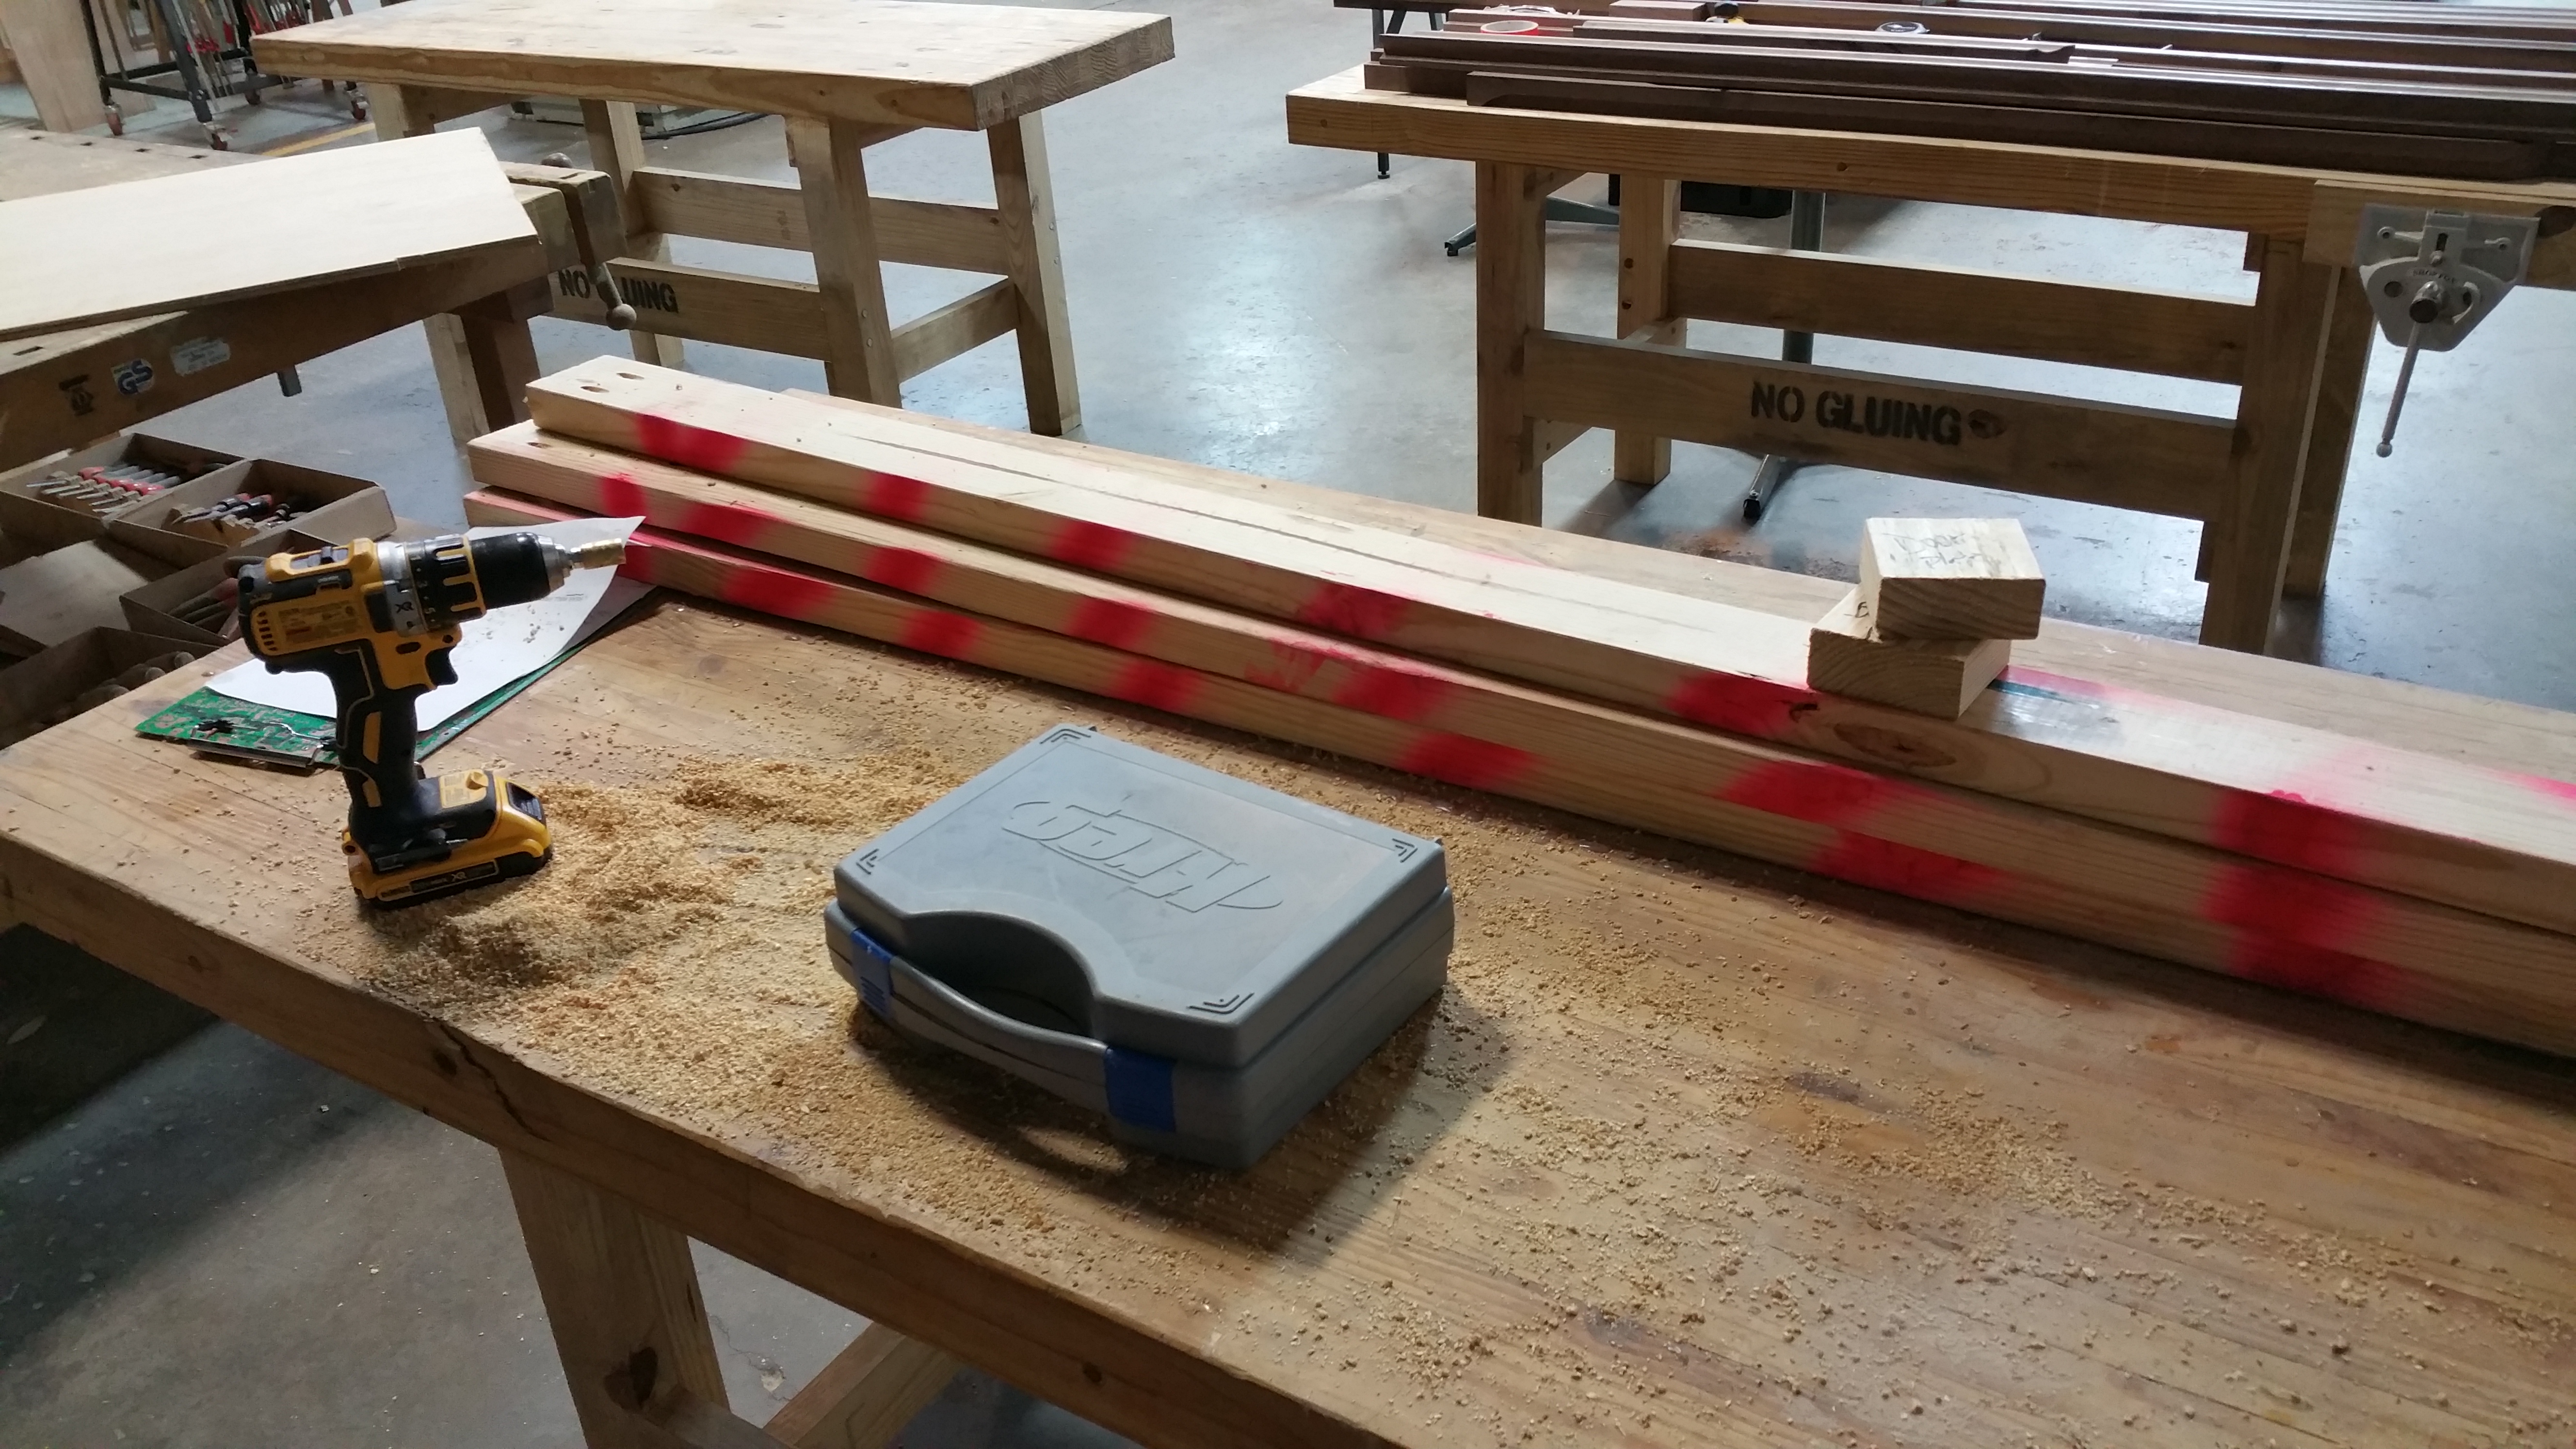
It is raining so I’m spending the time prepping wood. Besides ripping it to the correct length, I’m drilling pocket holes on each end so it will be ready to go.
Sawdust from pocket hole prepPrepping wood for studs
From my own research, this is a “controversial” topic: some folks say it is required and others say not to bother.
Someone is *wrong* on the internet!
Does it make sense to attach the house to the trailer? The weight of the house should be enough to keep it on the trailer as in, will it blow off while you’re driving down the road? No. If I’m worried about tipping over, then the house is destroyed anyway.
Tumbleweed suggests welding threaded rods onto the trailer that are then passed up through the subfloor, sole plate of the wall and a HDU5 holdown. I decided to not go this route, because I would have had to strip the paint from the trailer and I didn’t like the position of where I’d have to place the rods (too close to the interior of the house).
So what to do?
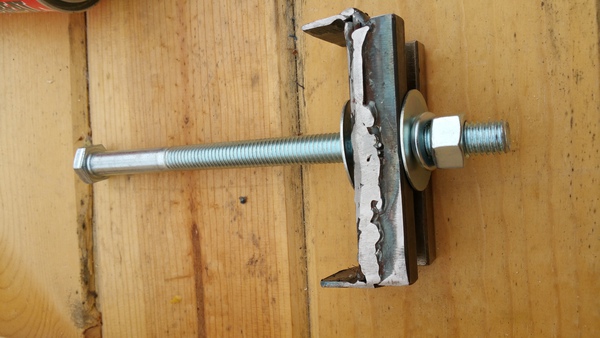
It turns out that my trailer has stake pockets for adding a railing. So my idea is to create a bracket that will clip to the bottom of the bracket and hold a threaded rod.
The completed bracket with rod
[envira-gallery id=”90″]
Here’s a video of me welding the plate and then grinding and polishing it.
Notice about cookies
This site, like most other sites on the web, uses cookies. For more information, see our privacy policy.
This website uses cookies to improve your experience while you navigate through the website. Out of these, the cookies that are categorized as necessary are stored on your browser as they are essential for the working of basic functionalities of the website. We also use third-party cookies that help us analyze and understand how you use this website. These cookies will be stored in your browser only with your consent. You also have the option to opt-out of these cookies. But opting out of some of these cookies may affect your browsing experience.
Necessary cookies are absolutely essential for the website to function properly. These cookies ensure basic functionalities and security features of the website, anonymously.
Cookie
Duration
Description
cookielawinfo-checkbox-analytics
11 months
This cookie is set by GDPR Cookie Consent plugin. The cookie is used to store the user consent for the cookies in the category "Analytics".
cookielawinfo-checkbox-functional
11 months
The cookie is set by GDPR cookie consent to record the user consent for the cookies in the category "Functional".
cookielawinfo-checkbox-necessary
11 months
This cookie is set by GDPR Cookie Consent plugin. The cookies is used to store the user consent for the cookies in the category "Necessary".
cookielawinfo-checkbox-others
11 months
This cookie is set by GDPR Cookie Consent plugin. The cookie is used to store the user consent for the cookies in the category "Other.
cookielawinfo-checkbox-performance
11 months
This cookie is set by GDPR Cookie Consent plugin. The cookie is used to store the user consent for the cookies in the category "Performance".
viewed_cookie_policy
11 months
The cookie is set by the GDPR Cookie Consent plugin and is used to store whether or not user has consented to the use of cookies. It does not store any personal data.
Functional cookies help to perform certain functionalities like sharing the content of the website on social media platforms, collect feedbacks, and other third-party features.
Performance cookies are used to understand and analyze the key performance indexes of the website which helps in delivering a better user experience for the visitors.
Analytical cookies are used to understand how visitors interact with the website. These cookies help provide information on metrics the number of visitors, bounce rate, traffic source, etc.
Advertisement cookies are used to provide visitors with relevant ads and marketing campaigns. These cookies track visitors across websites and collect information to provide customized ads.