♪ Do Fence Me In ♬

Fence with "Posted no trespassing, keep out" sign

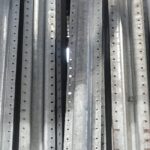
Events have conspired to move the timeline up, so I bit the bullet and got the fence installed. Originally, I wanted a fence with metal posts, but we needed this done quick ‘n’ cheap, so treated pine it is.

The most time-consuming part (for me) was getting the lumber ordered from the Big Box store. I normally would’ve gone with a more local lumberyard, but it was more of a matter of getting it done.

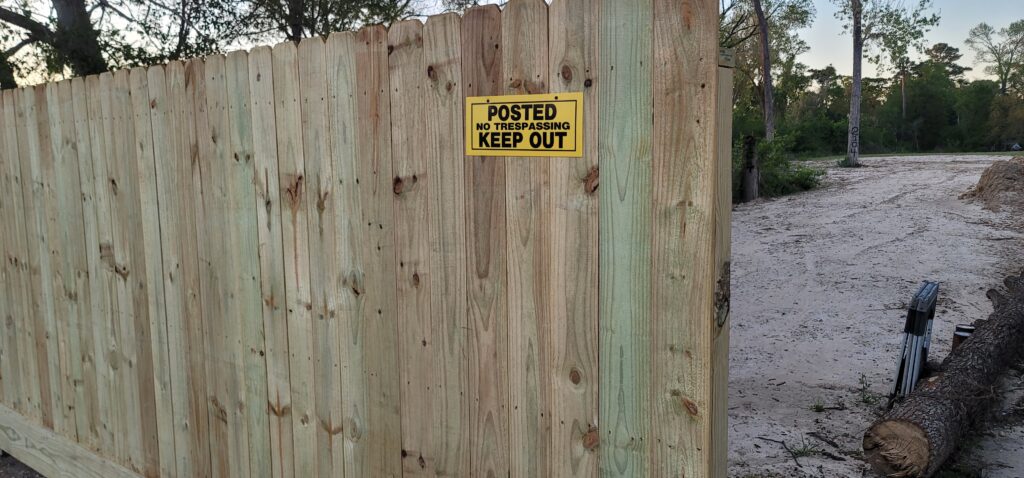
Once the wood was on-side, the guys got it done. Took one day for the fence, and one for the gate.

Yes, that’s a Master Lock. Yes, Master Locks are the absolute worst.

But it’ll have to do for now.

For someone to open the gate, they’ll have to intentionally B&E, and that’s at least something.

Fence gate with locks

Laying out Tiny’s New Location

I’m going to move Tiny down from storage onto the lot; I’ve been spending lots of $$$ keeping it up north and it’s time to push things forward! Before I can do this, I need to prepare the land.

My plan was to put down a gravel driveway for a couple of reasons:

  • It’s more eco-friendly – using recycled materials instead of concrete, which is a major contributor to CO2 greenhouse gases.
  • It is better for the watershed – gravel is permeable, allowing rain to soak directly into the ground instead of running off into drainage ditches.
  • It is cheaper – building a 11’x50′ driveway should cost about $3k instead of ~$14k.
  • I can do most (all) of the work myself.

In addition, I need to ensure some level of security for Tiny, as it will be sitting out all alone with no one to watch over her! I’ll need to prepare the land by adding a fence to keep looky-loos out and make it harder to get onto the property.

Land Preparation Steps

Bare land where I've been marking and digging
Prepping the location for the gravel

Driveway

  1. Mark out location with stakes and twine ✅
  2. Dig out area to 6″ deep 🌀
  3. Lay down weed barrier
  4. Purchase gravel
  5. Purchase grid
  6. Spread out bottom layer and compact
  7. Assemble grid
  8. Spread out top layer and compact

Fence

  1. Mark out location with stakes and twine ✅
  2. Determine approach: wood, SS40 pipe or steel post (see Resources below)
  3. Source materials
  4. Install posts
  5. Attach cross beams
  6. Install pickets
  7. Build/install gate 😱

Resources

Driveway is in!

That was quick! Just a day or two delay due to rain, and the guys finished quickly. I had to call them to come tidy up the site a bit: the culvert pipe was clogged with mud from the construction, and they took care of it promptly.

The Driveway

Adding a Driveway

Getting the property prepped starts with being able to actually access the property. There’s a drainage ditch next to the road that has a dirt (mud, if you’re nasty and rainy) culvert covering a concrete pipe, but it isn’t clear if it is sturdy enough to support driving the tiny house across it, let alone trucks and cars.

This means we need a proper driveway.