Bam!
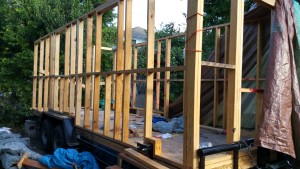
This is what it looks like “inside” – wow, a real room!
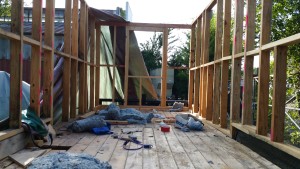
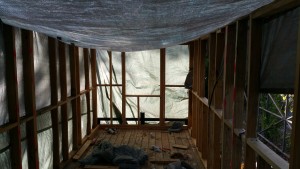
I threw the tarp over the whole thing and now it is a nice little space.
Moving toward sustainability
This weekend I got about a third of the wall framing completed, including a window!
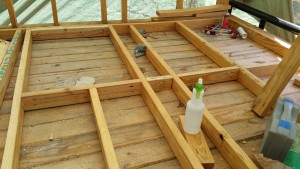
The square in the upper-left corner is the tiny (24-inch) window. The actual glass won’t go in for a while, until after the wall is raised, the plywood attached, and the water barrier installed. Still it is nice to have a tangible feature completed.
Notice in a ‘typical’ home, there are studs above the window, called King (or Cripple) Studs:

Their function is to help transfer the load around the window. Tiny Home doesn’t have these because a) it is too short, and b) there isn’t as much load on top.
You can see here how little space I have to work with:
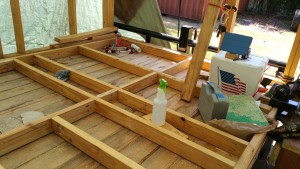
The base of the wall is on the right and the wall itself fills the entire floor. The American Flag box contains lots of drinking water, most of which I drank and later evaporated.
I’ll try to drop in a few studs a day and we’ll see if we can’t get this puppy knocked out by the end of the week.
I powered through and got the first two walls raised! There’s no going back now.
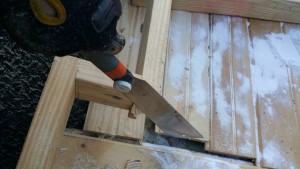
To start, I needed to trim part of the wall that hung over the wheel well. I’d measured it a little long and it needed to be flush. The Japanese saw worked nicely here.
For the first (long) wall, I attached a couple of 2x4s, one at each end, with a single screw so it would hinge and prop up the wall when I raised it. This allowed me to raise the wall by myself.
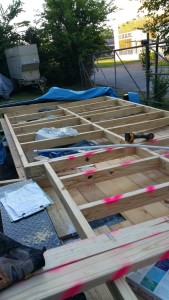
After I got the wall up and reasonably plumb, I clamped the bottom.
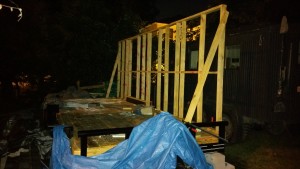
Next I worked on the adjacent wall, so as to provide stability. I needed to cover everything with a tarp (the next week is predicted rain every day), and I was concerned that a single wall would be easily knocked down by wind or the weight of the water on the tarp.
I quickly assembled the second wall, starting with the footplate. I went to look for a 4x4x8 in my wood pile for the header and realized I hadn’t bought any in that size. GRR!!! No problem. I used a 2×4 temporarily to anchor the top of the studs. I screwed in just 1 or 2 screws in each stud and didn’t use glue.
With that, I threw the tarp over everything and tied it down as best I could. By this time it was 1:30 am; I went late because I didn’t feel like I could leave it with only one wall.

Whew! The next wall is the longest one in the build. It should go faster because I’m more confident and know what to expect.
From my own research, this is a “controversial” topic: some folks say it is required and others say not to bother.

Does it make sense to attach the house to the trailer? The weight of the house should be enough to keep it on the trailer as in, will it blow off while you’re driving down the road? No. If I’m worried about tipping over, then the house is destroyed anyway.
Tumbleweed suggests welding threaded rods onto the trailer that are then passed up through the subfloor, sole plate of the wall and a HDU5 holdown. I decided to not go this route, because I would have had to strip the paint from the trailer and I didn’t like the position of where I’d have to place the rods (too close to the interior of the house).
So what to do?
It turns out that my trailer has stake pockets for adding a railing. So my idea is to create a bracket that will clip to the bottom of the bracket and hold a threaded rod.
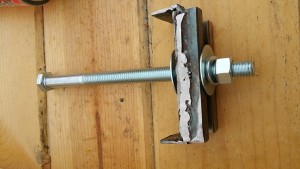
Here’s a video of me welding the plate and then grinding and polishing it.