Laying out Tiny’s New Location

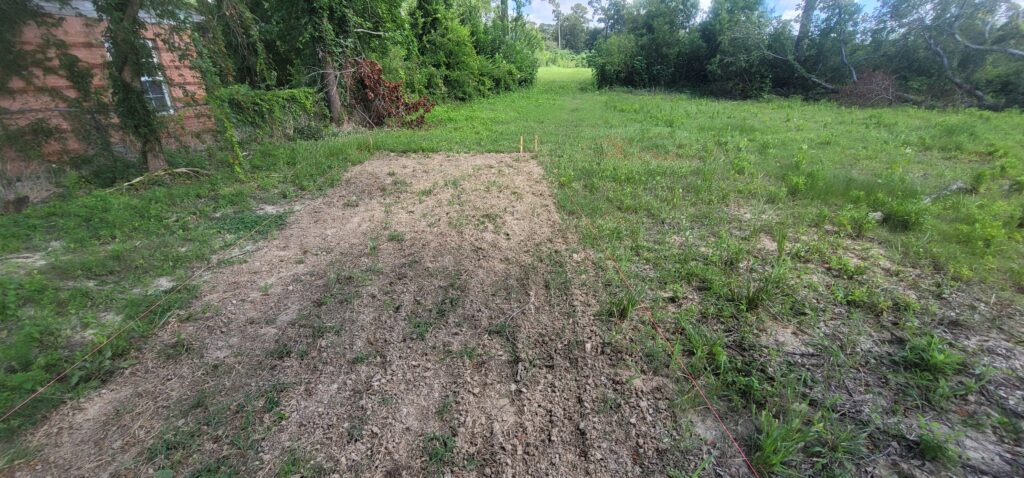
I’m going to move Tiny down from storage onto the lot; I’ve been spending lots of $$$ keeping it up north and it’s time to push things forward! Before I can do this, I need to prepare the land.

My plan was to put down a gravel driveway for a couple of reasons:

  • It’s more eco-friendly – using recycled materials instead of concrete, which is a major contributor to CO2 greenhouse gases.
  • It is better for the watershed – gravel is permeable, allowing rain to soak directly into the ground instead of running off into drainage ditches.
  • It is cheaper – building a 11’x50′ driveway should cost about $3k instead of ~$14k.
  • I can do most (all) of the work myself.

In addition, I need to ensure some level of security for Tiny, as it will be sitting out all alone with no one to watch over her! I’ll need to prepare the land by adding a fence to keep looky-loos out and make it harder to get onto the property.

Land Preparation Steps

Bare land where I've been marking and digging
Prepping the location for the gravel

Driveway

  1. Mark out location with stakes and twine ✅
  2. Dig out area to 6″ deep 🌀
  3. Lay down weed barrier
  4. Purchase gravel
  5. Purchase grid
  6. Spread out bottom layer and compact
  7. Assemble grid
  8. Spread out top layer and compact
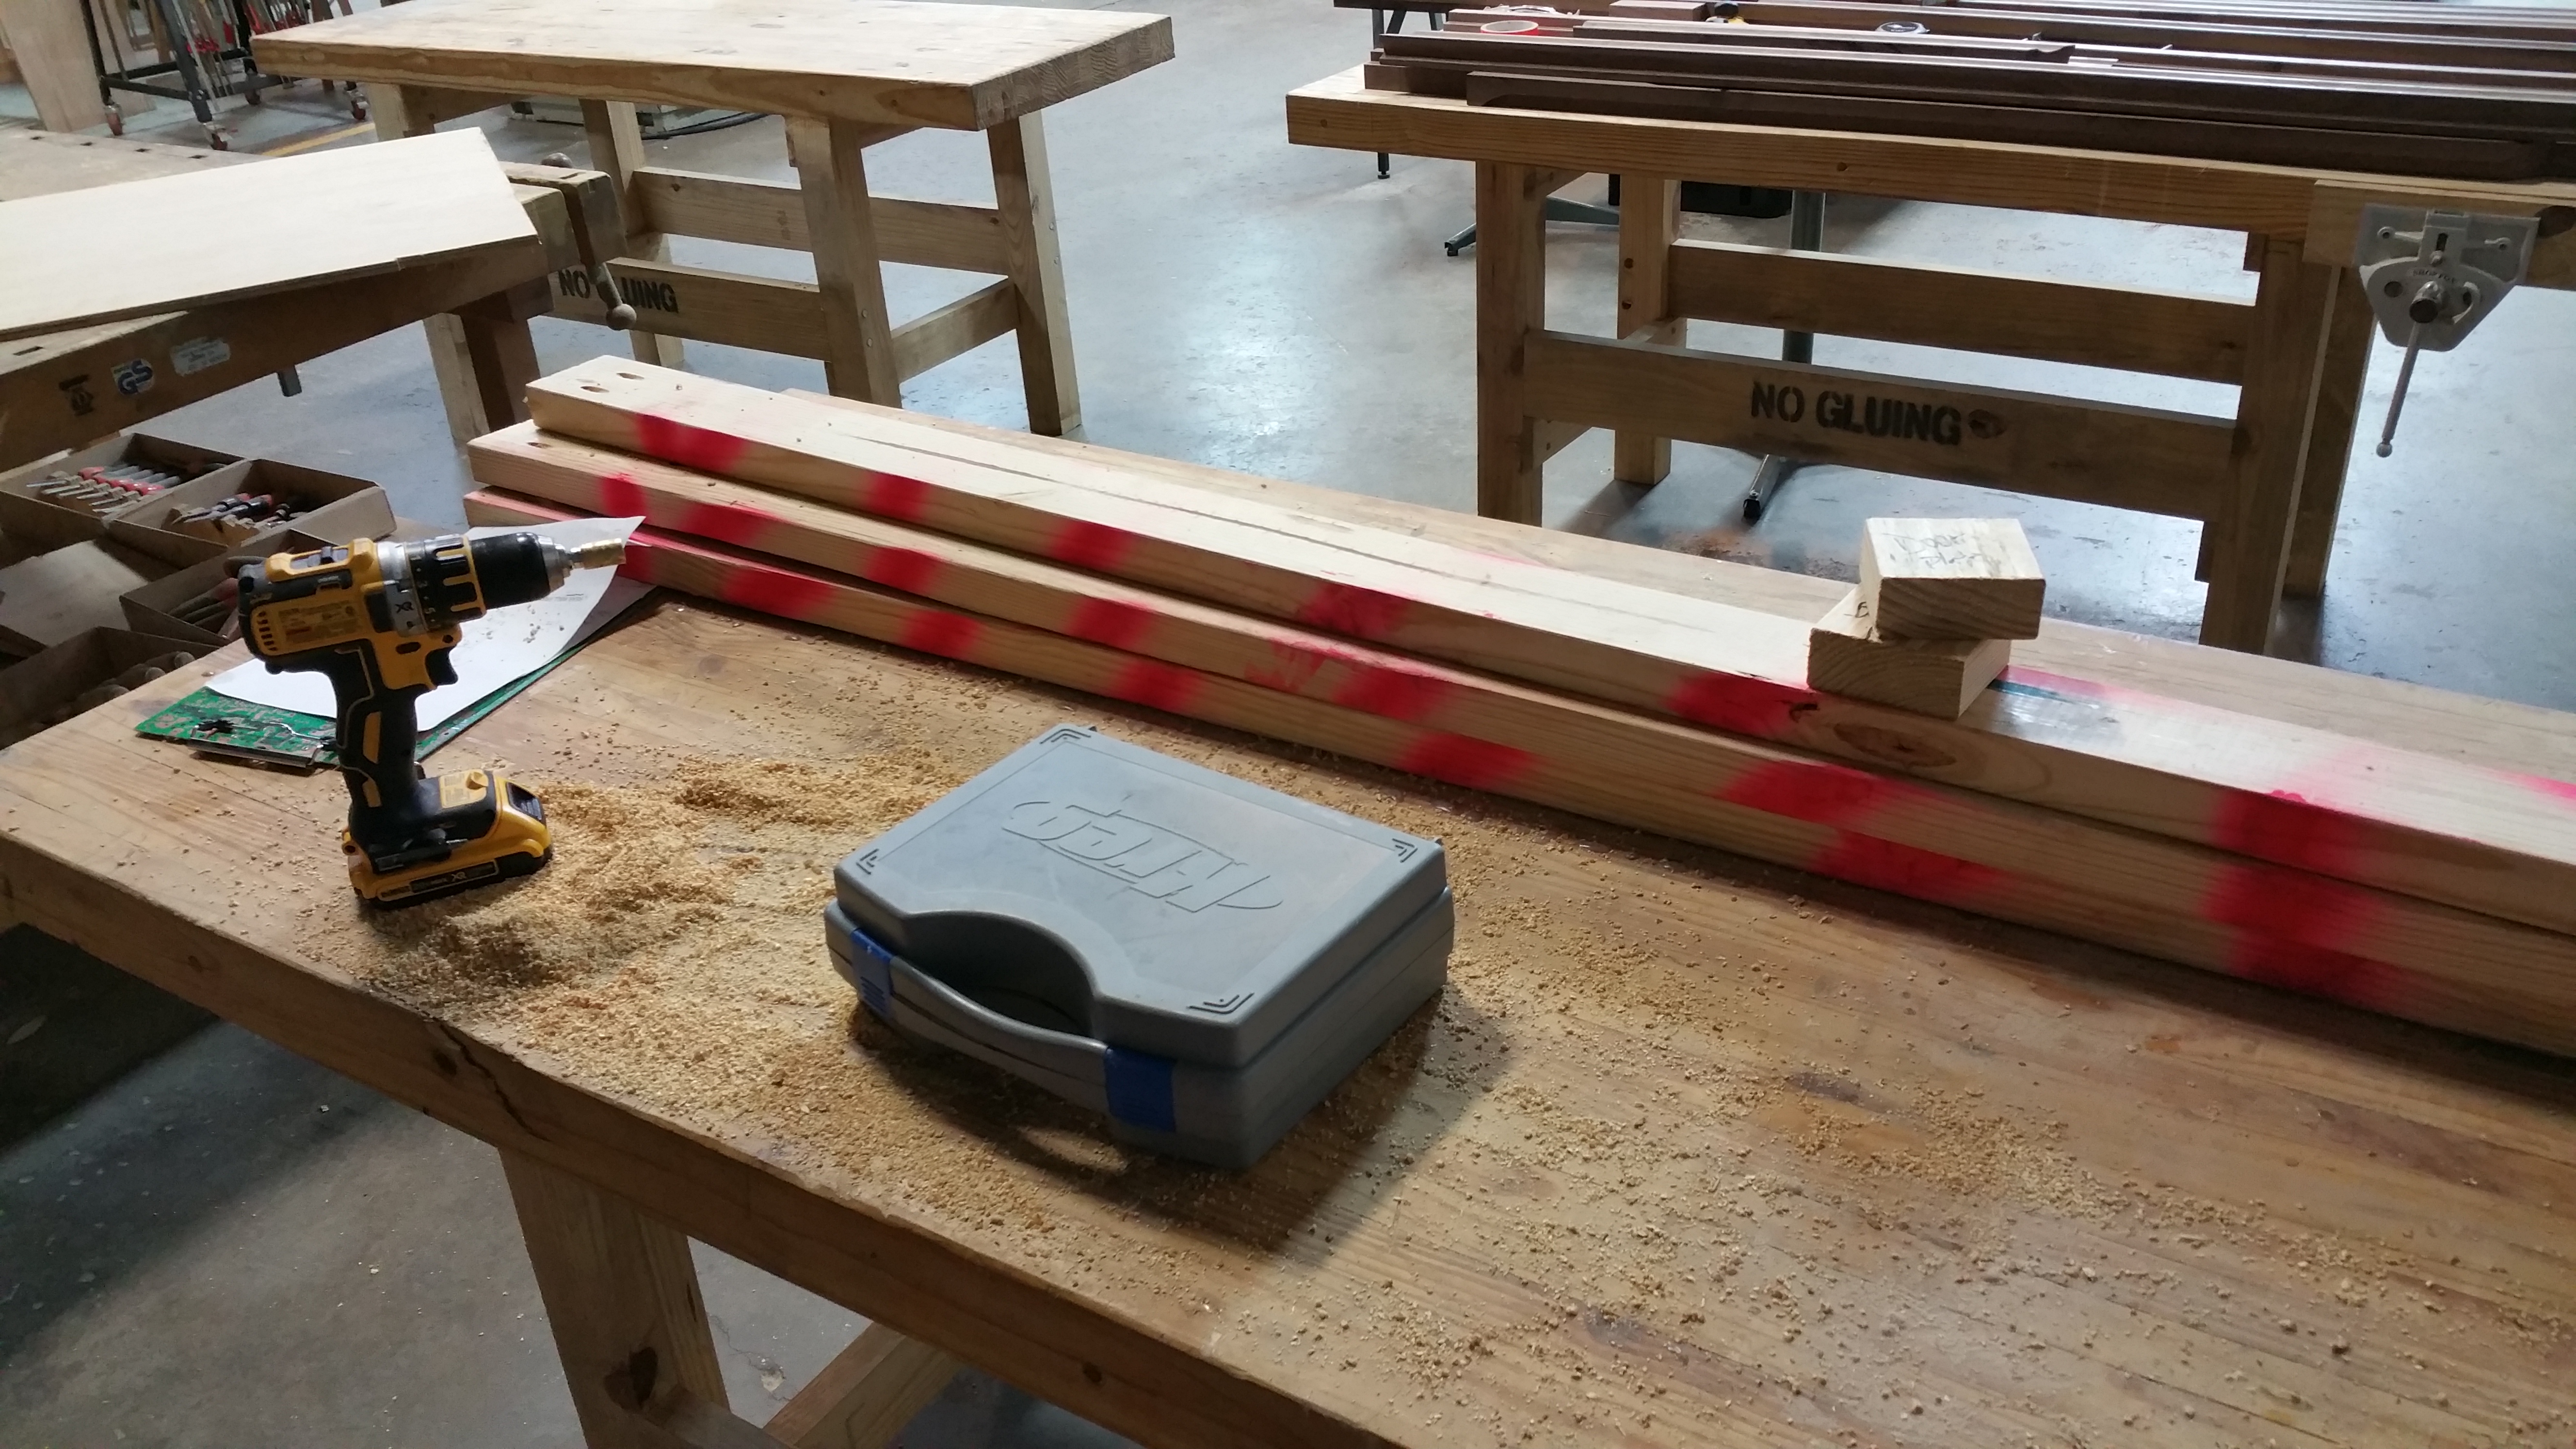
Fence

  1. Mark out location with stakes and twine ✅
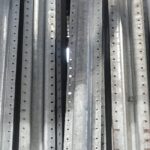
  2. Determine approach: wood, SS40 pipe or steel post (see Resources below)
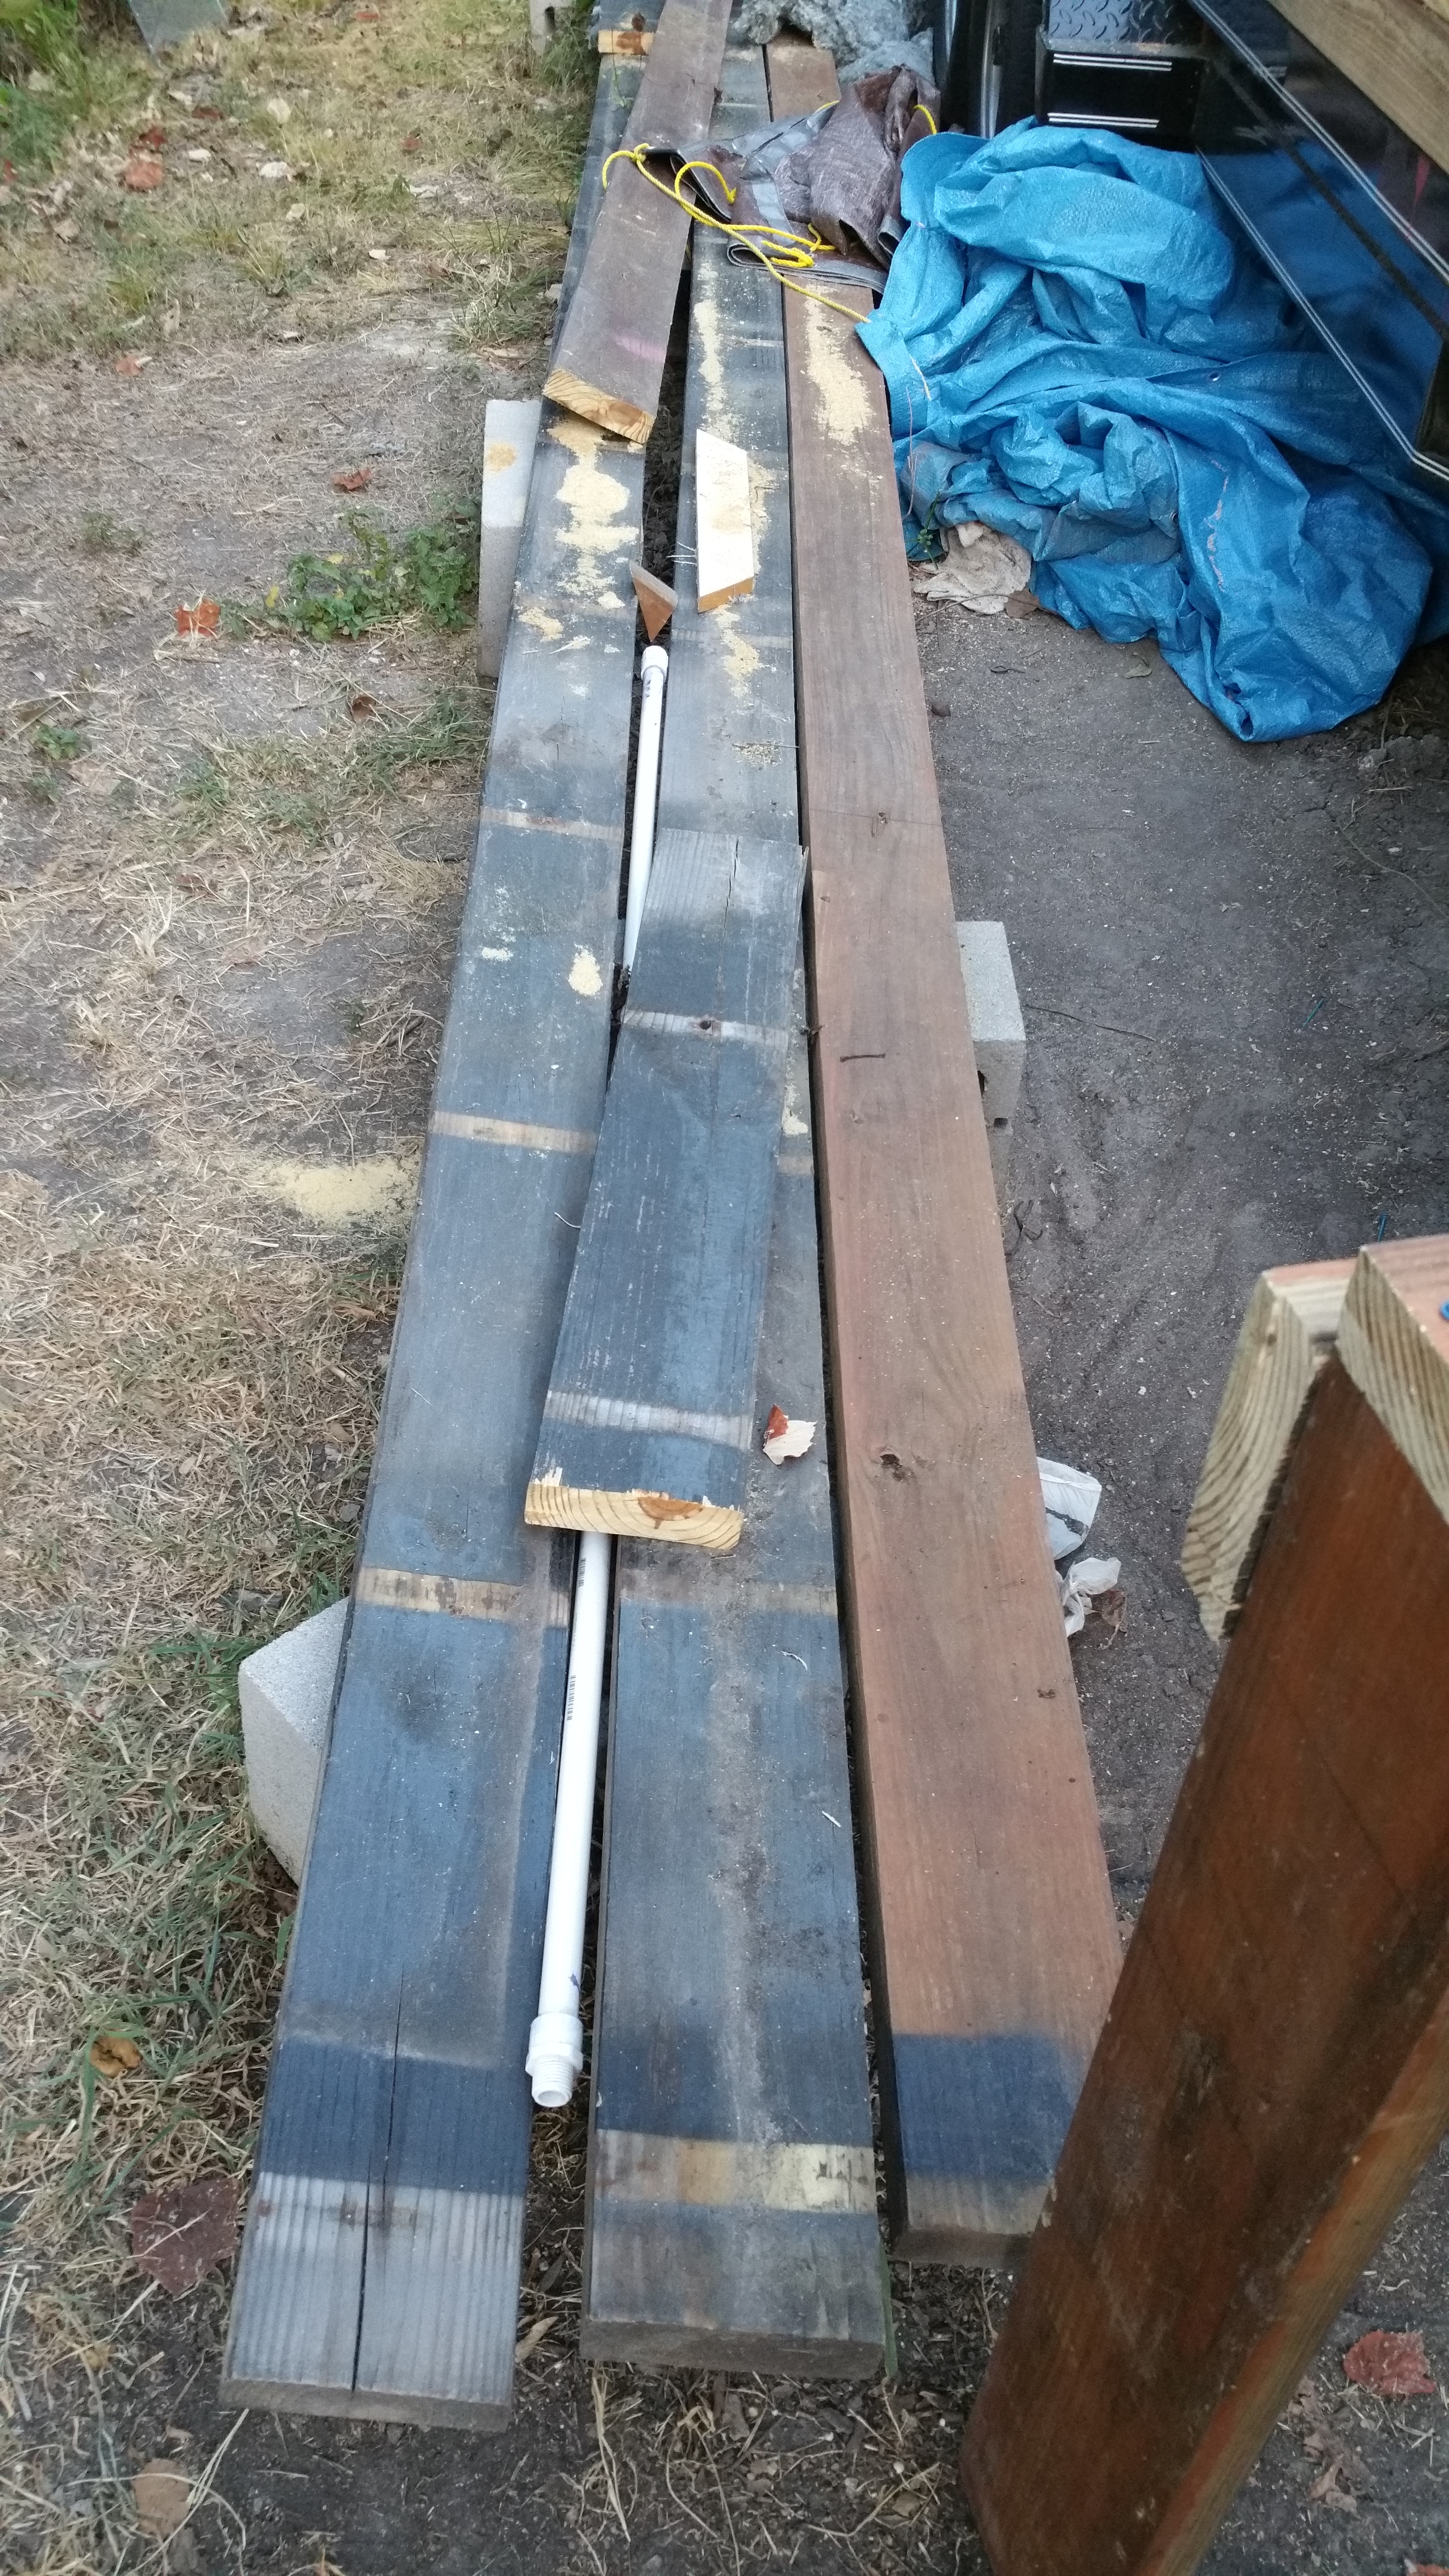
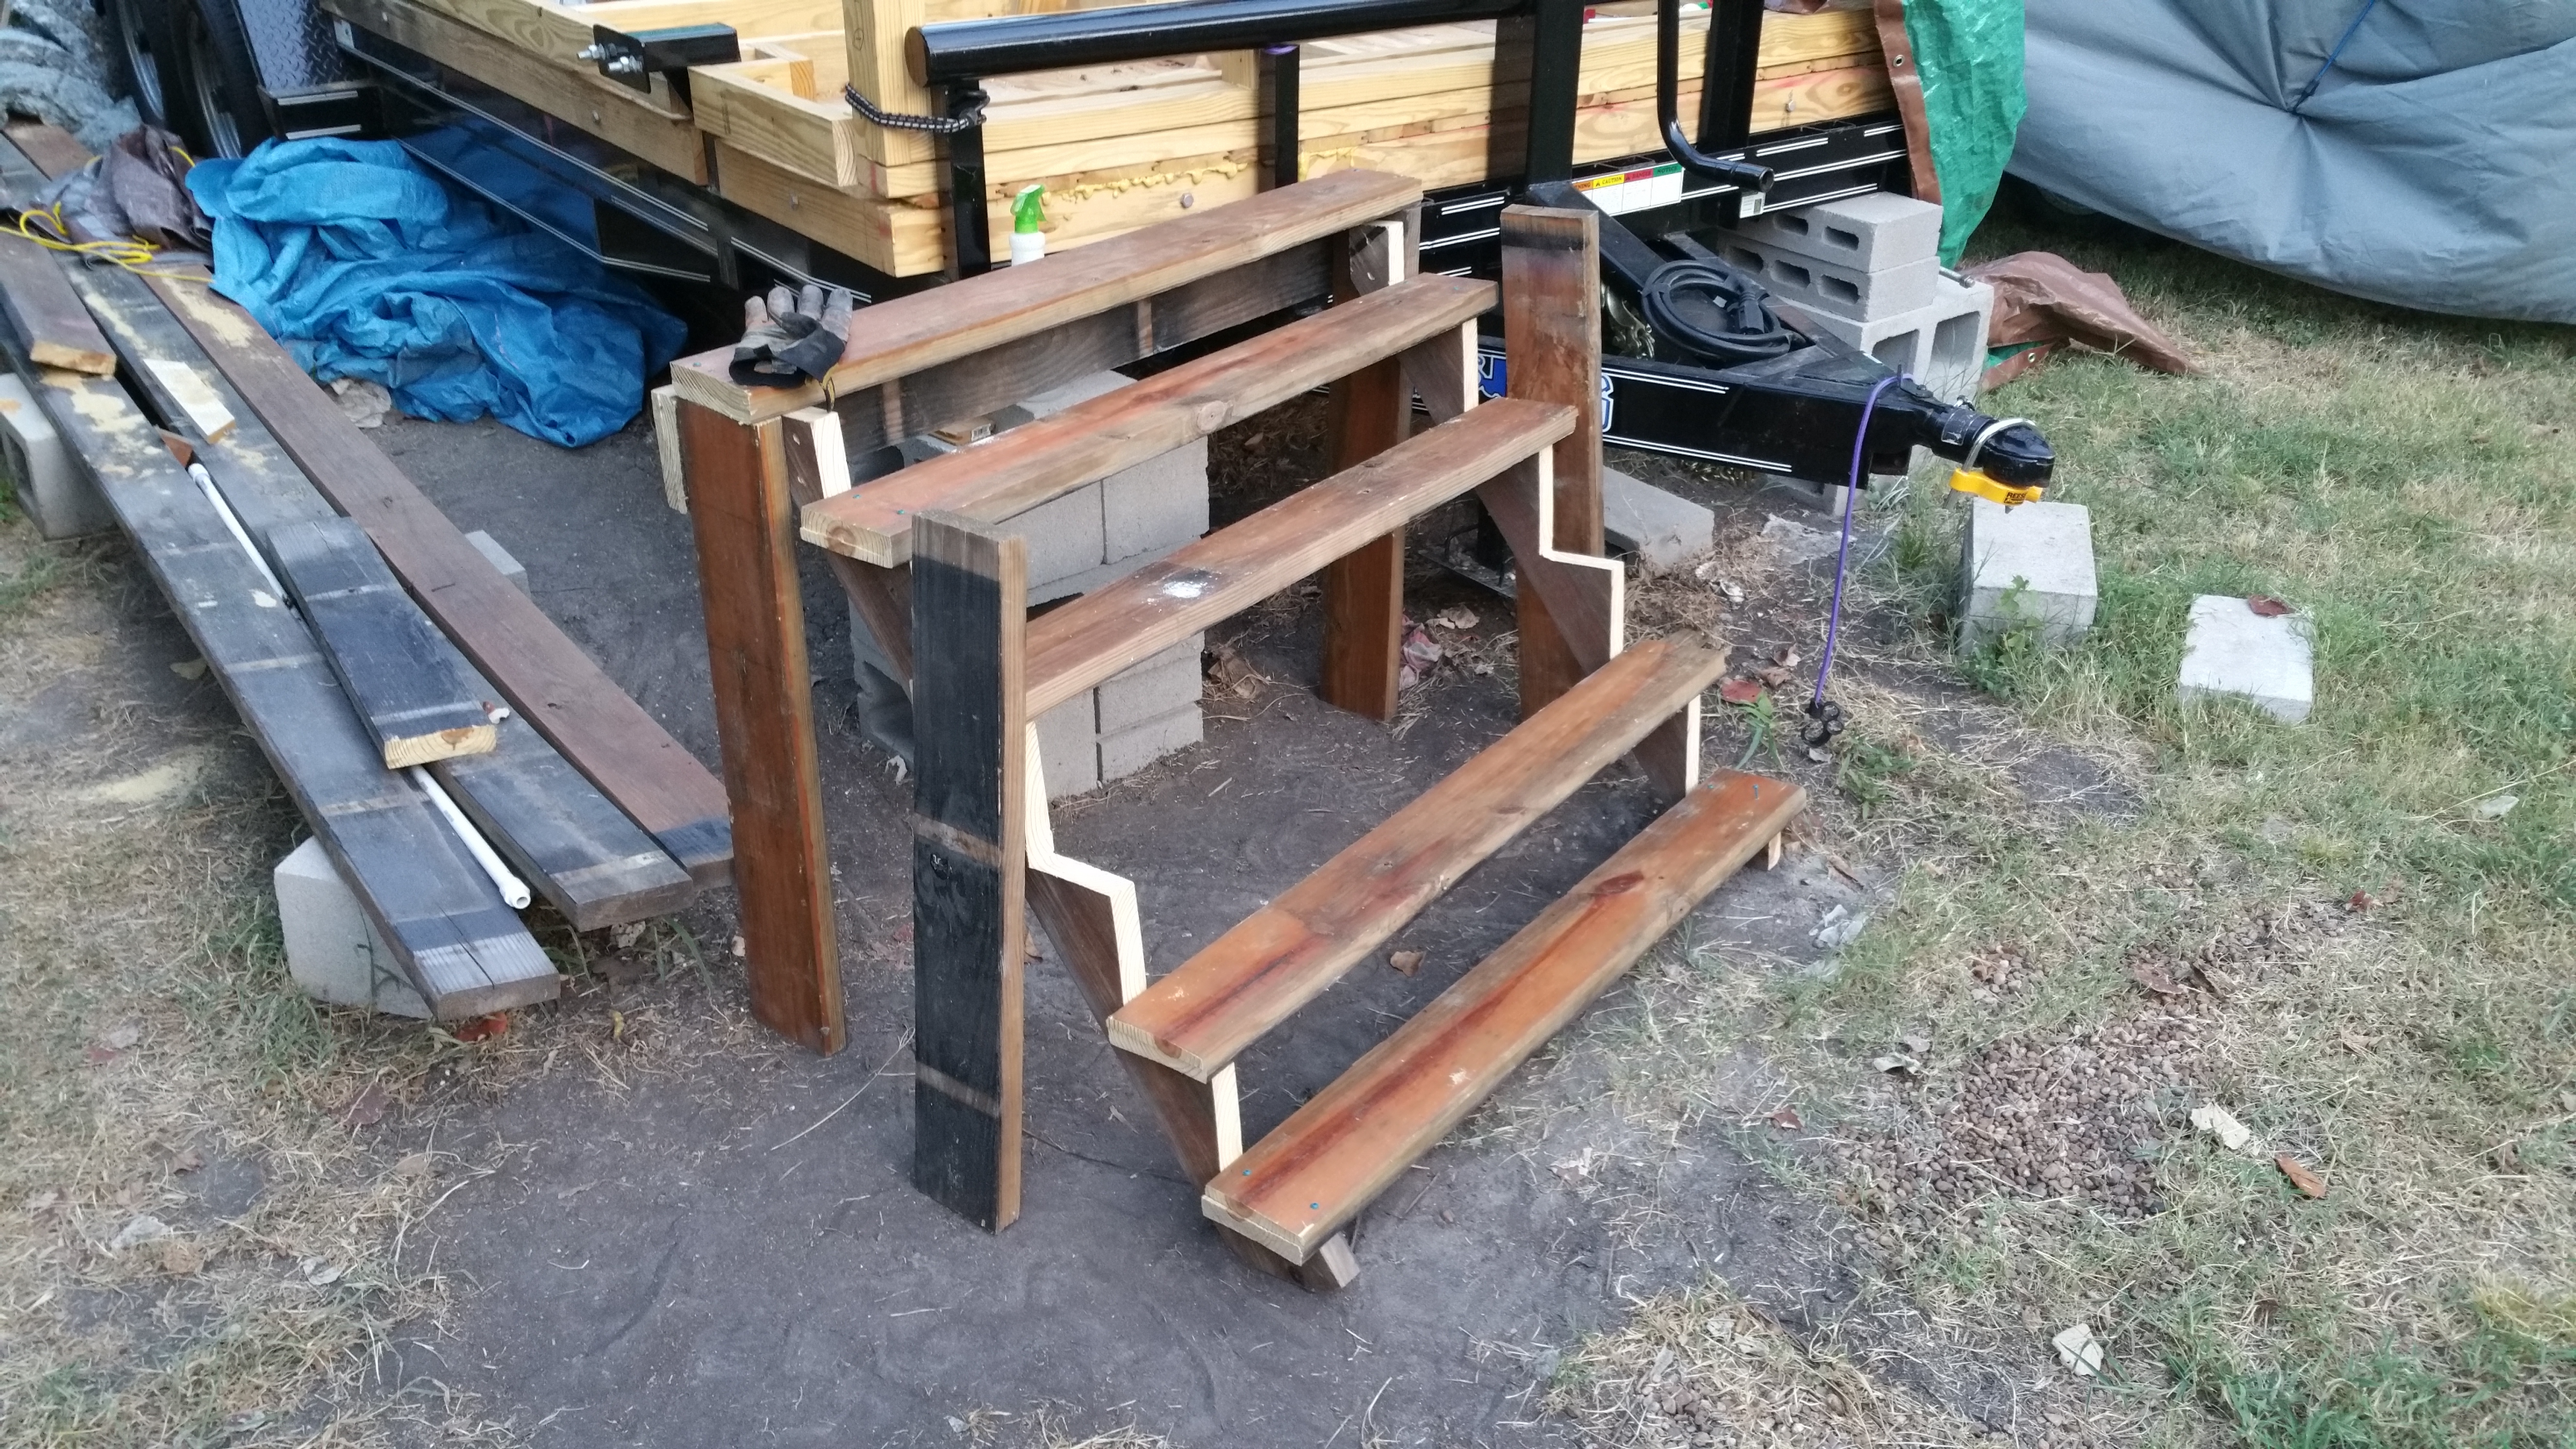
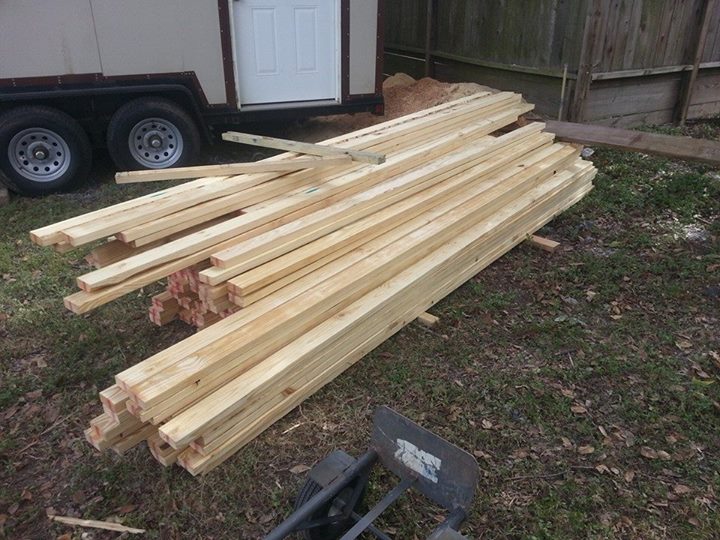
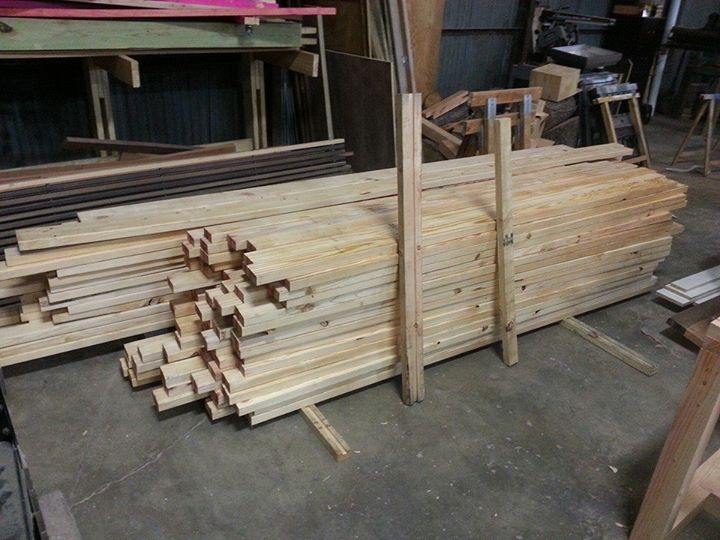
  3. Source materials
  4. Install posts
  5. Attach cross beams
  6. Install pickets
  7. Build/install gate 😱

Resources

We are Back, Baby!

We are back, baby!
We are back, baby!

It has been long, too long for sure.

Running out of funds cascaded through my situation, and I’ve only just now been able to crawl out far enough to poke my head above water. With the new year comes a chance to restart.

I purchased some wood for the loft about a month ago; sadly twenty of my 2x4s were stolen. At least they left the loft rafters and floorboards! I’ll take this as a lesson-learned: use the wood ASAP; don’t leave it lying around!


Out of Money

English: Finnish spruce plywood
Plywood (Photo: Wikipedia)

So, with the next phase of building approaching, it is time to get more wood, notably the plywood for the walls and roof.

In addition, I’ll need:

  • a bunch more 2x4s for the rafters, loft walls and interior walls,
  • some 4x4s for the loft beams,
  • floorboards for the loft,
  • 6x6s for the last wall, and
  • an 18 foot 2×6 for the roof beam.

I’m guesstimating this will all run me about $500ish + about $50-75 for the truck rental.

Taking a look at my Tiny Home piggybank, I’m out of money. I should have enough money in the bank at the end of the month.

In the meantime, I still need to plumb and square the remaining walls, so I’m not completely dead in the water.

Raintastrophe

Wet Floor
Wet Floor

Wet Floor
More Wet Floor

We got a strong rainstorm yesterday, and my worst fear was realized. I’d neglected to tie down one side of the tarp, so the wind must’ve picked it up and flipped it (the tarp) over the side of the house, exposing everything.

Then it rained long and hard, soaking the walls and floor. As far as I know, two “compartments” in the floor got water in them, maybe more.


I repositioned the tarp and tied it down, but noticed it is full of holes. It is disintegrating from being out in the sun for so long.

All tarped up
All tarped up

The only thing to do is wait for the rain to stop and let the surface dry out. Eventually those compartments in the floor will mold (the insulation seems to be very good at resisting mold), so I’ll have to open up them up from the bottom and take out the insulation so I can dry everything out.

Next steps? Plow ahead! I’d been afraid of getting the floor wet since I laid it down and now I don’t have to worry about it!

This weekend I plan on squaring the walls and bolting them down (using the brackets I made) next.

I ain’t no monkey

The deck-height is starting to become a nuisance.

Detail of the deck height

As you can see, the trailer is jacked up and levelled on cinderblock. On top of the trailer is the subfloor, then the floor. Now that I’m working on the third wall, I have to scramble over it to get onto the deck. This rapidly became annoying as I had to climb up to measure the distance between studs, jump down (carefully!), go cut the blocker, climb back up and then glue and screw it in.

Rinse, repeat.

So, what do I do when I have an itch? Scratch it!

Remember that wood from the trailer?

Boards removed previously from trailer

Say hello to my little friend!

New Stairs
New Stairs

Working on the 3rd Wall

Sorry for the lack of updates!

I’ve been working on the third wall — the 20′ long one that runs the entire length of the house.

As of now, I have the studs all cut (will have to go back later and cut the headers and cripples for the windows).

Last weekend, I assembled the “outline” of the wall: the first and last stud, the top and sole plates.

English: Diagram illustrating parts of a Wall ...
1. Cripple 2. Window Header 3. Top Plate / Upper Wall Plate 4. Window Sill 5. Stud 6. Sill Plate / Sole Plate / Bottom Plate (Photo credit: Wikipedia)

The biggest challenge was getting the sole plate around the wheel well and spare tire hitch. I messed up and mis-cut the wood for the wheel well, but the spare tire hitch went well.

The next step is to cut the wood for the cross-beams between studs, then install them and the remaining studs.

The Porch

The Tiny Home has a little 4’x4′ porch which is little more than a square hole right now.

I’ve been kicking around ideas for what to do. Here are some ideas:

Wooden Slats

I saw a nice wall hanging at Target that would look really cool as a porch.

The hanging’s slats are too thin to support a person’s weight, so I’d have to either reinforce it or build my own.

Tile

If I go with tile, I would need something to support it. I could make some supports out of steel and then powder-coat them to prevent rust.

Steel

Speaking of seel, I could make supports out of steel and weld expanded metal to the top as the deck/porch. I’d leave it to rust because that would look cool.

Deutsch: Streckmetallzaun Verwendet an der Inn...
(Photo credit: Wikipedia)


What do you think?

Cutting more wood

It is raining so I’m spending the time prepping wood. Besides ripping it to the correct length, I’m drilling pocket holes on each end so it will be ready to go.


Sawdust from pocket hole prep

Prepping wood for studs


I Got Wood

My order for wood arrived from the supply yard. Compared to other orders, mine was miniscule of course. The guy dropped it off in the yard.

2014-11-03a

A short while later I had it moved into the storehouse.

2014-11-03